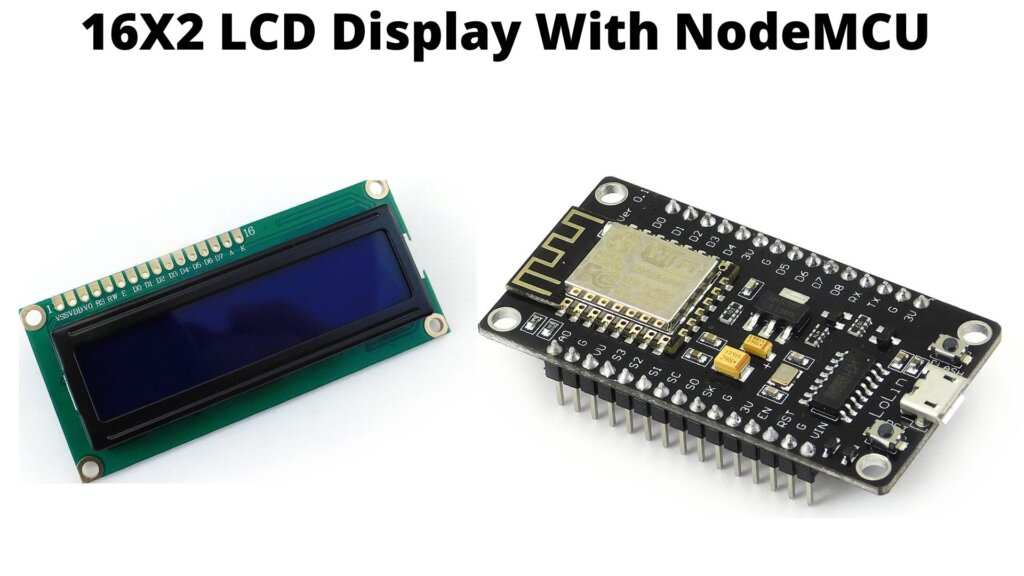
In this tutorial, you will learn how to use a 16X2 LCD Display With NodeMCU board. The LCD display is used to display information to the user, and the NodeMCU ESP8266 is used to control the LCD display.
We’ll use Arduino IDE to program the ESP8266 board using the Arduino programming language. This will help beginners to know how to connect and use ESP8266 with Arduino IDE
Required Components
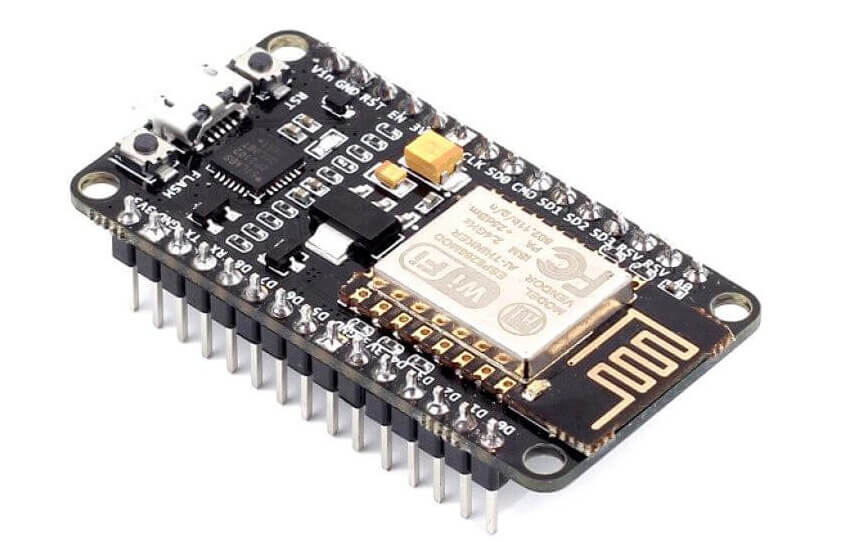
ESP8266 Board
The ESP8266 is capable of either hosting an application or offloading all Wi-Fi networking functions from another application processor. When ESP8266 hosts the application, and when it is the only application processor in the device, it is able to boot up directly from an external flash. It offers a complete and self-contained Wi-Fi networking solution, allowing it to either host the application or offload all Wi-Fi networking functions from another application processor. ESP8266 has a single ADC channel available to users. It is multiplexed with the Battery Voltage pin (EN).
- Module with build-in ESP-12E with PCB antenna
- WiFi connectivity: 802.11 b/g/n
- Modes: (Access Point), STA (Standalone), AP+STA
- Supports: TKIP, WEP, CRC, CCMP, WPA/WPA2, WPS
- Supply voltage: 3.3V (or 5V via micro USB port)
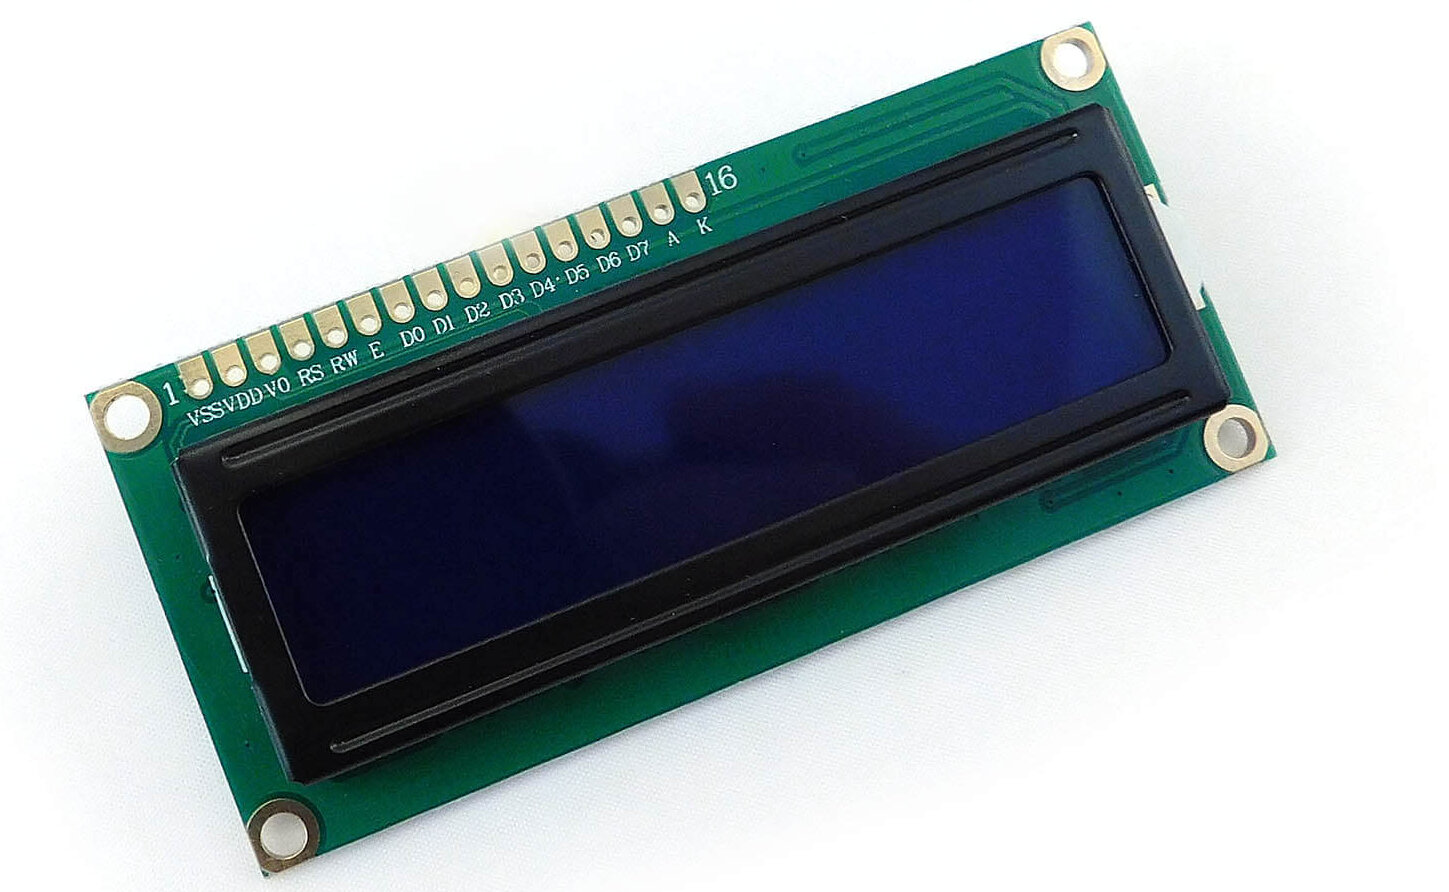
16X2 LCD Display
The 16X2 LCD display is a very popular display device used in many electronic projects and applications. It is a simple display device that can display 16 characters in 2 lines. This display device is very useful in displaying text or data in a limited space. It is also very easy to use and interface with other devices. it has many advantages over other display devices and is very easy to use.
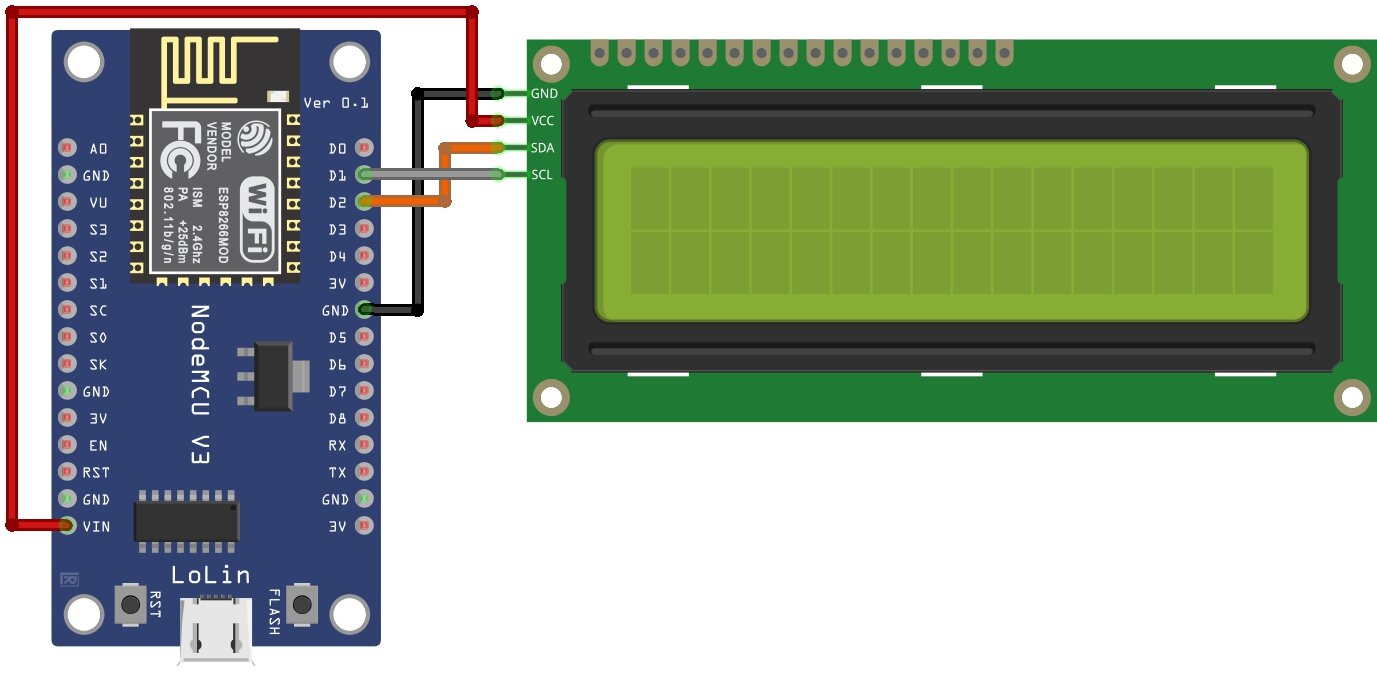
Wiring Diagram – 16X2 LCD Display With NodeMCU
how to connect a 16×2 LCD display to a NodeMCU microcontroller. This LCD display is a white-on-black type that uses an I2C interface. The NodeMCU has a built-in I2C interface, so it can be connected directly to the LCD without any other components.
- Connect the SDA pin on the LCD display to the D2 pin on the NodeMCU.
- Connect the SDL pin on the LCD display to the D1 pin on the NodeMCU.
Software and libraries – 16X2 LCD Display With NodeMCU
Once the wiring diagram is done, it will be necessary to install a library in the Arduino IDE and then load the code on the board. Getting Started With NodeMCU ESP8266 Arduino IDE | A Beginner’s Guide
Libraries:
You can also download this libraries /Download this library by going to <Tools> & then <Manage Libraries>
Upload the Software
After installing all the libraries we can push to upload the code into the NODEMCU board. Firstly, you have to Copy the code and then paste it onto Arduino IDE.
The code for tests is below, just copy it, paste it into the IDE, save and load:
Source Code – 16X2 LCD Display With NodeMCU
Below is the full sketch instructed to write “Hello World” to the display.
|
1 2 3 4 5 6 7 8 9 10 11 12 13 14 15 16 17 18 19 20 21 22 23 24 25 26 27 28 29 30 31 32 33 |
#include <LiquidCrystal_I2C.h> // Construct an LCD object and pass it the // I2C address, width (in characters) and // height (in characters). Depending on the // Actual device, the IC2 address may change. LiquidCrystal_I2C lcd(0x3F, 16, 2); void setup() { // The begin call takes the width and height. This // Should match the number provided to the constructor. lcd.begin(16,2); lcd.init(); // Turn on the backlight. lcd.backlight(); // Move the cursor characters to the right and // zero characters down (line 1). lcd.setCursor(5, 0); // Print HELLO to the screen, starting at 5,0. lcd.print("HELLO"); // Move the cursor to the next line and print // WORLD. lcd.setCursor(5, 1); lcd.print("WORLD"); } void loop() { } |
Now you are ready to upload the code, just hit the upload arrow button.
|
1 2 3 4 5 6 7 8 9 10 11 12 13 14 15 16 17 |
#include <LiquidCrystal_I2C.h> LiquidCrystal_I2C lcd(0x3F, 16, 2); void setup() { lcd.init(); lcd.backlight(); lcd.setCursor(0, 0); lcd.print("DIYPROJECTSLAB"); lcd.setCursor(0, 1); lcd.print("----NODEMCU----"); } void loop() { } |
After the code is loaded this code onto the NODEMCU board, the 16X2 LCD Display will show “DIYPROJECTSLAB” on the first line and on the second line “—-NODEMCU—-”.
Now you understand how to operate the 16X2 LCD Display in your NodeMCU projects.
Want to learn more? Check out these further ESP8266 tutorials:
- Getting Started With NodeMCU ESP8266 Arduino IDE | A Beginner’s Guide
- Make ESP8266 Drone (This Drone Can Climb on Wall)
- 5 Recommended Esp8266 Projects You Must Try In 2022!
If you have any questions or comments, feel free to leave them below the Comment section, Thank you and see you next time!

