In this tutorial, we will learn how to use 16×2 LCD with Arduino. We will use the LiquidCrystal library to control the LCD. The LCD has 16 pins that we will need to connect to the Arduino. LCDs (liquid crystal displays) are commonly used in electronic projects. They come in different shapes and sizes, the most generally used LCD is the 16×2 LCD.
16×2 means it can display 16 characters per line and there are 2 such lines. In this tutorial, we will see how to connect a 16×2 LCD with an Arduino and how to print some text on it.
Required Material
- Arduino Board
- 16×2 LCD Display
- Potentiometer (10K)
- Breadboard
- Jumper wires
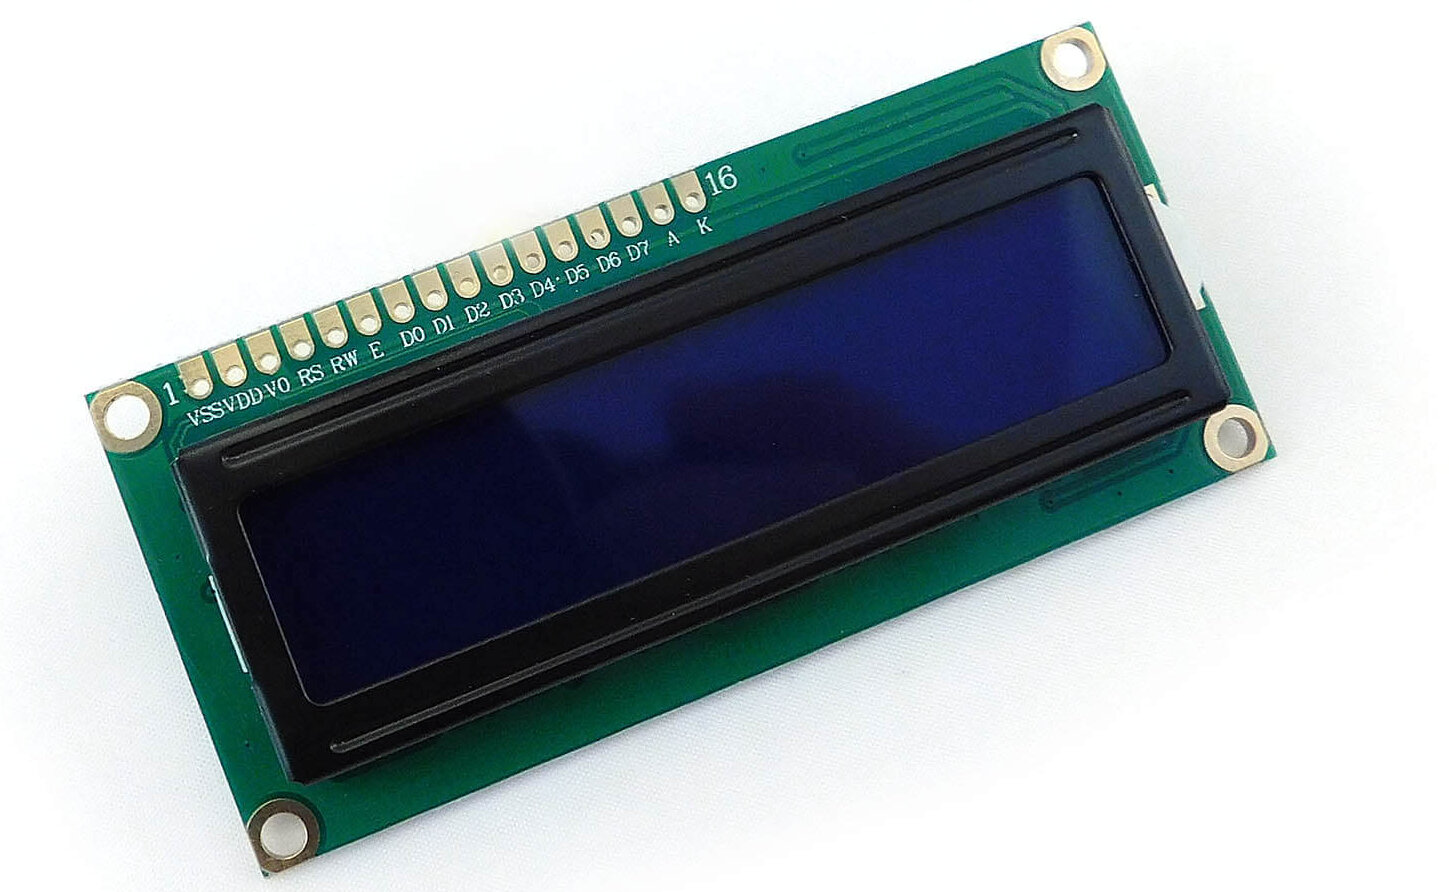
16×2 LCD Display
The 16×2 LCD display is a type of liquid crystal display that can display 16 characters in each of its 2 rows. Here are the full specs and features of the 16×2 LCD display:
This display can display letters, numbers, and symbols, which makes it suitable for displaying news, data, and further information.
The display has a backlight to enhance visibility in low-light situations. The backlight is usually white or blue, but some displays contain other colors available. The contrast of the display can be changed using a potentiometer.
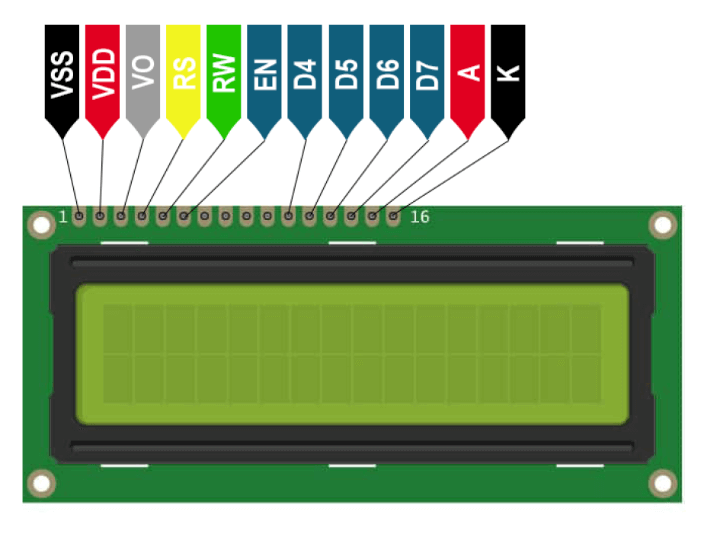
16×2 LCD Display Pinout
There are 16 pins, of which we use 12 for basic connection, already including the power connections (pins 1 and 2), backlight (pins 15 and 16), and brightness (pin 3).
- VSS: Ground (0V)
- VDD: Power supply (+5V)
- V0: Contrast adjustment
- RS: Register Select
- RW: Read/Write
- E: Enable
- D0: Data bit 0 (not used in 4-bit mode)
- D1: Data bit 1 (not used in 4-bit mode)
- D2: Data bit 2 (not used in 4-bit mode)
- D3: Data bit 3 (not used in 4-bit mode)
- D4: Data bit 4
- D5: Data bit 5
- D6: Data bit 6
- D7: Data bit 7
- A: Anode (+) of the backlight LED (if present)
- K: Cathode (-) of the backlight LED (if present)
16×2 LCD Display Specs
- Display size: 16 characters x 2 lines
- Character size: 5×8 pixels
- Liquid Crystal Display
- Backlight: LED
- Backlight colors: Blue, Green, White, Yellow, and others
- Operating voltage: 5V
- Operating temperature: 0°C to 50°C
- Contrast ratio: 5:1
- Power consumption: 1mA (backlight off), 80mA (backlight on)
- Interface: Parallel or Serial
- Character set: ASCII
Application of 16×2 LCD Display
- Consumer electronics
- Industrial control systems
- Robotics
- Health monitoring systems
- Automotive applications
- Home automation systems
- Agriculture
Interfacing 16×2 LCD With Arduino
The 16×2 LCD has 16 pins. We need to connect the LCD pins to the Arduino pins as follows:
- VSS pin of the LCD to the GND of the Arduino
- VDD pin of the LCD to +5V of the Arduino
- V0 pin of the LCD to the center pin of the potentiometer
- Connect the RS pin of the LCD to the digital pin 12 of the Arduino
- Connect the RW pin of the LCD to the GND of the Arduino
- Connect the EN pin of the LCD to digital pin 11 of the Arduino
- Connect the D4 pin of the LCD to digital pin 5 of the Arduino
- Connect the D5 pin of the LCD to digital pin 4 of the Arduino
- Connect the D6 pin of the LCD to digital pin 3 of the Arduino
- Connect the D7 pin of the LCD to digital pin 2 of the Arduino
- Connect the A (anode) pin of the backlight to the +5V of the Arduino
- Connect the K (cathode) pin of the backlight to the GND of the Arduino
Source Code
|
1 2 3 4 5 6 7 8 9 10 11 12 13 14 15 16 17 18 19 20 21 22 23 24 25 26 27 28 29 30 31 32 33 |
#include <LiquidCrystal.h> // Define the pins used to connect to the display LiquidCrystal lcd(12, 11, 5, 4, 3, 2); void setup() { // Set the number of columns and rows of the LCD lcd.begin(16, 2); } void loop() { // Clear the screen lcd.clear(); // Set the cursor position to column 3, row 0 lcd.setCursor(1, 0); // Send the text inside the quotes to the LCD lcd.print("DiY Projects"); lcd.setCursor(6, 1); lcd.print("Lab"); delay(1000); // Scroll to the left for (int position = 0; position < 1; position++) { lcd.scrollDisplayLeft(); delay(300); } // Scroll to the right for (int position = 0; position < 4; position++) { lcd.scrollDisplayRight(); delay(300); } } |


