Introduction
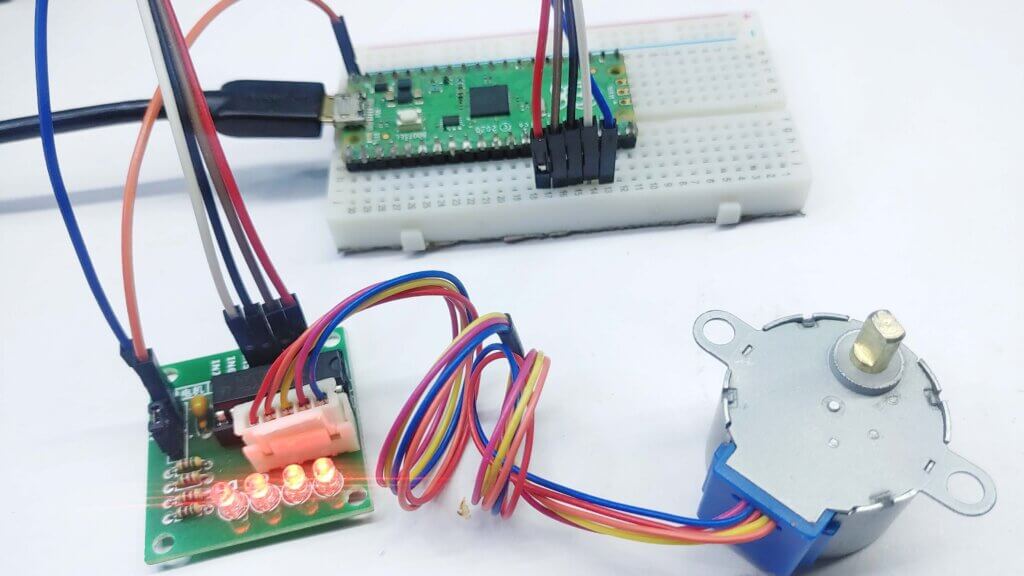
In this guide, you will learn how to control a 28BYJ-48 Stepper Motor With Raspberry Pi Pico board using MicroPython script. this guide will show you how to wire the components together and write a MicroPython script to control the motor.
Required Material
You will need the following materials:
- Raspberry Pi Pico
- 28BYJ-48 stepper motor
- ULN2003 Stepper Motor Driver Board
Raspberry Pi Pico
The Raspberry pi Pico is a microcontroller based on the RP2040 chip and features 2MB of on-chip Flash memory and 264kB of SRAM. It has a castellated board design and can be programmed using the MicroPython programming language. it is used for a wide range of applications, from creating easy electronic projects to creating complex Internet of Things (IoT) Projects. we will use the digital outputs to control the stepper motor.
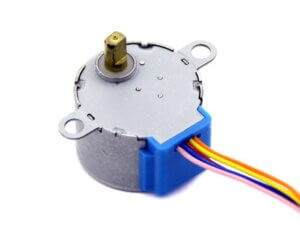
28BYJ-48 Stepper Motor
This stepper motor is a unipolar, four-phase motor with a step angle of 45 degrees. The motor is rated for voltages of 5 volts. The 28BYJ-48 stepper motor is a good choice for many applications. those motors are generally used in devices that require specific positionings, such as 3D printers, CNC, and scanners. Check out for more info – 28BYJ-48 Stepper Motor With Arduino Using ULN2003 Driver
Specifications:-
- Voltage: DC 5V
- Step Angle: 5.625 x 1/64
- Reduction Ratio: 1/64
- Rated voltage: 5VDC
- Number of Phases: 4
- Speed Variation Ratio: 1/64
- Step Angle: 5.625 x 1/64.
- Frequency: 100Hz
- DC resistance : 50Ω±7%(25℃)
- Insulated electricity power :600VAC/1mA/1s
- Rise in Temperature <40K(120Hz
- Noise <35dB(120Hz,No load,10cm)
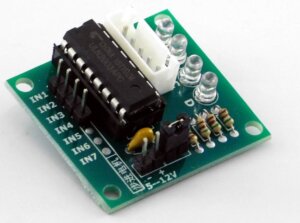
ULN2003 Stepper Motor Driver Board
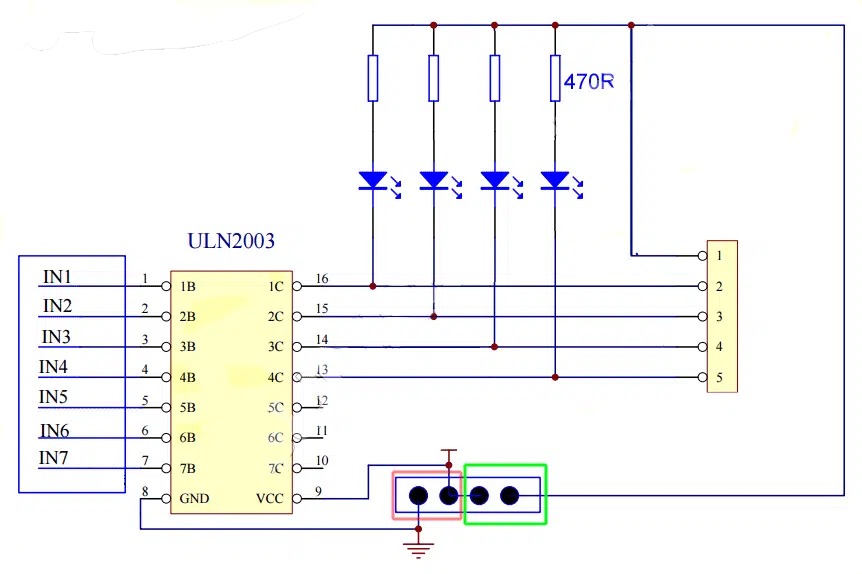
The ULN2003 is a high-voltage, high-current Darlington transistor array. It is designed for use in general-purpose switching and driving applications. ULN2003 stepper motor driver chip is an integrated circuit that is used to control the function of a stepper motor. chip is designed to provide the required power and control signals to a stepper motor in order to deliver exact movements.
The module we are going to use uses only four ULN2003. it has four LEDs that indicate the activation of the outputs (a jumper allows turning off the LEDs)
Features:-
- 4-way signal indicator
- Power pins are separated
- The on-board XH-5P socket can be connected directly 28BYJ-48 Model stepper motor
- Compatible with Arduino Raspberry Pi, PIC, etc.
- A. B. C. D LED indicating the four-phase stepper motor working condition.
- Power pins are separated
- Can be easily controlled by logic devices like Digital Gates, Raspberry Pi, PIC, etc
Specifications
- Rated Voltage: DC 5V
- Number of Pole: 4
- Speed Variation Ratio: 1/64
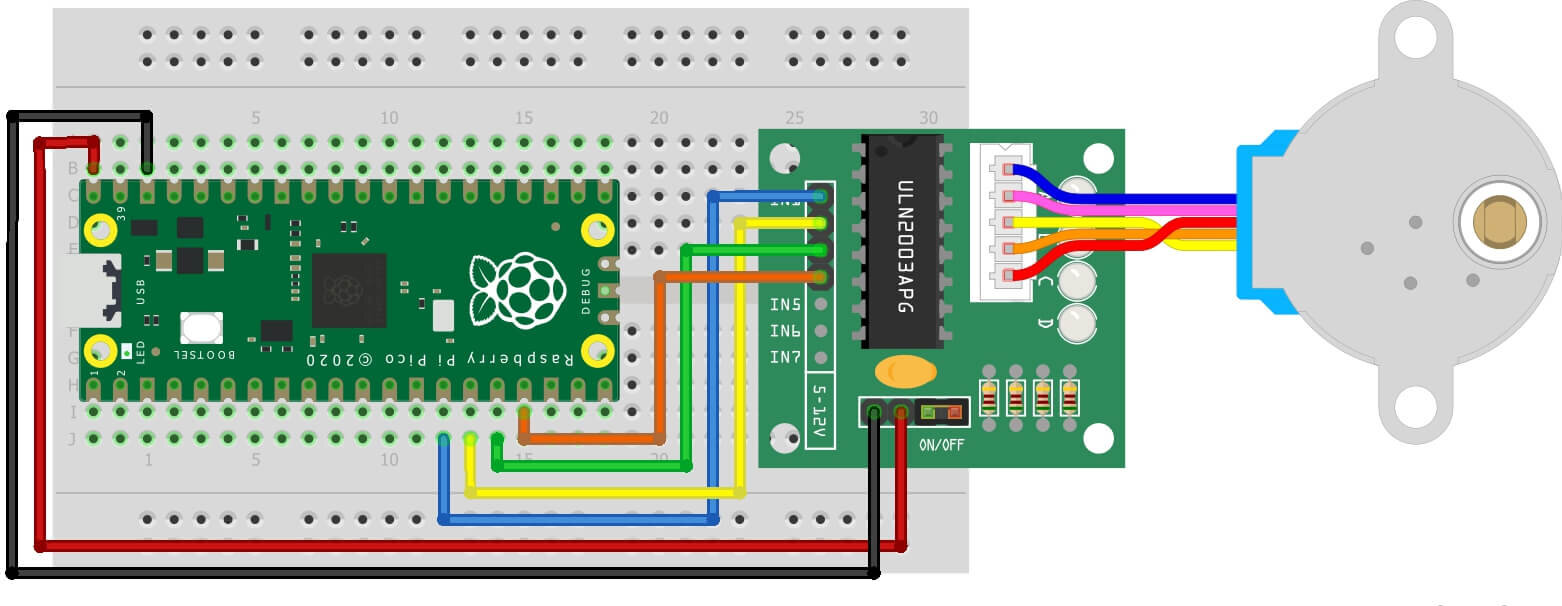
Connect the ULN2003 motor driver to Raspberry Pi Pico.
You can use any other fitting Pico GPIO pins as well.
| Raspberry Pi Pico | Motor Driver |
|---|---|
| GP10 | IN1 |
| GP11 | IN2 |
| GP12 | IN3 |
| GP13 | IN4 |
Note- NEVER use the 5-volt power from your Pico to run the stepper motor. Always use a different power supply to power your stepper motors!
Micropython Code – 28BYJ-48 Stepper Motor with Raspberry Pi Pico
This MicroPython code uses provides a series of values (1 (high state), 0 (low state)) for the stepper motor pins, so that the motor rotates clockwise. Getting Started With Raspberry Pi Pico With Thonny IDE
|
1 2 3 4 5 6 7 8 9 10 11 12 13 14 15 16 17 18 19 20 21 22 23 24 25 26 27 28 29 30 31 32 33 34 35 |
import time from machine import Pin IN1 = Pin(10,Pin.OUT) IN2 = Pin(11,Pin.OUT) IN3 = Pin(12,Pin.OUT) IN4 = Pin(13,Pin.OUT) pins = [IN1, IN2, IN3, IN4] steps = [ [IN1], [IN1, IN2], [IN2], [IN2, IN3], [IN3], [IN3, IN4], [IN4], [IN4, IN1], ] current_step = 0 def set_pins_low(pins): [pin.low() for pin in pins] def set_pins_high(pins): [pin.high() for pin in pins] while True: high_pins = steps[current_step] set_pins_low(pins) set_pins_high(high_pins) current_step += 1 if current_step == len(steps): current_step = 0 time.sleep(0.001) |
Conclusion
The control 28BYJ-48 Stepper Motor With Raspberry Pi Pico can be done by using the micropython script. This is a very simple and easy method to do it. You need to have the right software and hardware.
Raspberry Pi Pico Projects
- 16×2 LCD Display With Raspberry Pi Pico Using Micropython
- PIR Motion Sensor with Raspberry Pi Pico
- Raspberry Pi Pico Home Automation System Using GSM SIM800
- Control PC Volume, and Brightness Using Raspberry Pi Pico & Rotary Encoder
- Interfacing Rotary Encoder With Raspberry Pi Pico Tutorial
- How To Use IR Sensor With Raspberry Pi Pico

