Introduction
In this project, we’ll be making an Arduino energy meter that can be used to measure voltage, current, power, energy capacity, and temperature. This project is perfect for anyone who wants to get started with measuring energy consumption or monitoring power usage. We’ll be using a few different sensors and an Arduino to complete this.
This small Meter is a very useful device that displays relevant information on electrical parameters. The device can measure 6 useful electrical parameters: Voltage, Current, Power, Energy, Capacity, and Temperature. This device is suitable for DC loads such as Solar PV systems. You can also use this meter to measure battery capacity.
Note- The meter can measure up to a voltage range of 0-26V and a maximum current of 3.2A.
Required Components
- Arduino Nano ( Amazon )
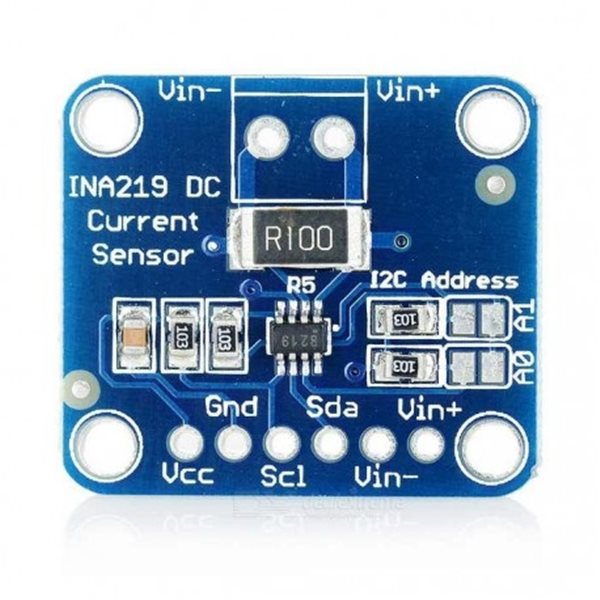
- INA219 DC Current Sensor( Amazon )
- 0.96″ OLED ( Amazon )
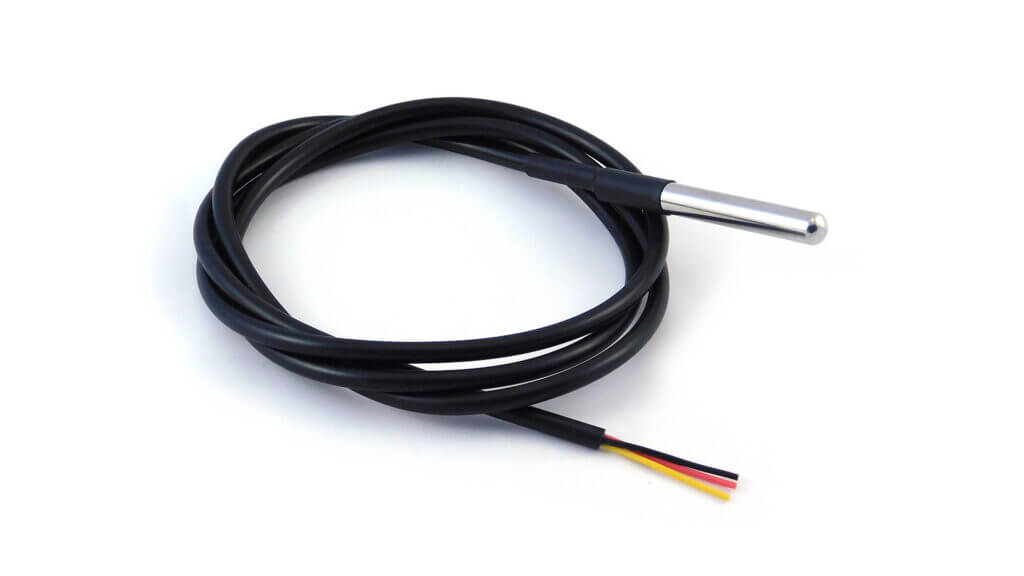
- DS18B20 ( Amazon )
- Lipo Battery ( Amazon )
- Breadboard ( Amazon )
- Jumper wires ( Amazon )
- 4.7K Resistor ( Amazon )
The Arduino Energy Meter uses an Arduino Nano as the main controller. It measures current and voltage using the INA219 current sensor and temperature using the DS18B20 temperature sensor. With this information, the Arduino calculates power and energy consumption.
INA219 DC Current Sensor
The INA219 is a DC current sensor that is commonly used in electronic projects to measure and monitor current flow. It is a high-precision sensor capable of measuring current up to 3.2A with a resolution of 0.1mA.
it operates using the principle of a shunt resistor, where a small shunt resistor is placed in series with the load, and the voltage across this resistor is measured to determine the current flowing through it. it uses the I2C communication protocol, allowing for easy integration with other I2C devices. How to use DC INA219 Current Sensor with Arduino
Specifications
- Current Sense Resistor: 0.1 ohms, 1% tolerance, 2W power rating
- Target Voltage Range: Up to +26V
- Current Measurement: Up to ±3.2A with ±0.8mA resolution
- PCB Size: 0.9″ x 0.8″
- Bus Voltage Sensing: 0V to 26V range
- Interface: I2C
- Data Reporting: Current, Voltage, and Power
- Programmable Addresses: 16 programmable addresses
- Filtering Options: Available
- Calibration Registers: Included
DS18B20 1-Wire Digital Temperature Sensor
The DS18B20 is a temperature sensor that takes accurate measurements using a digital interface. It uses a communication protocol called “1-Wire,” so multiple devices can be connected using a data line dedicated to each.
The sensor can measure temperatures in a wide range, from very cold to very hot. It provides a digital output of the temperature reading, making it easy to connect to microcontrollers. Interfacing Temperature Sensor DS18B20 with Arduino
Specifications
- Temperature: -55 to 125°C (-67°F to +257°F)
- Selectable Resolution: 9 to 12 bits
- 1-Wire Interface:
- Unique ID: Each sensor has a unique ID
- Multiple Sensor Support:
- High Accuracy: ±0.5°C
- Works with 3.0V to 5.5V power/data
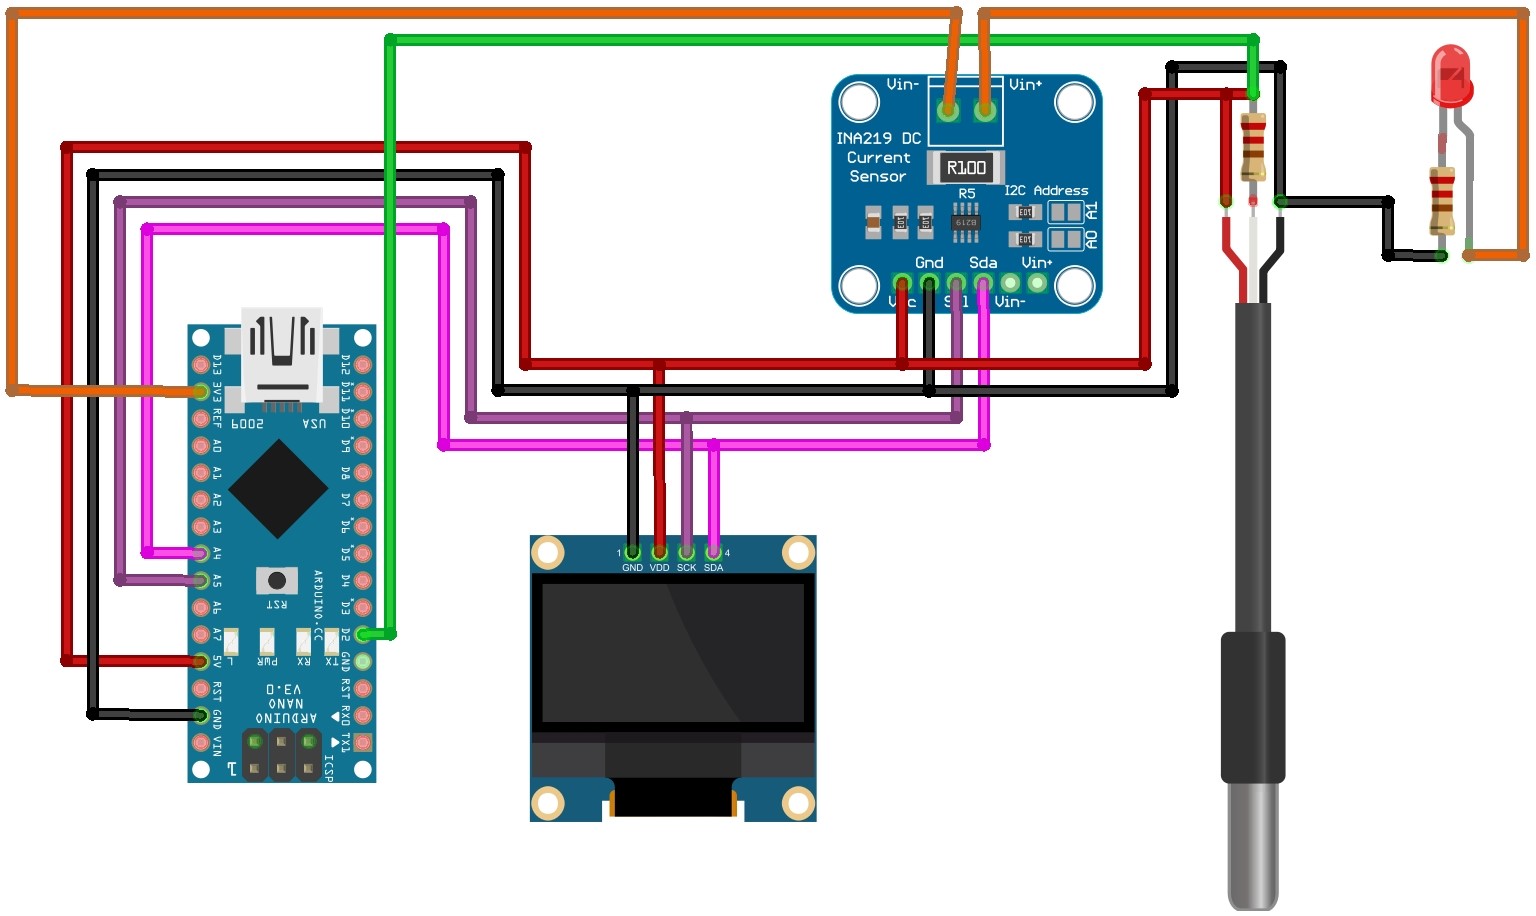
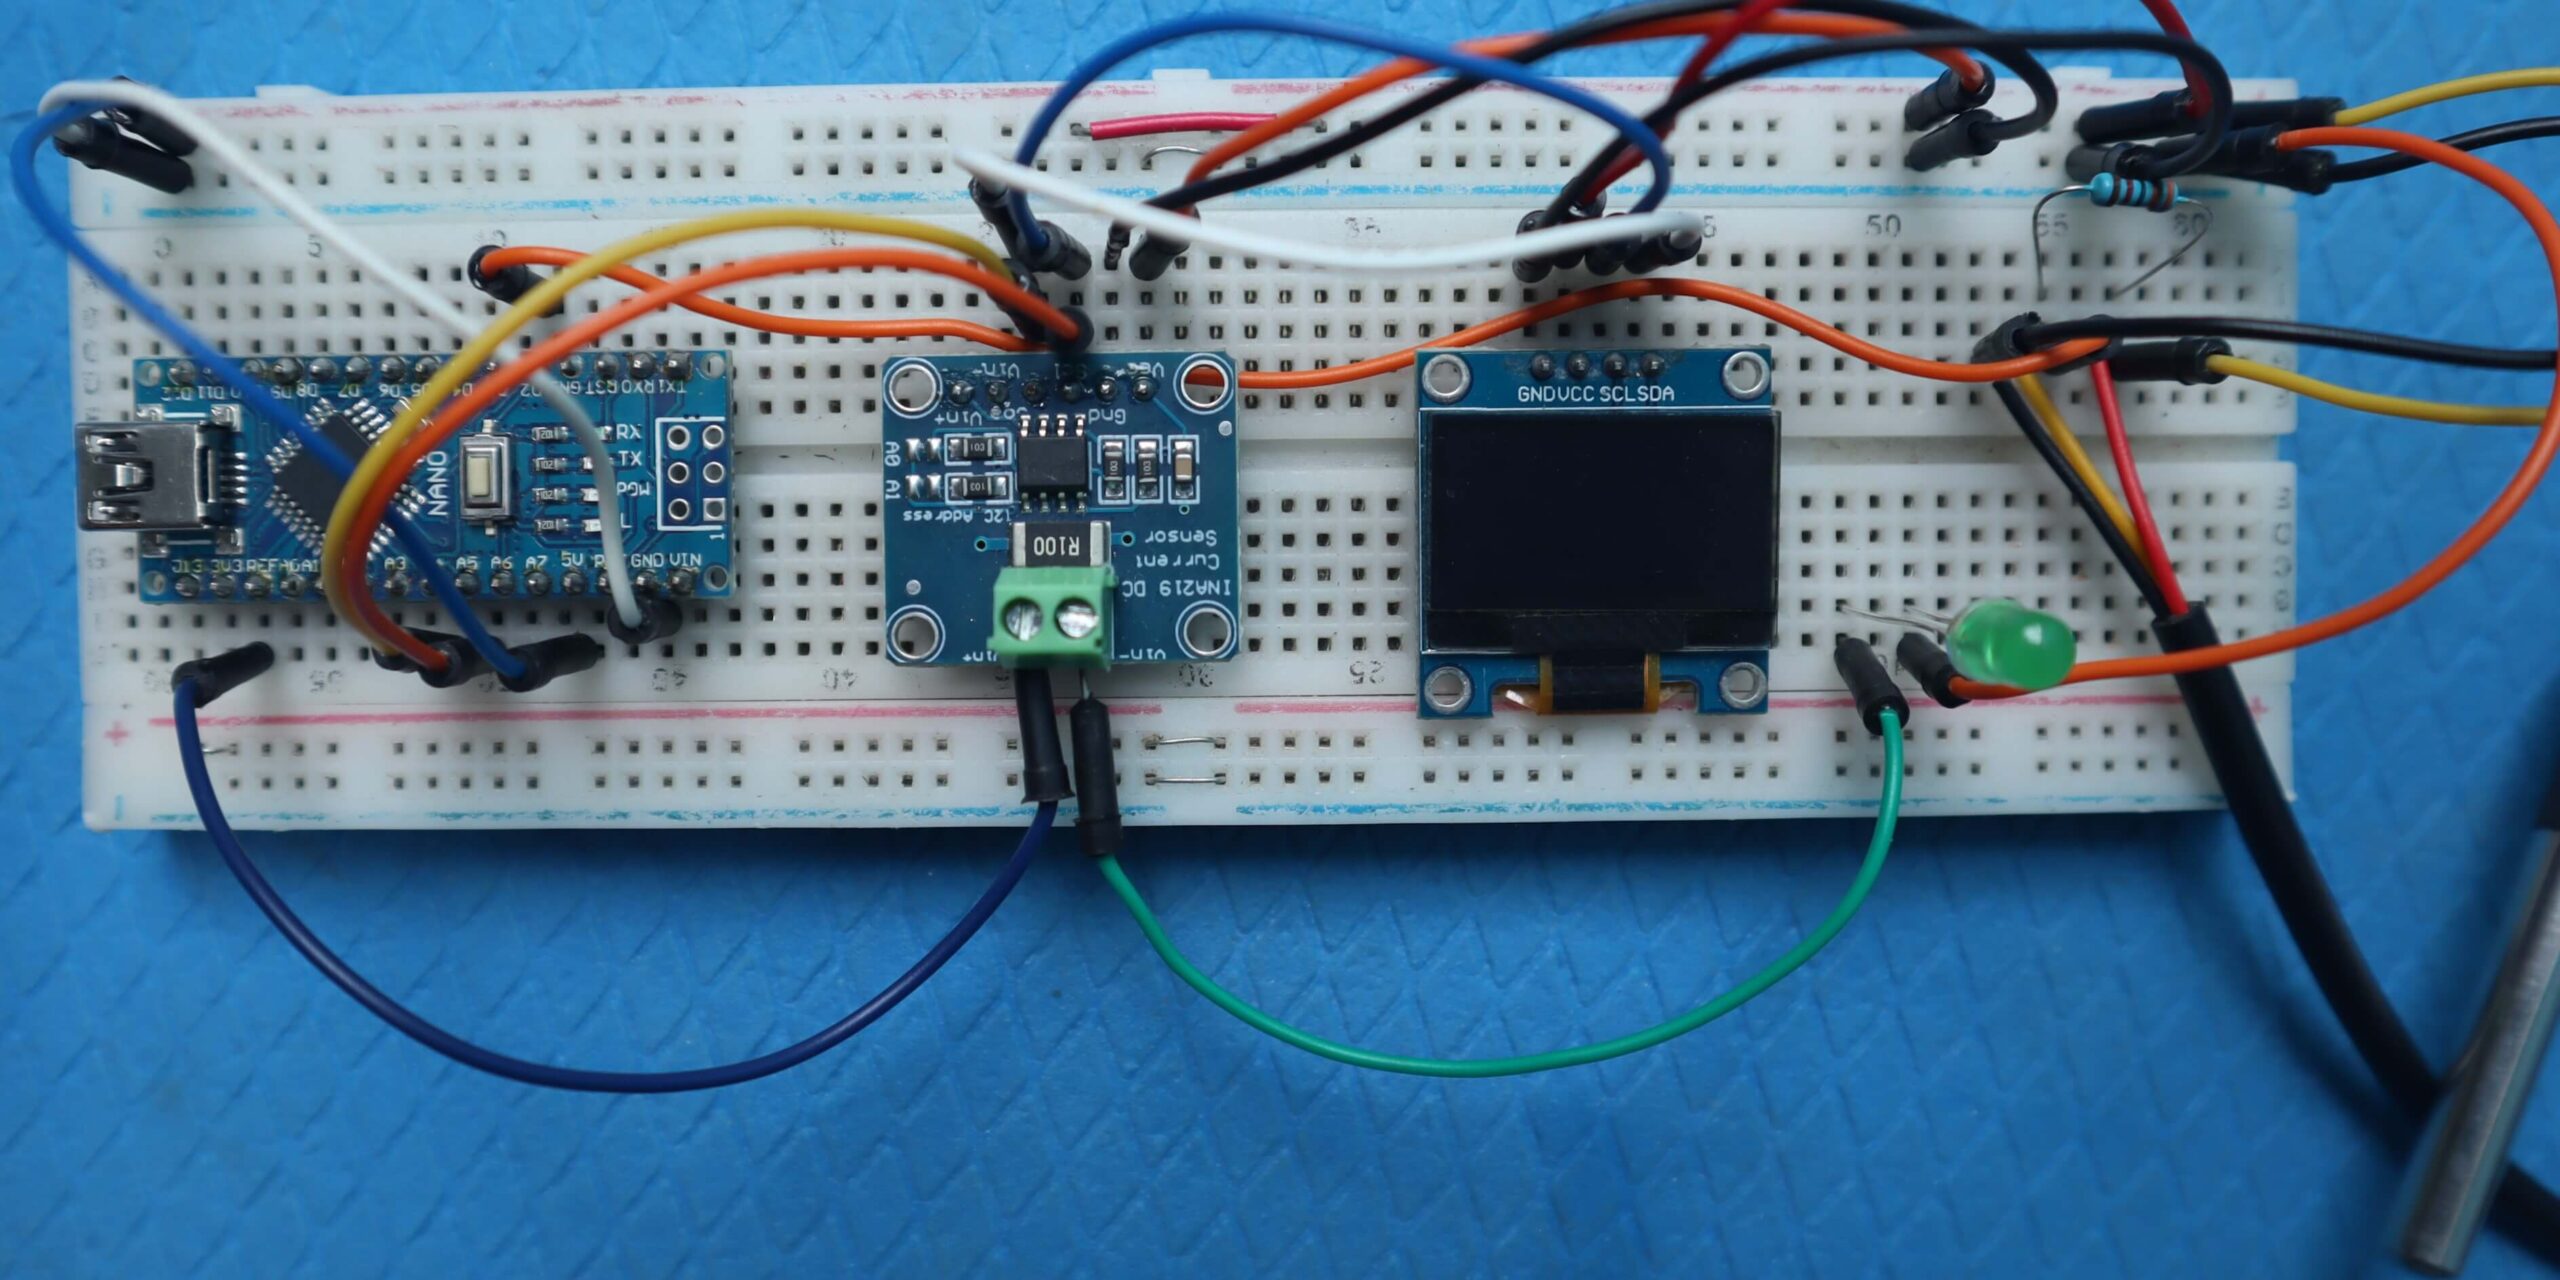
Circuit Diagram & Connections
The connections are simply straightforward.
INA219 / OLED -> Arduino
- VCC -> VCC
- GND – > GND
- SDA -> A4
- SCL-> A5
DS18B20 -> Arduino
- GND -> GND
- DQ -> D2 through a 4.7K pull-up resistor
- VCC -> VCC
Source Code & Libriries
- Install the required libraries:
- Upload the below code to your Arduino board.
Source Code Program of Arduino Energy Meter using INA219 Current Sensor
|
1 2 3 4 5 6 7 8 9 10 11 12 13 14 15 16 17 18 19 20 21 22 23 24 25 26 27 28 29 30 31 32 33 34 35 36 37 38 39 40 41 42 43 44 45 46 47 48 49 50 51 52 53 54 55 56 57 58 59 60 61 62 63 64 65 66 67 68 69 70 71 72 73 74 75 76 77 78 79 80 81 82 83 84 85 86 87 88 89 90 91 92 93 94 95 96 97 98 99 100 101 102 103 104 105 106 107 108 109 110 111 112 113 114 115 116 117 118 119 120 121 122 123 124 |
#include <Wire.h> #include <Adafruit_INA219.h> #include <Adafruit_SSD1306.h> #include <OneWire.h> #include <DallasTemperature.h> Adafruit_INA219 ina219; #define OLED_RESET 4 Adafruit_SSD1306 display(OLED_RESET); #define ONE_WIRE_BUS 2 OneWire oneWire(ONE_WIRE_BUS); DallasTemperature sensors(&oneWire); float shuntvoltage = 0; float busvoltage = 0; float loadvoltage = 0; float current_mA = 0; float power_mW = 0; unsigned long previousMillis = 0; unsigned long interval = 100; float energy = 0; float capacity = 0; float temp = 0; void setup() { Serial.begin(9600); // Initialize serial communication ina219.begin(); sensors.begin(); display.begin(SSD1306_SWITCHCAPVCC, 0x3C); display.clearDisplay(); display.setTextColor(WHITE); display.setTextSize(1); display.display(); } void loop() { unsigned long currentMillis = millis(); if (currentMillis - previousMillis >= interval) { previousMillis = currentMillis; read_sensor_data(); display_data(); } } void read_sensor_data() { shuntvoltage = ina219.getShuntVoltage_mV(); busvoltage = ina219.getBusVoltage_V(); current_mA = ina219.getCurrent_mA(); if (current_mA < 0) { current_mA = 0; } sensors.requestTemperatures(); loadvoltage = busvoltage + (shuntvoltage / 1000); power_mW = loadvoltage * current_mA; capacity = current_mA / 3600; energy = energy + loadvoltage * current_mA / 3600; // Print values to the Serial Monitor Serial.print("Bus Voltage: "); Serial.print(busvoltage); Serial.print(" V"); Serial.println(); Serial.print("Current: "); Serial.print(current_mA); Serial.print(" mA"); Serial.println(); Serial.print("Power: "); Serial.print(power_mW); Serial.print(" mW"); Serial.println( ); Serial.print("Energy: "); Serial.print(energy); Serial.print(" mWh"); Serial.println( ); Serial.print("Capacity: "); Serial.print(capacity); Serial.print(" mAh"); Serial.println( ); Serial.print("Temperature: "); Serial.print(sensors.getTempCByIndex(0)); Serial.print(" C"); Serial.println( ); // Add a delay for better readability in the Serial Monitor delay(100); } void display_data() { display.clearDisplay(); display.setCursor(0, 0); display.print(busvoltage, 1); // Display voltage with one decimal place display.print(" V"); display.setCursor(0, 10); display.print(current_mA); display.print(" mA"); display.setCursor(0, 20); display.print(power_mW); display.print(" mW"); display.setCursor(65, 0); display.print(energy); display.println(" mWh"); display.setCursor(65, 10); display.print(capacity); display.println(" mAh"); display.setCursor(65, 20); display.print(sensors.getTempCByIndex(0)); display.println(" C"); display.display(); } |
Project Working & Demo
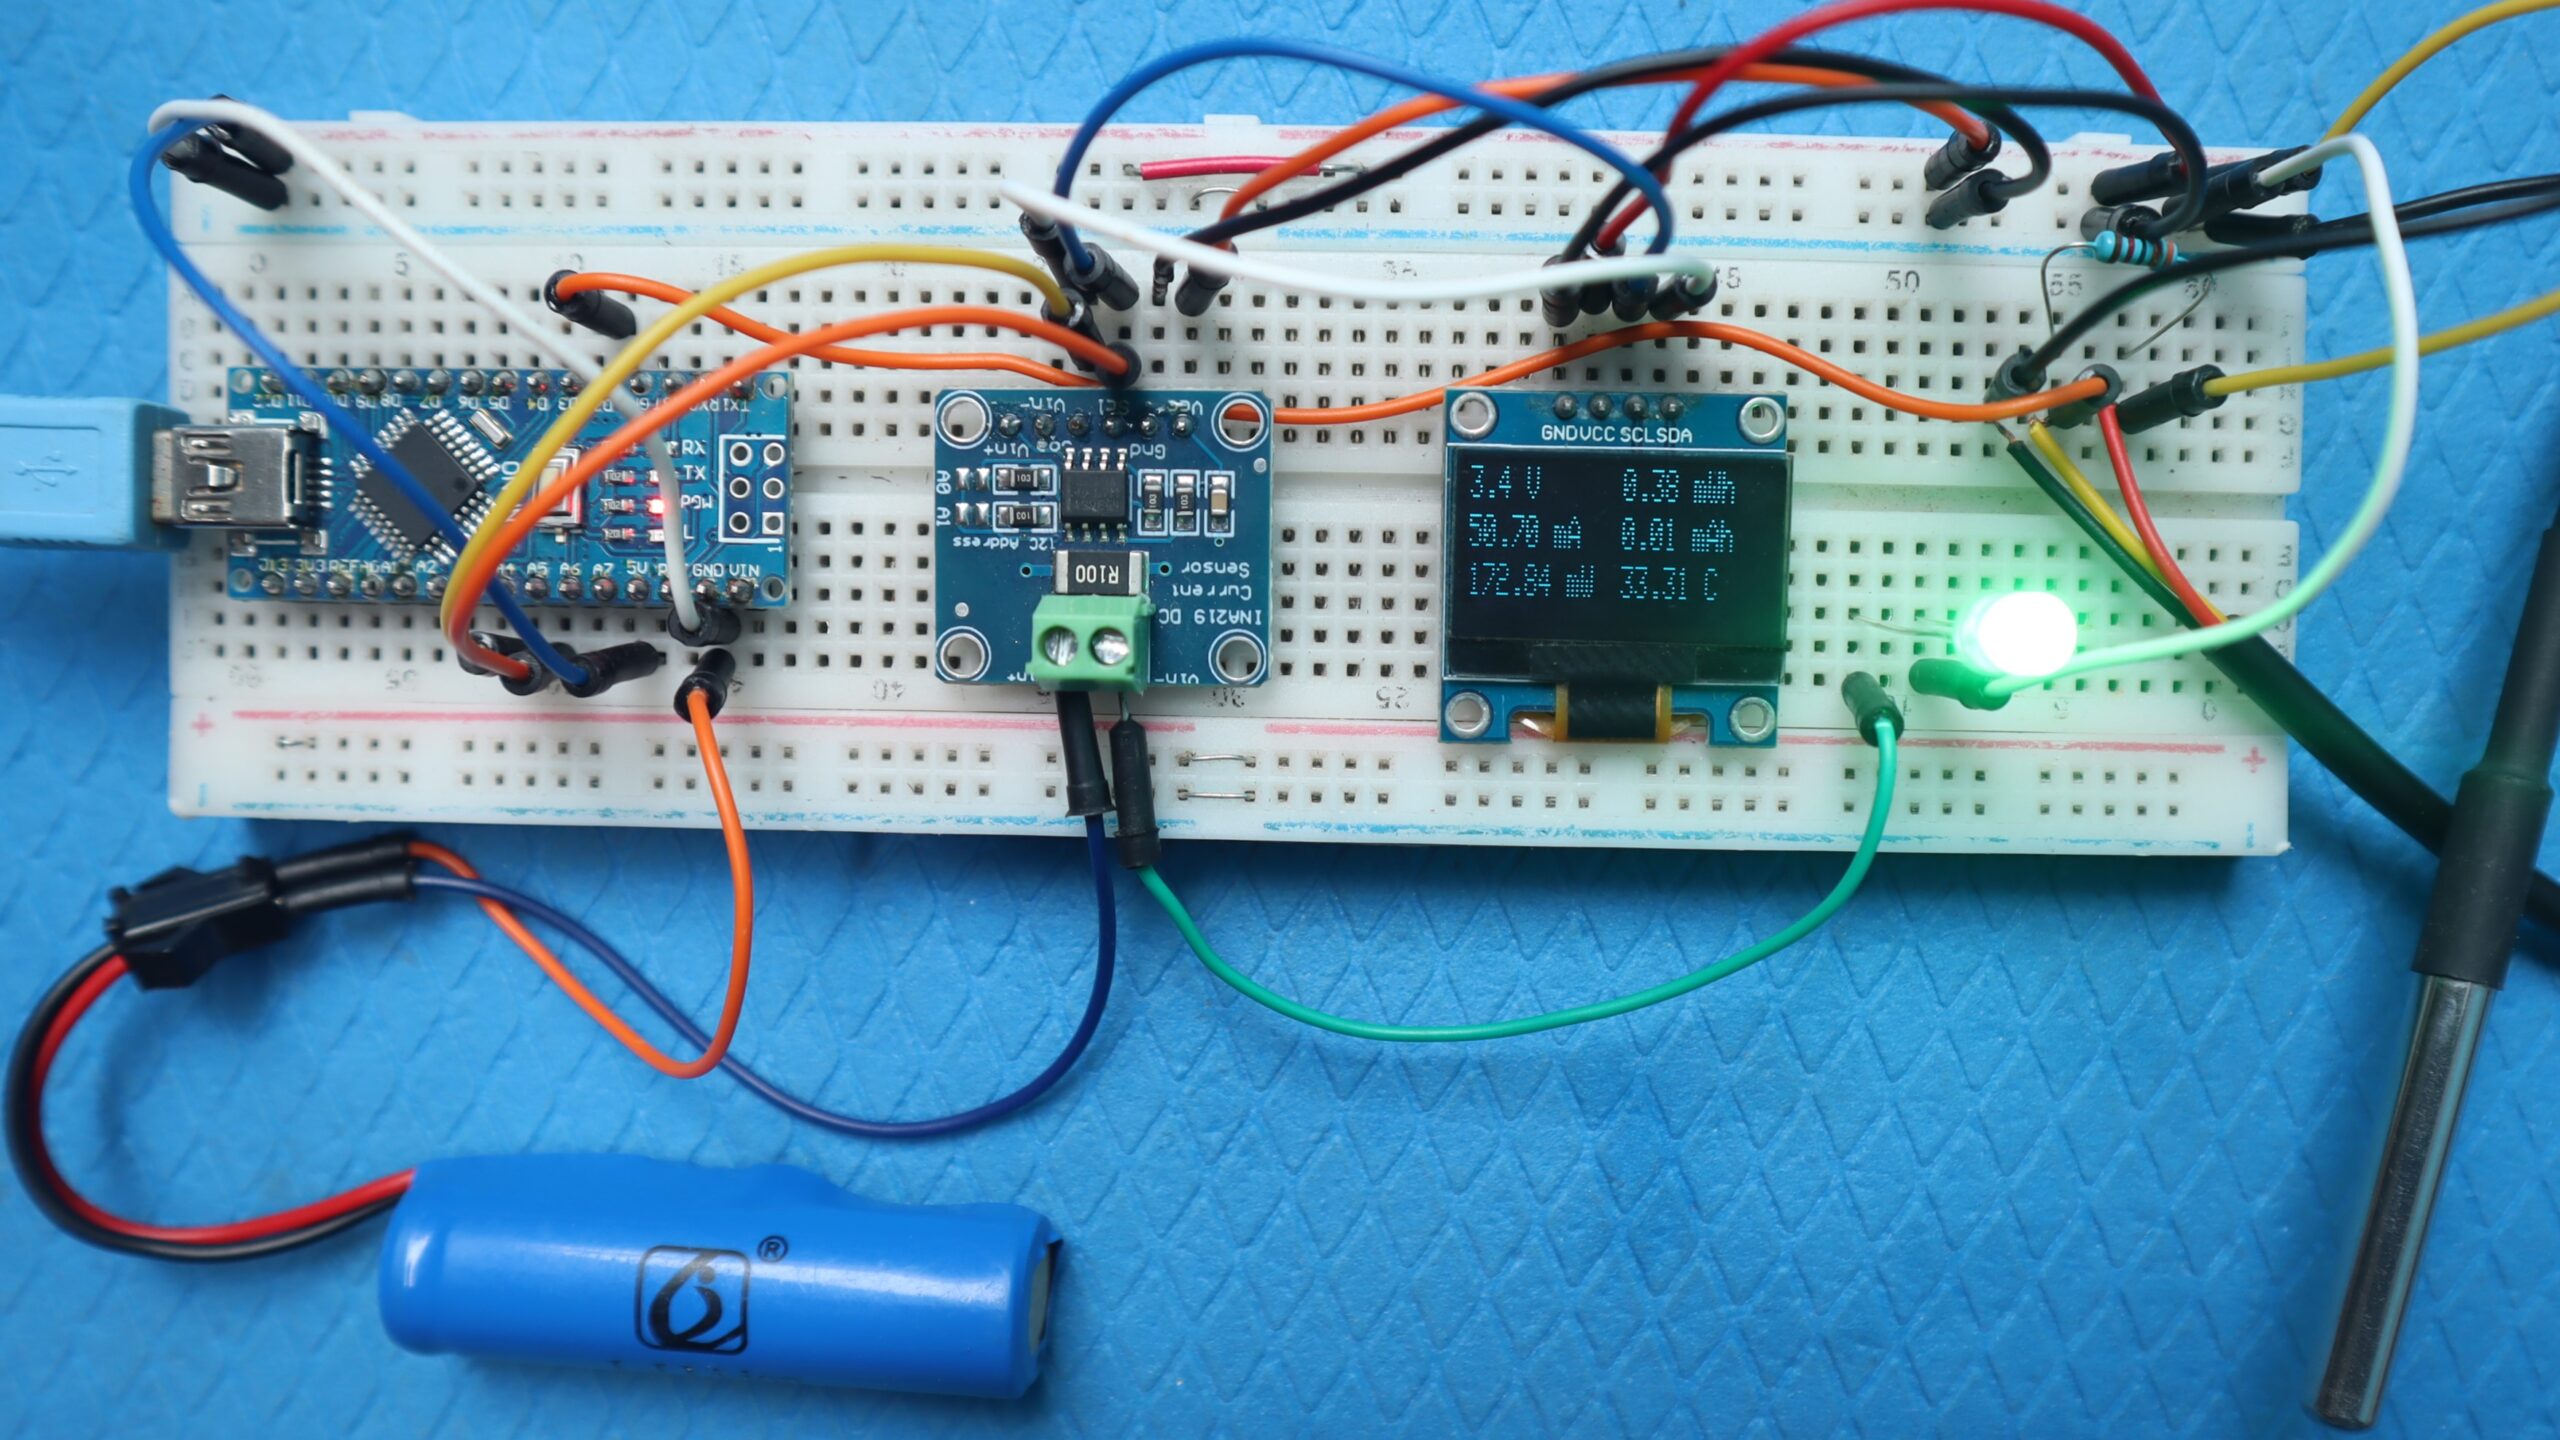
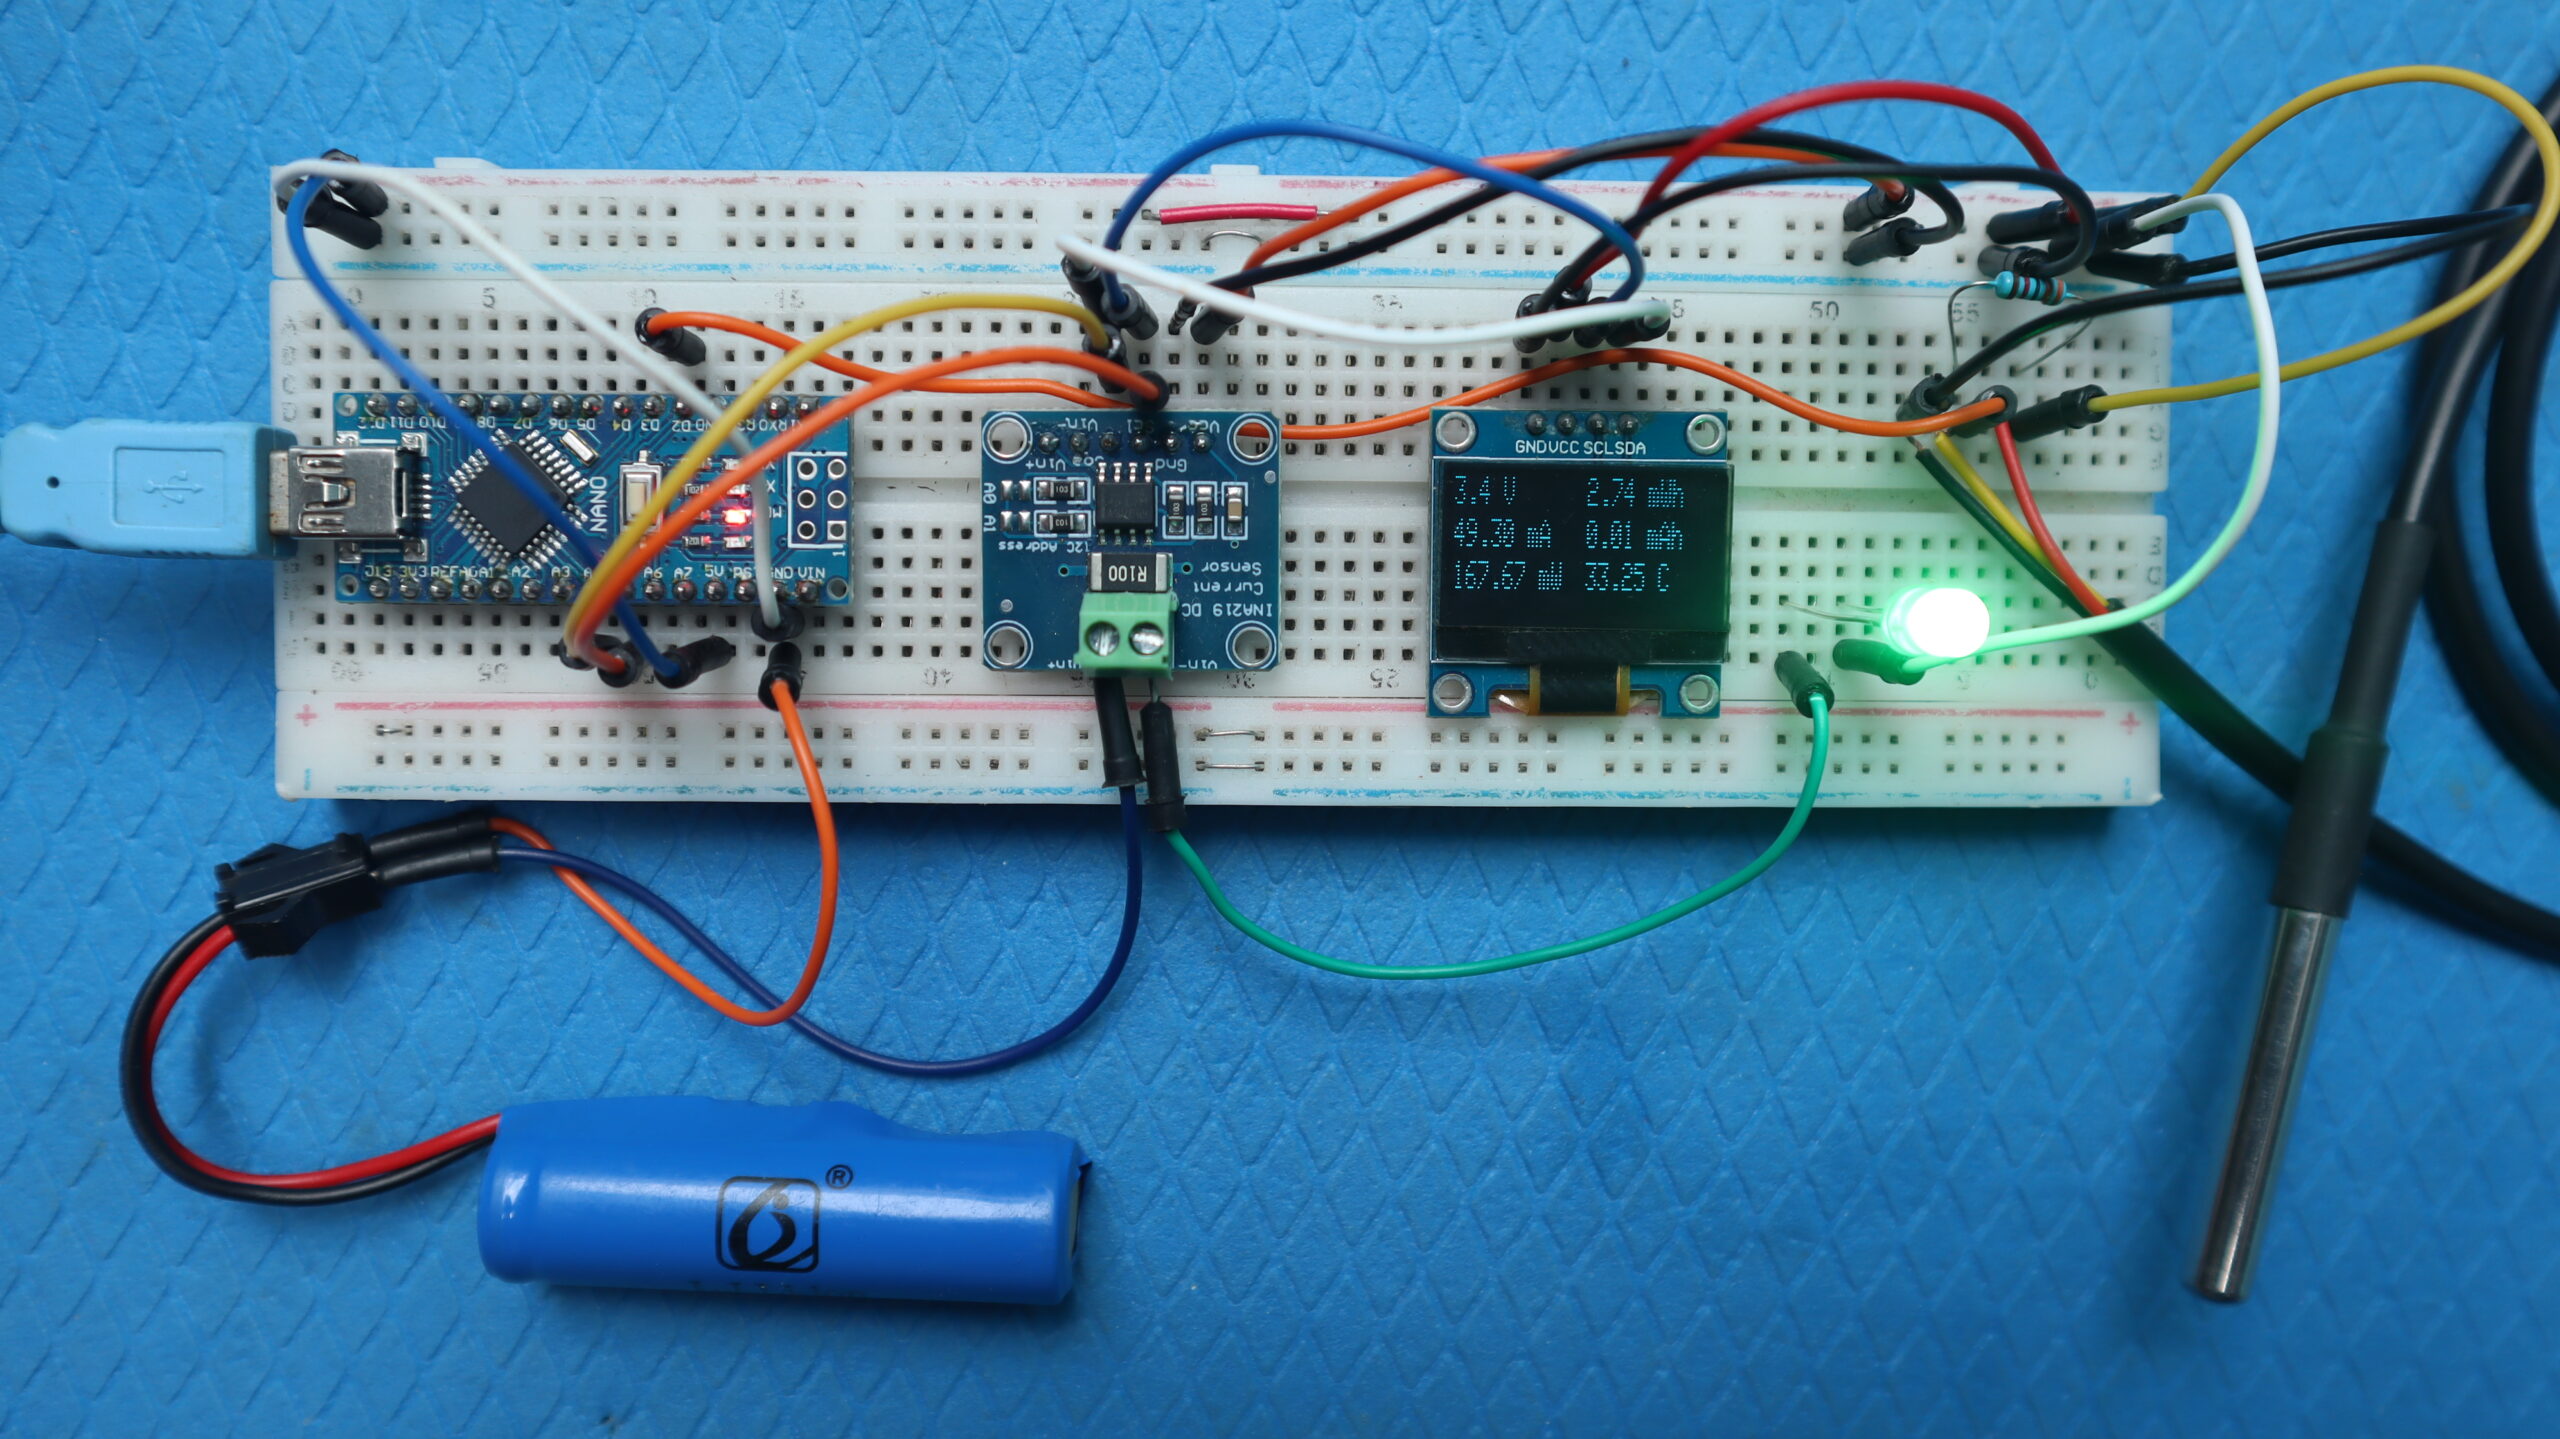
After uploading the code, it’s time to test the Arduino energy meter.
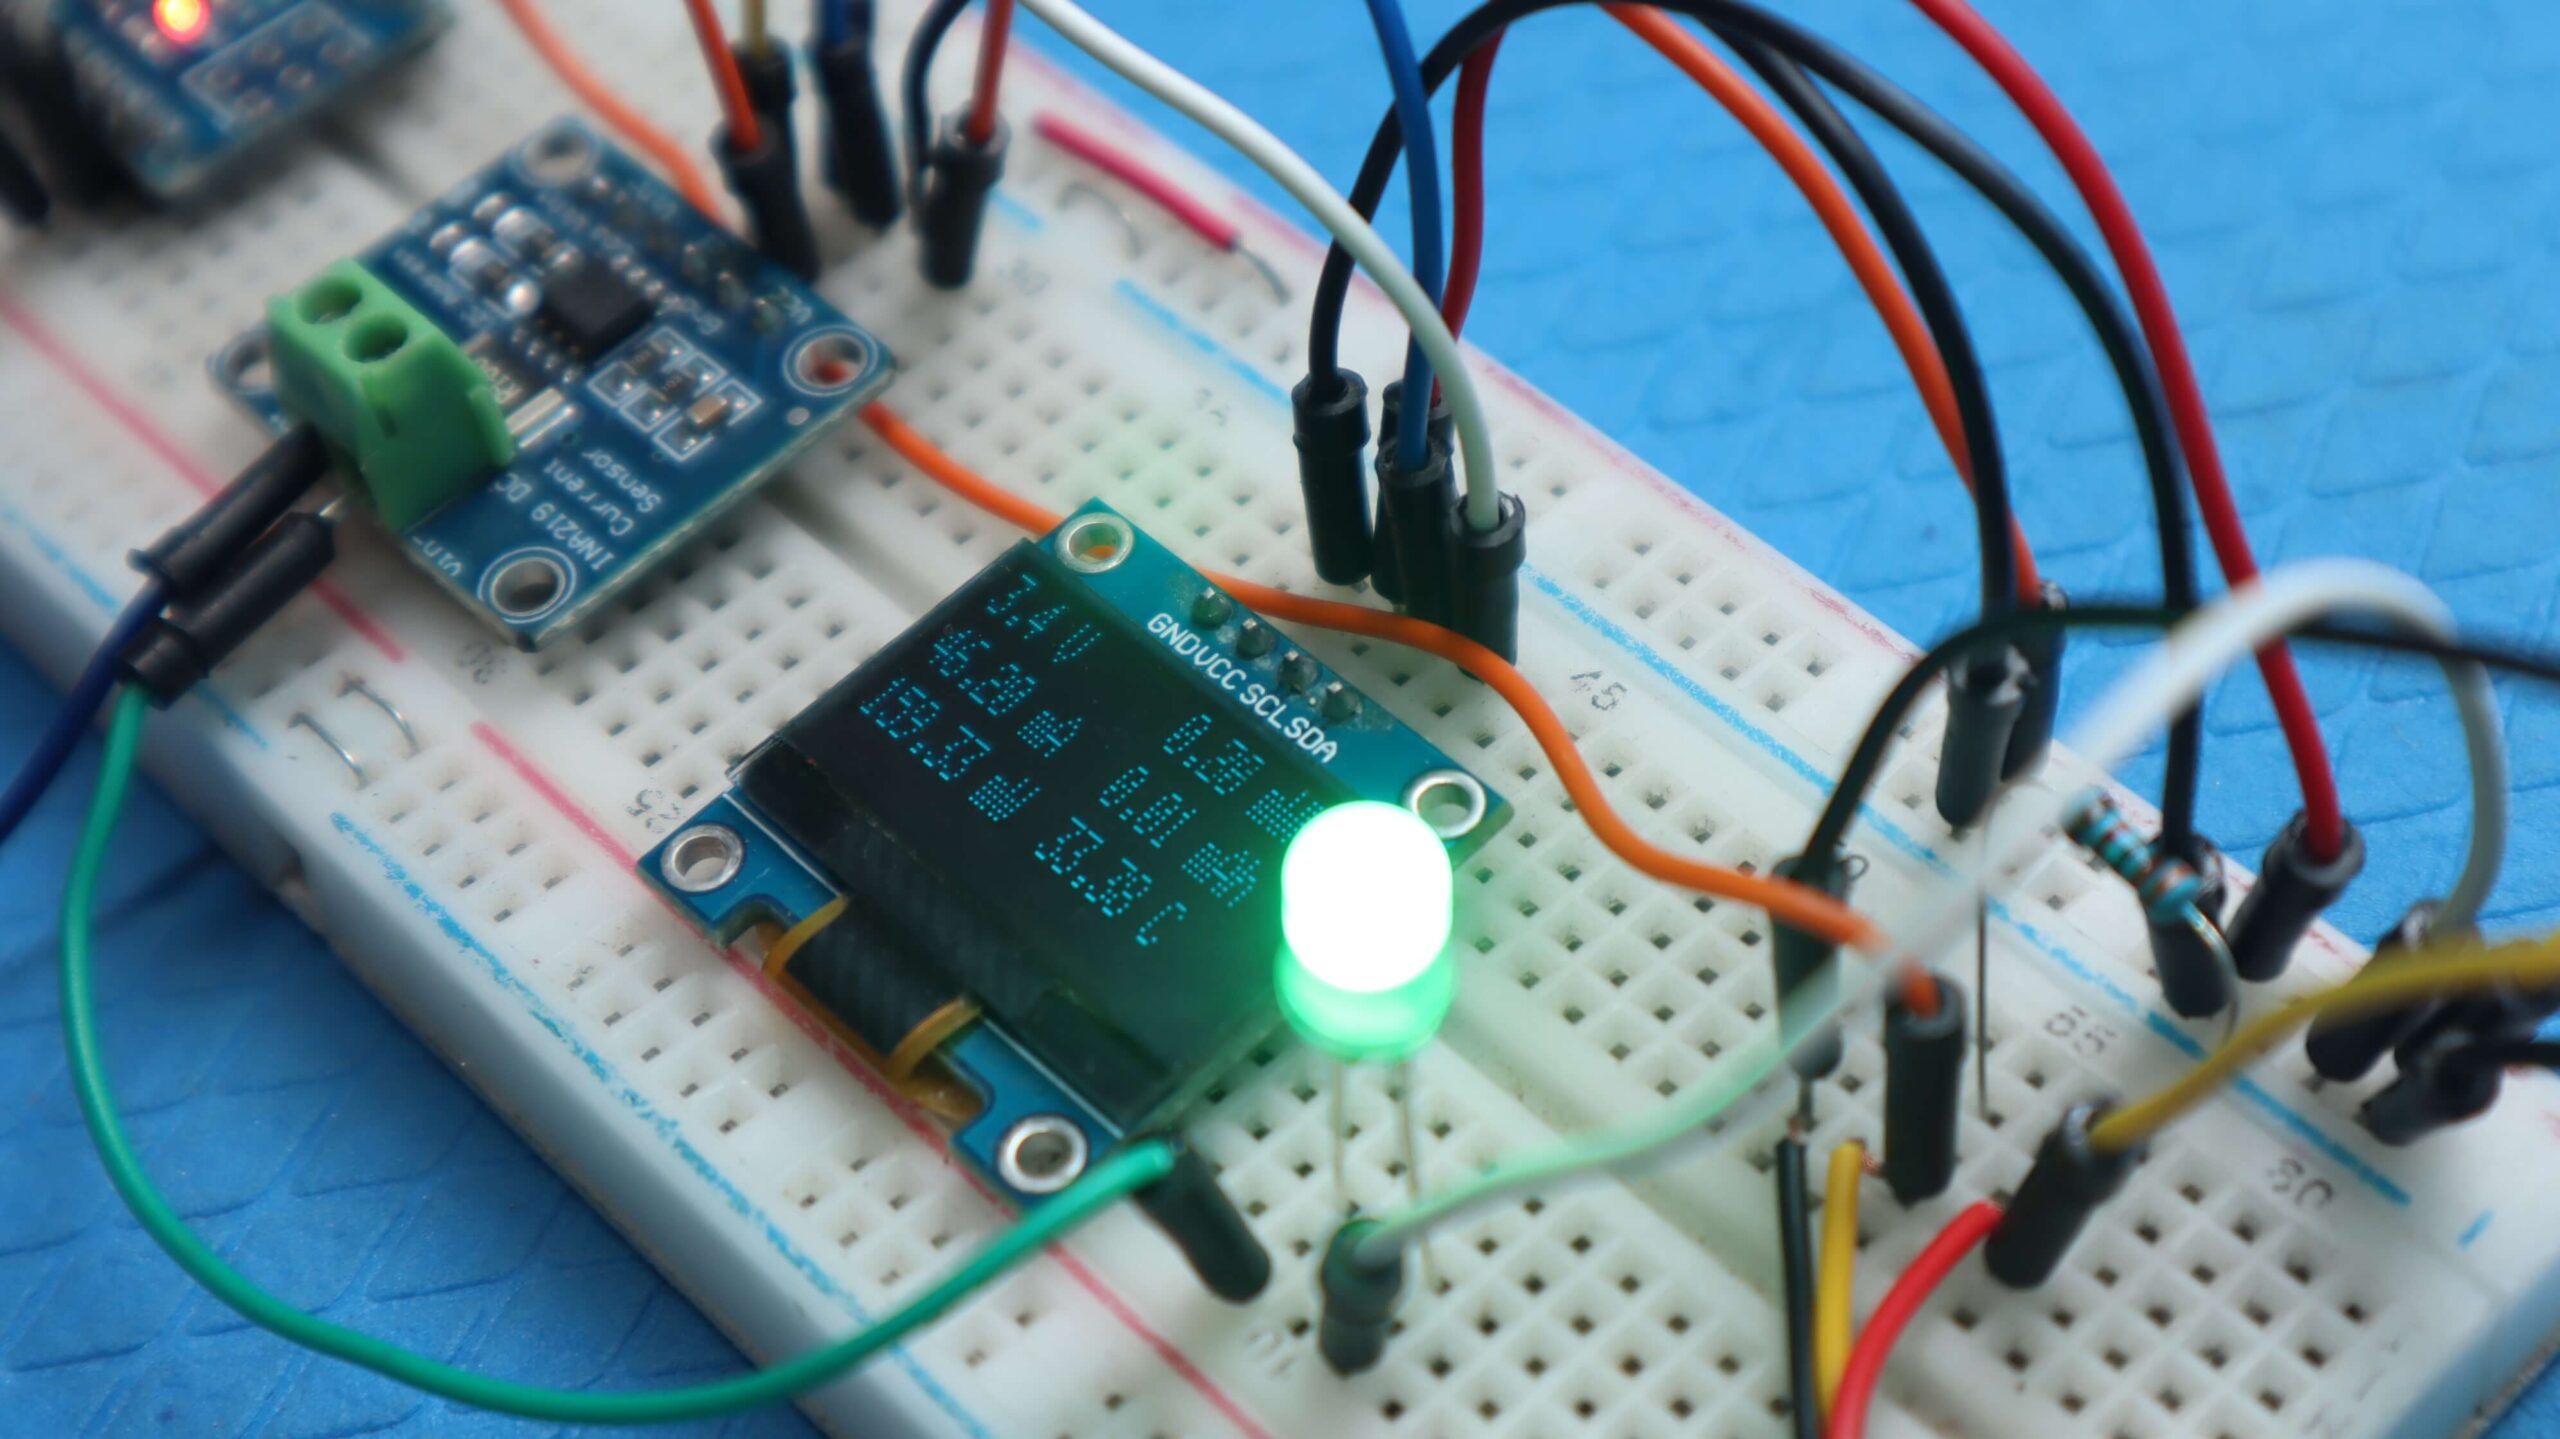
- Connect a 3.3V Supply from Arduino as the power source.
- Connect an LED as the load.
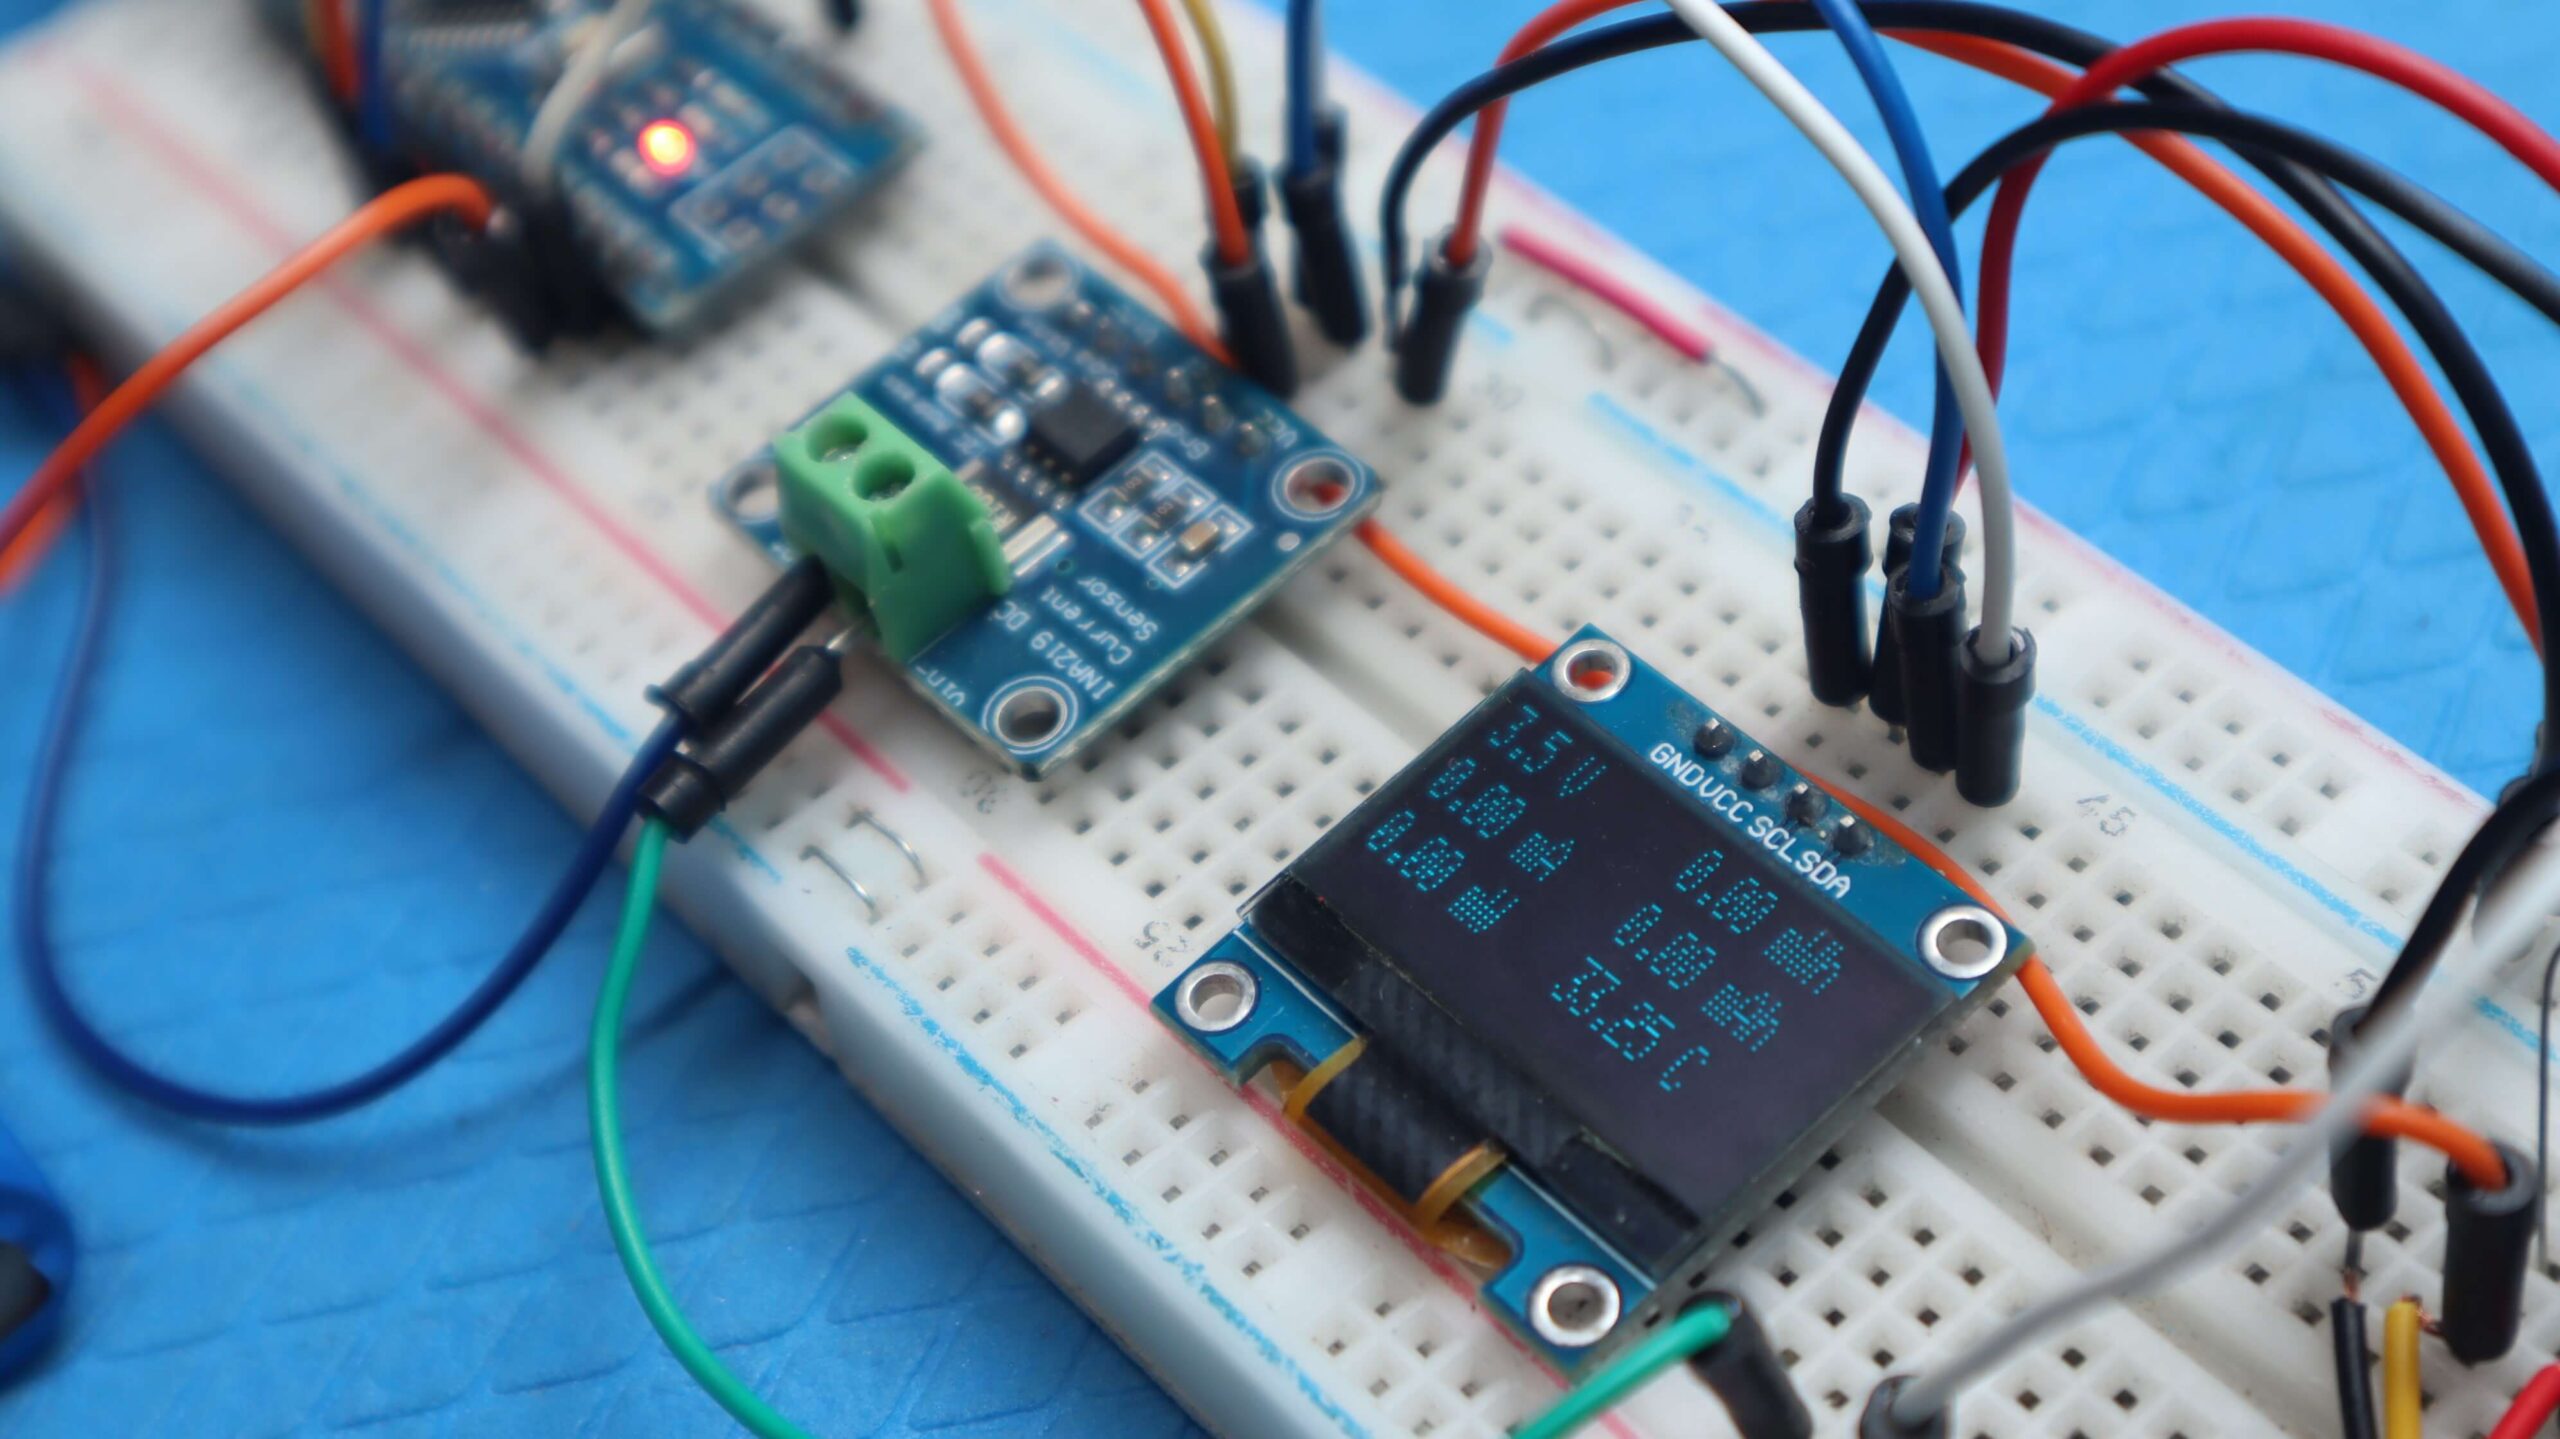
The code displays the following parameters on an OLED screen:
First Column:
- Voltage
- Current
- Power
Second Column:
- Energy
- Capacity
- Temperature
These parameters are shown in real time, providing information about voltage, current, power, energy, capacity, and temperature.

