Introduction
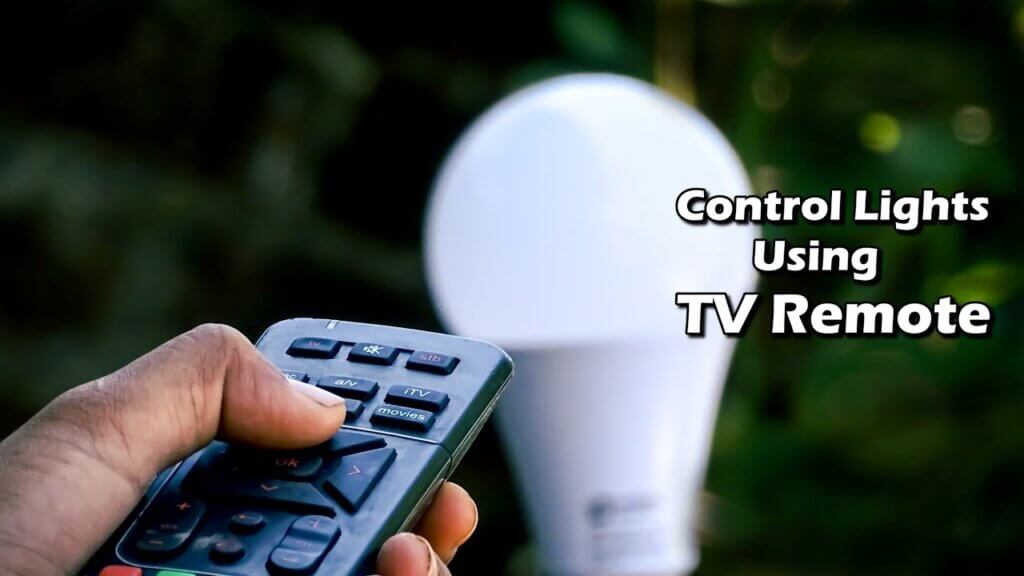
In this project, we will be making an Arduino Home automation system using a TV remote. This system will be able to control various appliances in your home, such as lights, fans, and TVs. You will be able to turn these appliances on or off using the TV remote. This project is perfect for those who want to have a simple and convenient way to control their home appliances. check out GSM Based Home Automation System Using Arduino.
Material Used
Components
- Arduino Nano ————————- https://amzn.to/3PoC5bg
- IR Sensor (TSOP1738) ——————– https://amzn.to/3sCiniz
- 4-Channel Relay module ————– https://amzn.to/3yE1vMd
- IR Remote —————————– https://amzn.to/38xDiwp
- 12v 1A SMPS————————- https://amzn.to/3yHj8e7
Full Video Tutorial:
What is a home automation system?
Home automation systems are designed to automate various tasks in the home. These systems can be used to control lighting, appliances, security systems, and other devices in the home. Home automation systems can be controlled via a mobile app, web browser, or voice control. You can use a home automation system to make your life easier and save energy.
How can a home automation system using a TV remote be beneficial?
A home automation system can be beneficial because it can be used to control a variety of devices in the home, including the TV. be useful In this era of technology, a home automation system using a TV remote can be useful in various ways.
How to set up a home automation system using a TV remote.?
In this guide, we’ll guide you on how to set up an Arduino home automation system using a TV remote. You’ll need a TV remote and an Arduino controller. We’ll assume you have a basic understanding of home automation.
Schematic Diagram
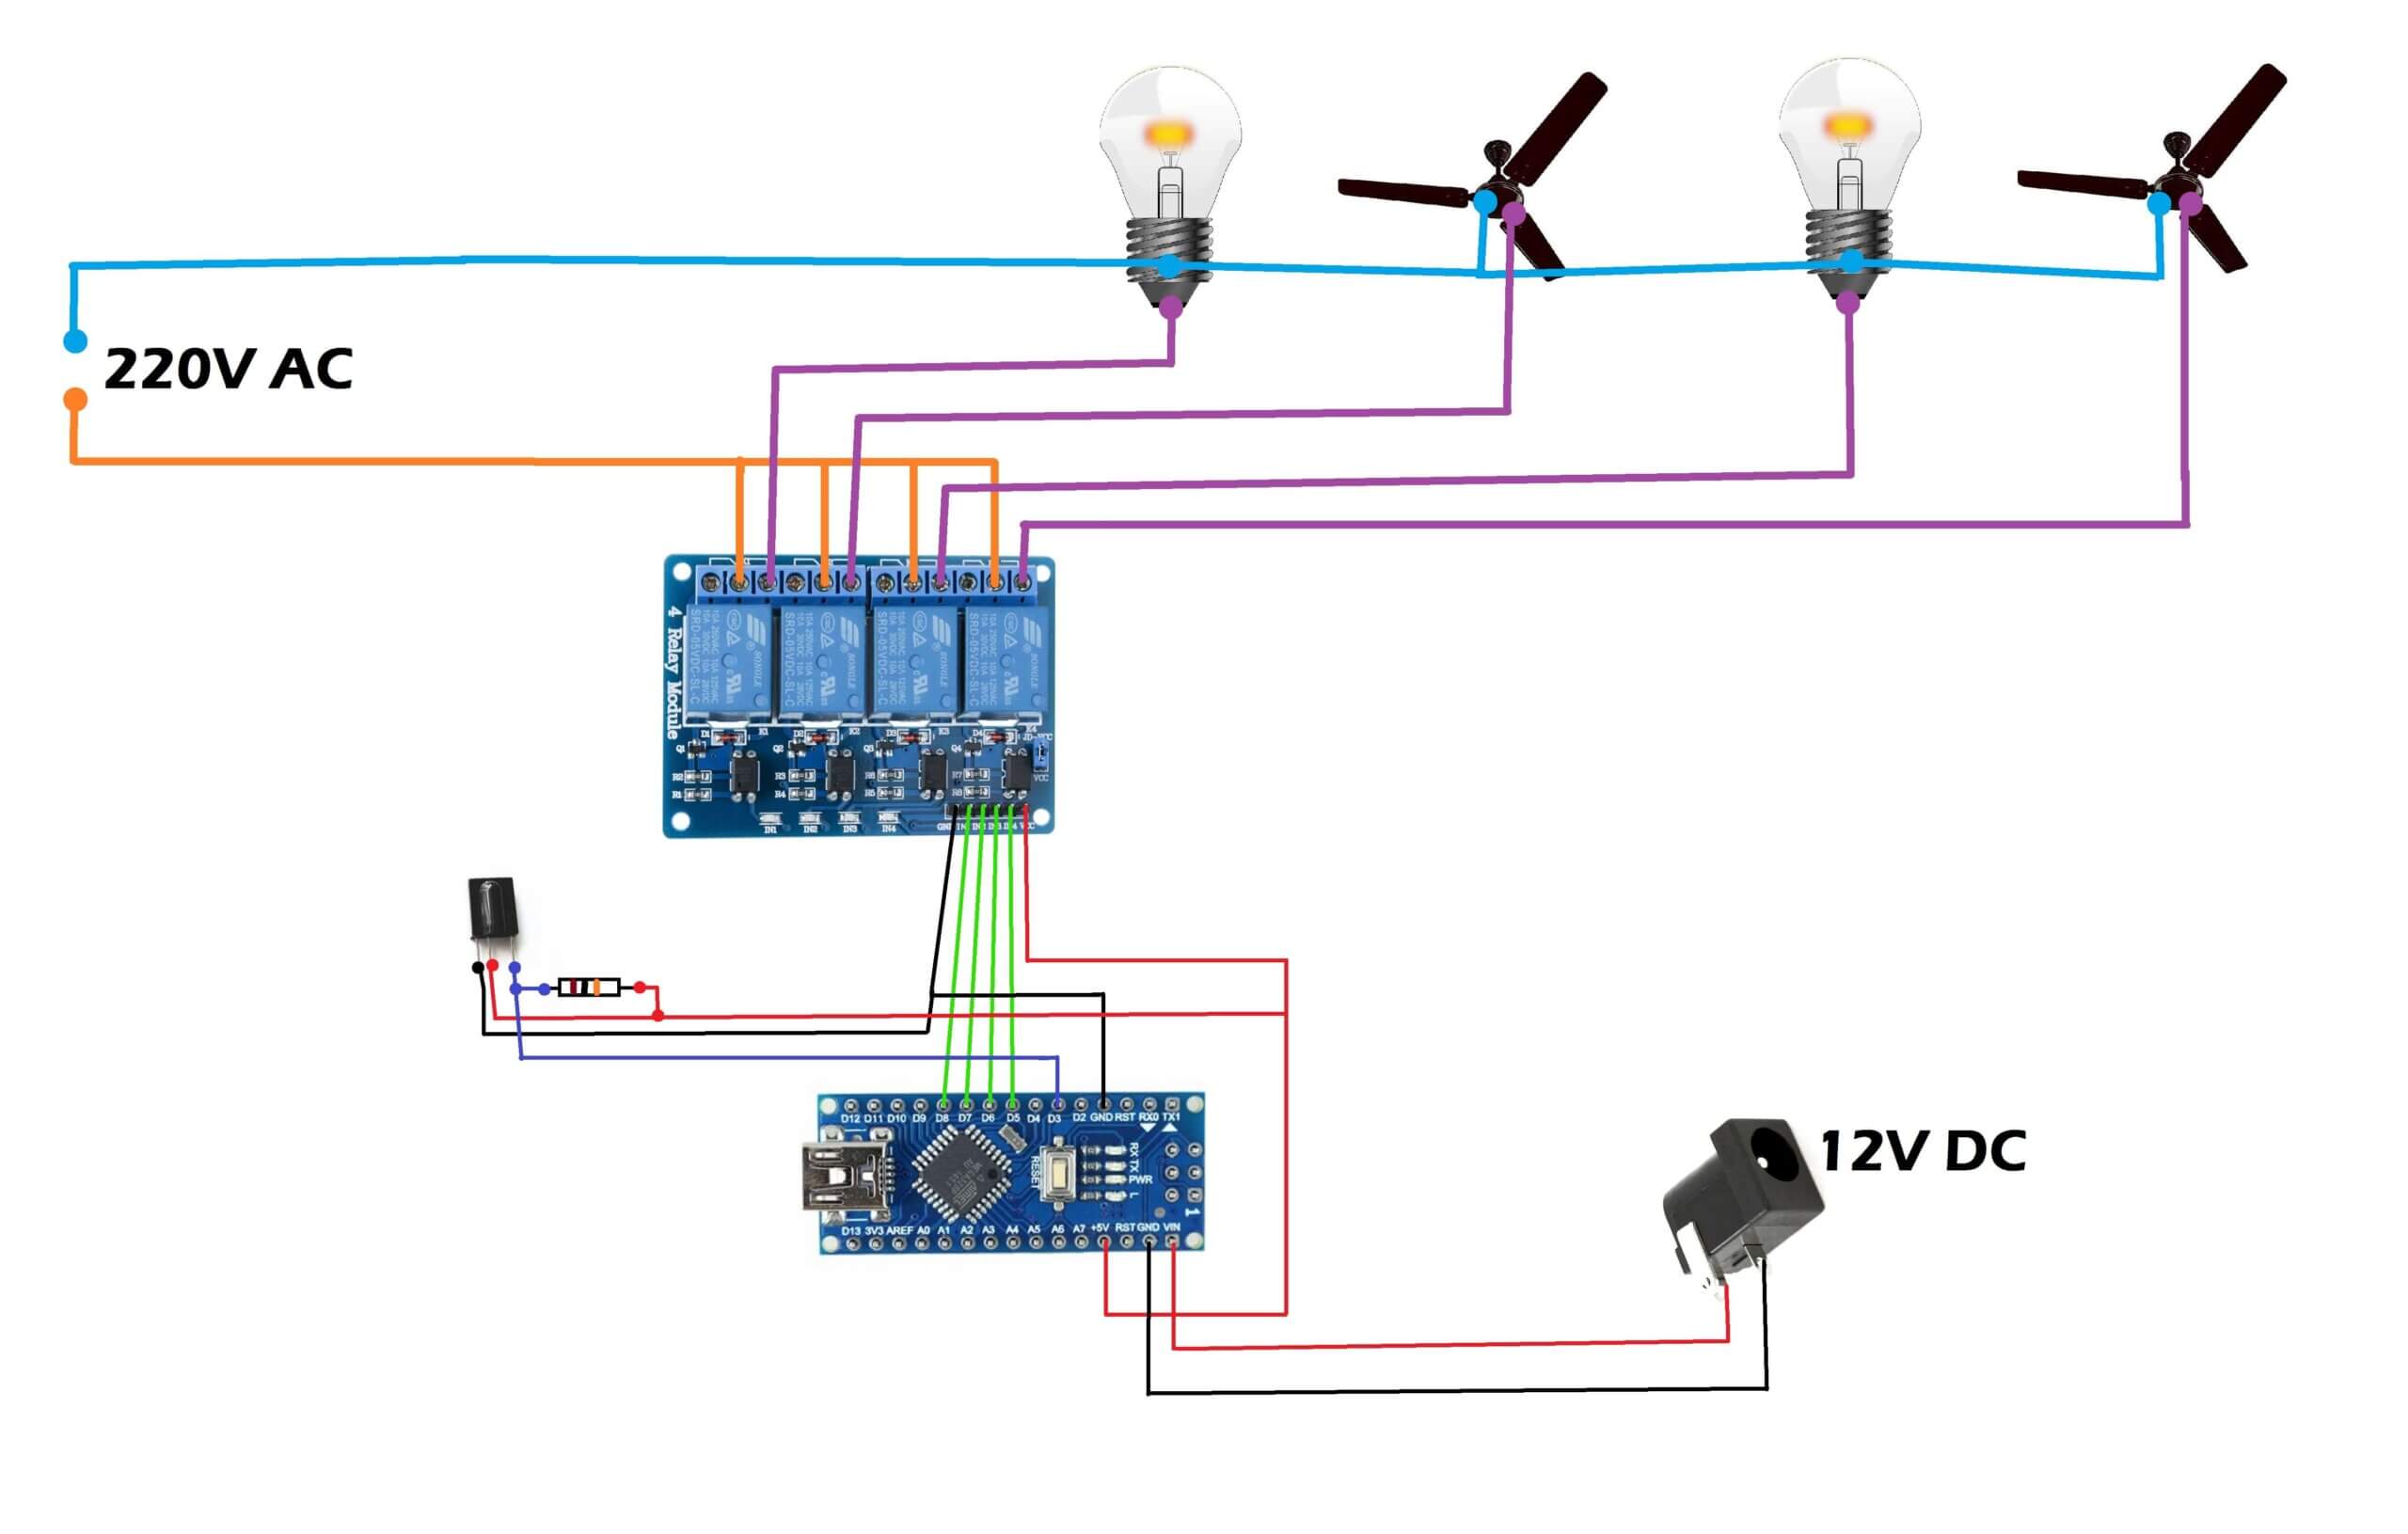
Prepare Circuit diagram
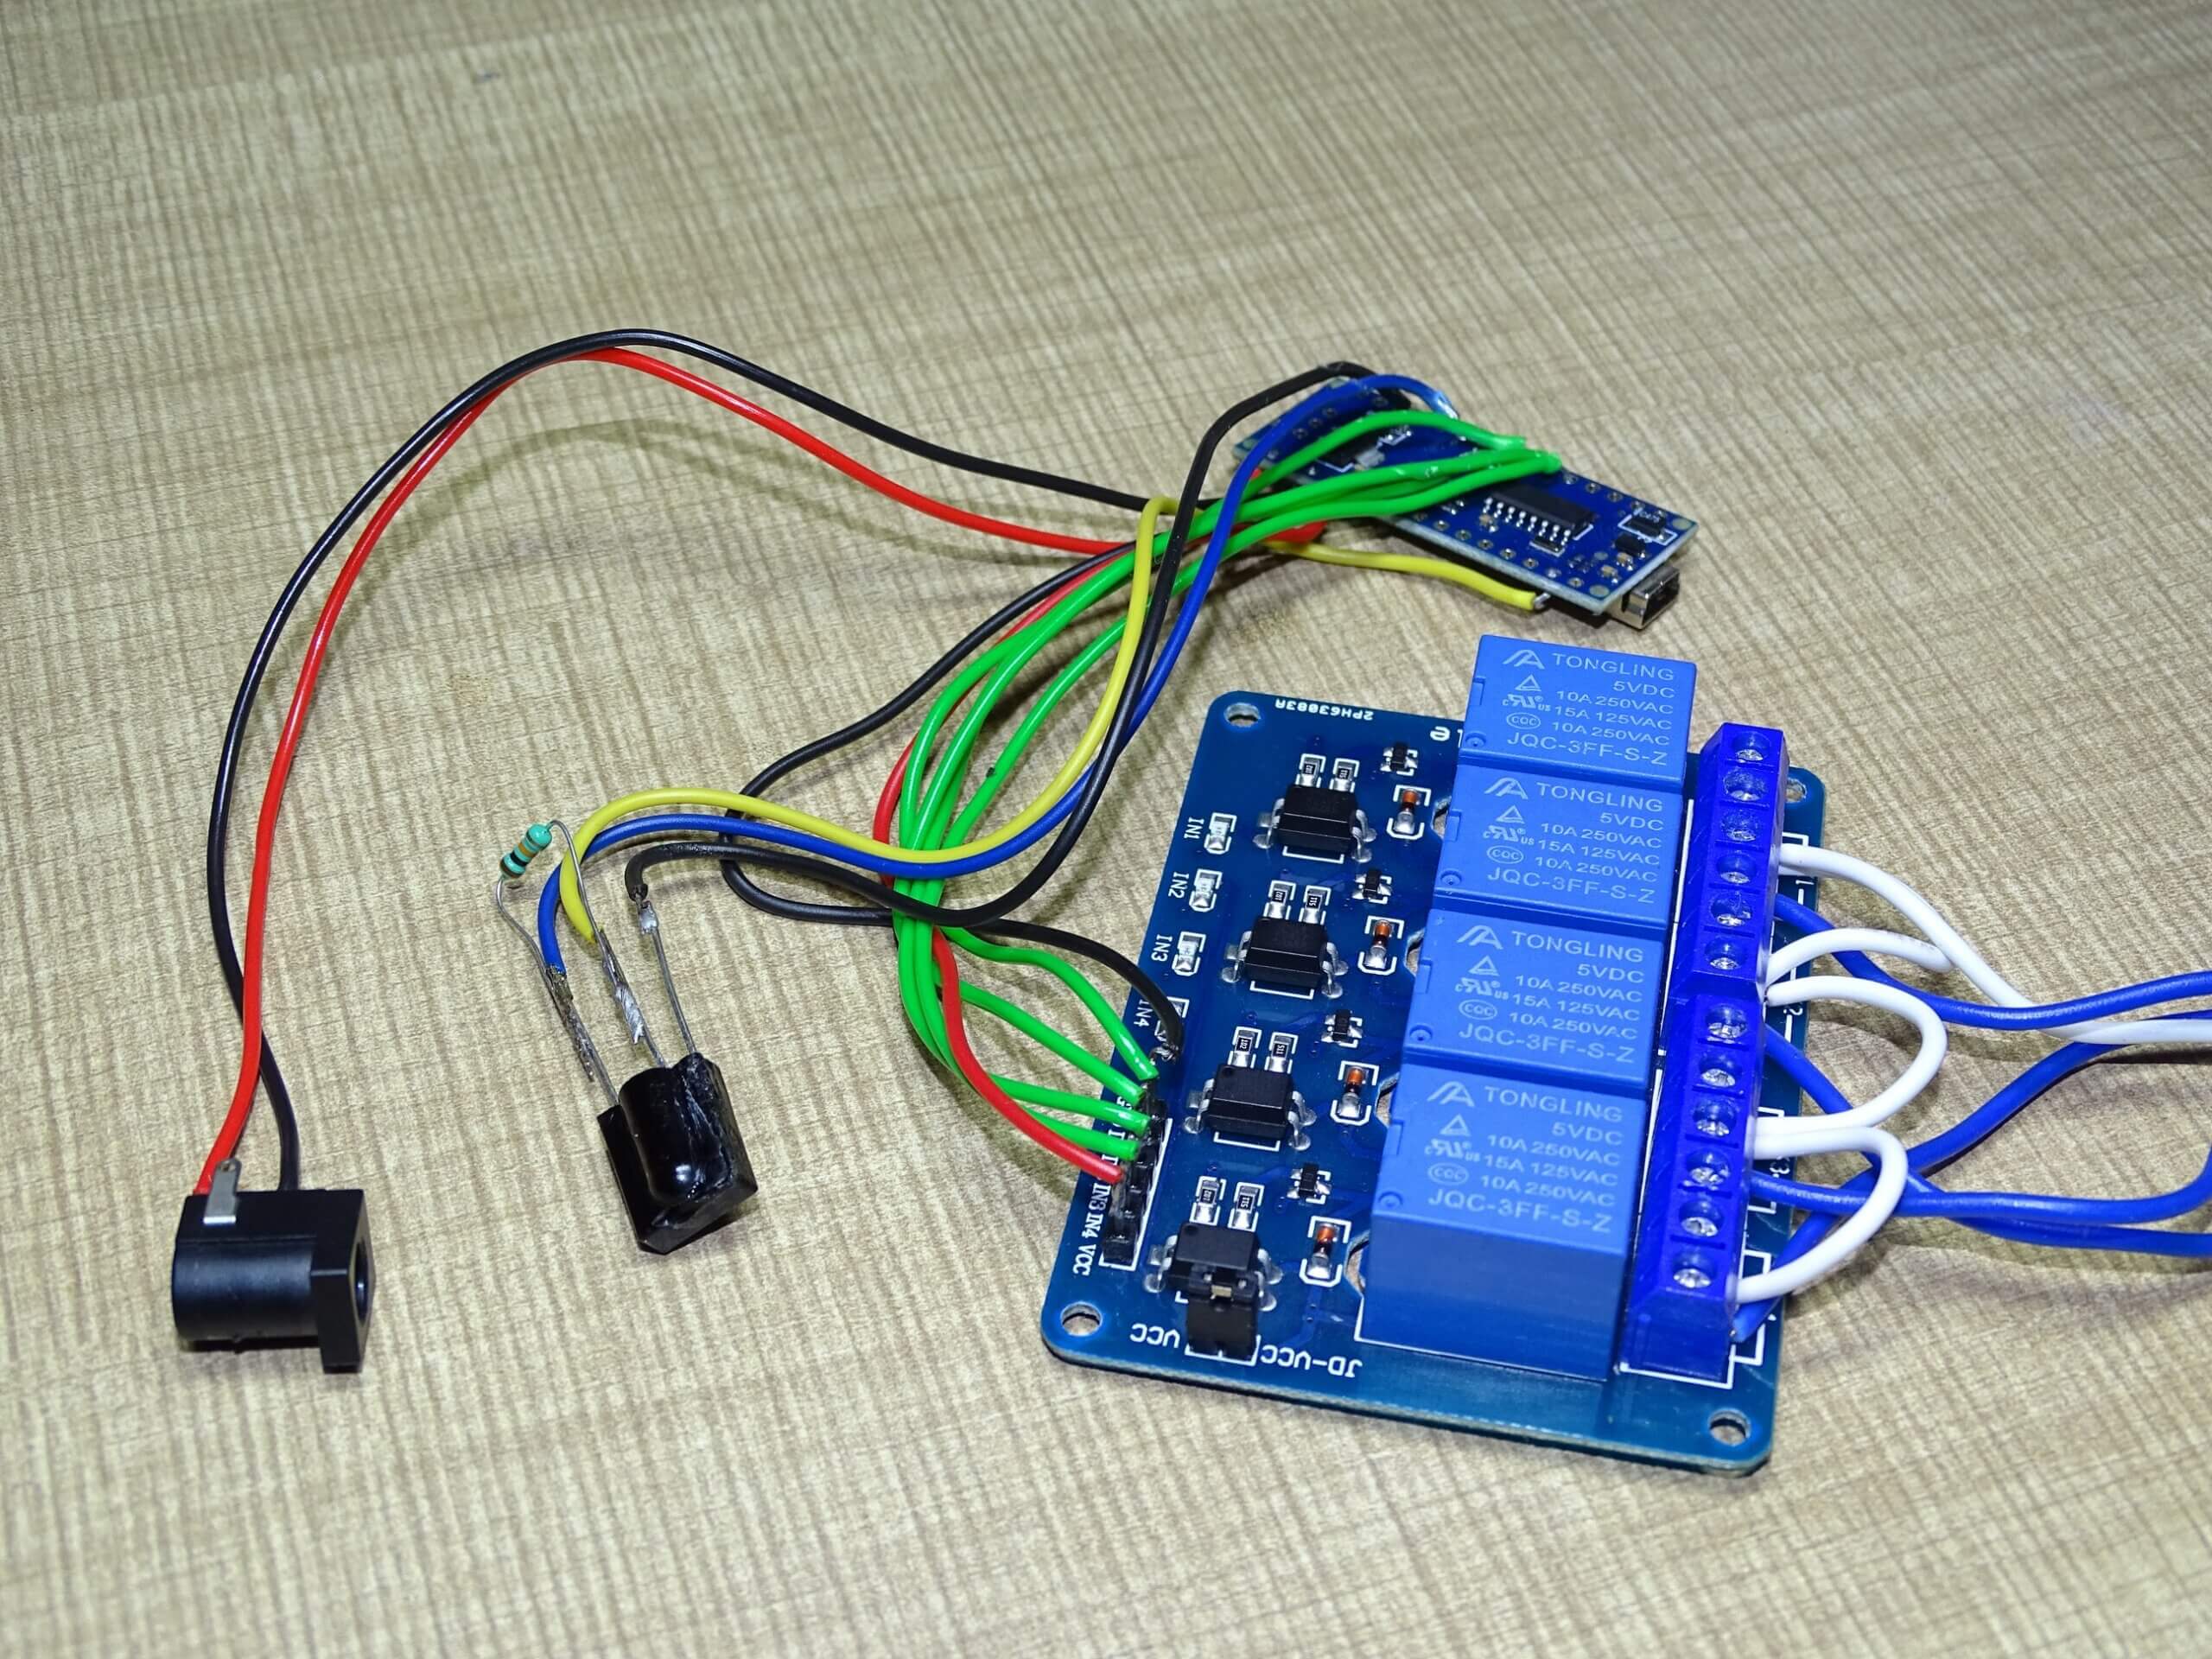
Make the circuit by following the schematic diagram shown in the above photo. after all, connections secure the whole circuit in upload code. now it is ready to use.
Source Code
|
1 2 3 4 5 6 7 8 9 10 11 12 13 14 15 16 17 18 19 20 21 22 23 24 25 26 27 28 29 30 31 32 33 34 35 36 37 38 39 40 41 42 43 44 45 46 47 48 49 50 51 52 53 54 55 56 57 58 59 60 61 62 63 64 65 66 67 68 69 70 71 72 73 74 75 76 77 78 79 80 81 82 83 84 85 86 87 88 89 90 91 92 93 94 95 96 97 98 99 100 101 102 103 104 105 106 107 108 109 110 111 112 113 114 115 116 117 118 119 120 121 122 123 124 125 126 127 128 129 130 131 132 |
//for 4channel IR Remote Controler #include <IRremote.h> int RECV_PIN = 3 ; int L1 = 5; int L2 = 6; int L3 = 7; int L4 = 8; int V1=0; int V2=0; int V3=0; int V4=0; int V5=0; long Vc1= 2534850111; //put your button code here. Example "2534850111, 1033561079, 1635910171, 3855596927" long Vc2= 1033561079; //put your button code here long Vc3= 1635910171; //put your button code here long Vc4= 2351064443; //put your button code here long Vc5= 1217346747; //put your button code here IRrecv irrecv(RECV_PIN); decode_results results; void setup() { Serial.begin(9600); irrecv.enableIRIn(); // Start the receiver E318261B pinMode(L1,OUTPUT); pinMode(L2,OUTPUT); pinMode(L3,OUTPUT); pinMode(L4,OUTPUT); digitalWrite(L1,HIGH); digitalWrite(L2,HIGH); digitalWrite(L3,HIGH); digitalWrite(L4,HIGH); } void loop() { if (irrecv.decode(&results)) { Serial.println(results.value); irrecv.resume(); // Receive the next value 3810010651 } if((results.value== Vc1) && V1==0) {digitalWrite(L1,LOW); V1=1; results.value=0; delay(50); } if((results.value== Vc1) && V1==1) {digitalWrite(L1,HIGH); V1=0; results.value=0; delay(50); } if((results.value== Vc2) && V2==0) {digitalWrite(L2,LOW); V2=1; results.value=0; delay(50); } if((results.value== Vc2) && V2==1) {digitalWrite(L2,HIGH); V2=0; results.value=0; delay(50); } if((results.value== Vc3) && V3==0) {digitalWrite(L3,LOW); V3=1; results.value=0; delay(50); } if((results.value== Vc3) && V3==1) {digitalWrite(L3,HIGH); V3=0; results.value=0; delay(50); } if((results.value== Vc4) && V4==0) {digitalWrite(L4,LOW); V4=1; results.value=0; delay(50); } if((results.value== Vc4) && V4==1) {digitalWrite(L4,HIGH); V4=0; results.value=0; delay(50); } if((results.value== Vc5) && V5==0) { digitalWrite(L1,LOW); digitalWrite(L2,LOW); digitalWrite(L3,LOW); digitalWrite(L4,LOW); V1=1; V2=1; V3=1; V4=1; V5=1; results.value=0; delay(50); } if((results.value== Vc5) && V5==1) { digitalWrite(L1,HIGH); digitalWrite(L2,HIGH); digitalWrite(L3,HIGH); digitalWrite(L4,HIGH); V1=0; V2=0; V3=0; V4=0; V5=0; results.value=0; delay(50); } delay(100); } |
Arduino home automation Conclusion
Control After extensive testing and research, it can be concluded that the Arduino home automation system using TV remote control is reliable, efficient, and easy to use. It is an affordable solution for those who want to automate their homes.
Check our latest Arduino Projects:
- Make Arduino RC transmitter For RC Toys – Drone or Plane
- GSM Based Home Automation System Using Arduino
- How To Make Arduino Gesture Control Car Using Bluetooth .


