Introduction
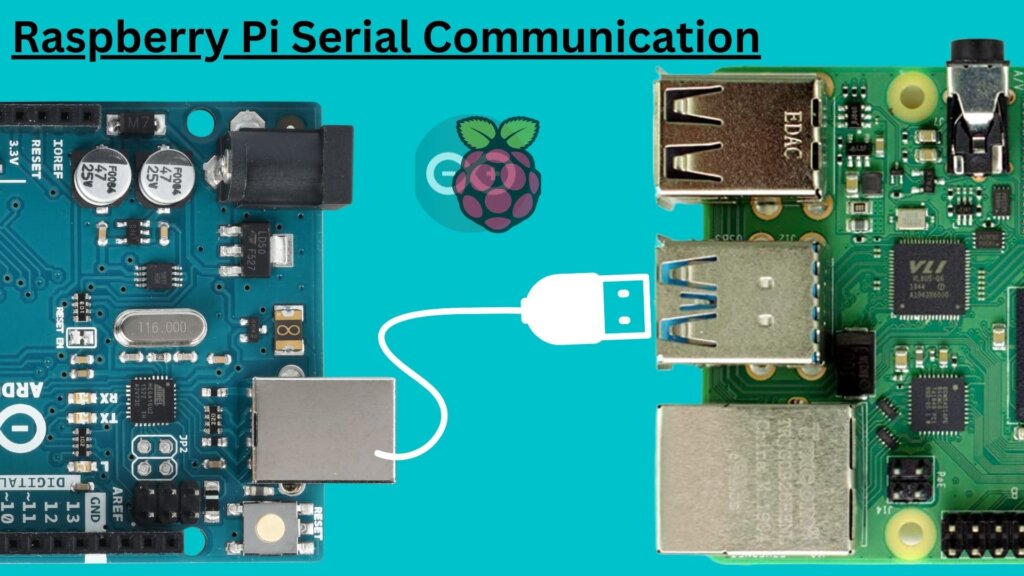
In this tutorial, we’ll show you How To Connect Arduino To Raspberry Pi With Serial Communication. We’ll also learn how to send data from the Arduino to the Raspberry Pi. which sends important data by sending data one bit at a time. Serial communication can be used to communicate between two devices that are connected by a serial cable, or over a computer. Raspberry Pi has a built-in serial port that can be used to communicate with Arduino.
In this tutorial, you know how to send data from an Arduino to a Raspberry Pi. For communication, we use a USB cable. It could be the USB cable that is used to connect the Arduino to your PC or laptop. But in this tutorial, the Raspberry Pi is connected instead of the PC or laptop.
Required Material
For this project, we will be using:
- Raspberry Pi 4 Model B
- Arduino UNO
- USB Wire
Serial Communication
Serial communication is a type of data communication where data is transferred one bit at a time, over a communication channel. This type of communication is usually used for long-distance communication, such as between two computers, or between a computer and a peripheral device.
Serial Communication Advantages
- One of the advantages of serial communication is that it is relatively simple to set up and does not need special hardware.
- Another benefit of serial communication is that it is fairly resistant to noise. This means that the data can be transferred over long distances without losing any information.
Serial Communication Disadvantages
- There are some disadvantages to serial communication as well. One of the primary disadvantages is that it is slower than other types of data transmission, such as parallel communication.
- Serial communication is alike more susceptible to errors than other types of data communication. This is because per bit of data is communicated one at a moment, so if there is an error in the transfer of one bit, the entire message can be corrupted.
How do Raspberry Pi and Arduino Serial Communication Work?
Raspberry Pi and Arduino serial communication is a simple way for sharing data between computers and microcontrollers. Serial communication enables two devices to exchange data using a simple single-wire interface or Serial via GPIOs pins.
How to send data from an Arduino to a Raspberry Pi
To send data from Arduino to Raspberry Pi, you will need to use a shape of communication learned as serial communication. Serial communication authorises you to send data one bit at a time, which is excellent for sending data from a microcontroller like an Arduino to a more extensive computer like a Raspberry Pi.
Wiring Raspberry Pi With Serial Communication
In order for serial communication to take place, both the Raspberry Pi and the Arduino will need to have their serial ports configured. The Raspberry Pi has two serial ports, that can be used for serial communication. The most common way to do this is to use a USB cable. Once the Raspberry Pi and Arduino are connected, they can start exchanging data. Raspberry Pi 4 Pinout, Specifications, Pin Configuration & Programming
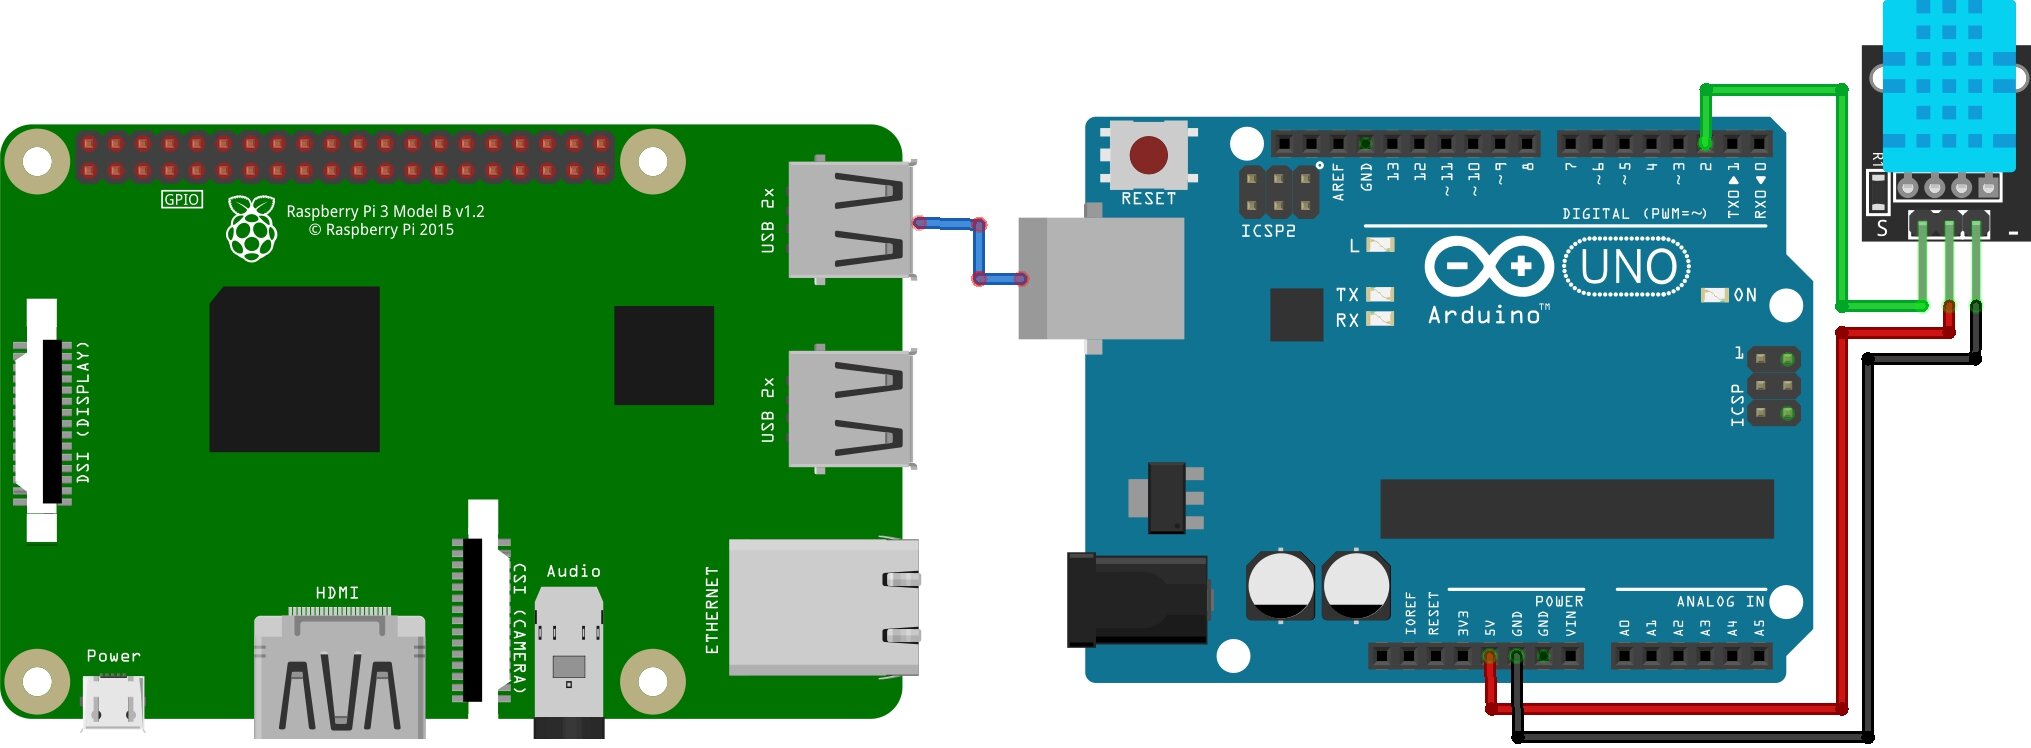
Set up serial communication from Arduino to Raspberry Pi connected via USB to the socket. Now we like to do a short example of serial communication from Arduino to Raspberry Pi. We want to send the temperature and humidity of the DHT11 sensor from the Arduino Uno to the Raspberry Pi via the USB connection. The Raspberry Pi should print the temperature and humidity on its terminal.
Arduino setup for serial communication
We plan to start with the configuration of the Arduino. First, we need to connect the DHT11 sensor to digital pin 2 of the Arduino Uno, as well as power and ground. the script is quite easy.
Arduino code script
|
1 2 3 4 5 6 7 8 9 10 11 12 13 14 15 16 17 18 19 20 21 22 23 |
#diyprojectslab,com #include "DHT.h" #define DHTPIN 2 // define the digital I/O pin #define DHT11TYPE DHT11 // DHT 11 DHT dht11(DHTPIN, DHT11TYPE); void setup() { Serial.begin(9600); dht11.begin(); } void loop() { float h11 = dht11.readHumidity(); float t11 = dht11.readTemperature(); Serial.print("Temperature = "); Serial.print(t11 + 273.15); Serial.println(" Kelvin"); Serial.print("Humidity = "); Serial.print(h11); Serial.println(" %"); delay(1000); } |
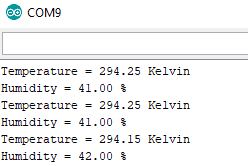
It is necessary that the message that we like to transmit to the Raspberry Pi is printed on the serial number because if it is printed on the serial number it is also sent via USB to the raspberry pi. The Arduino IDE serial monitor shows the output. Everything is going well.
In the following detail, we set up Raspberry Pi to receive temperature and humanity from the Arduino board as well.
Raspberry Pi setup for serial communication
Now everything is prepared and we can go to the programming factor of the Raspberry Pi. Since we want to make the code with python and also want to display the code using a python script, we require to install two libraries. Run the following commands in the raspberry pi terminal: check 75+ Most Useful Raspberry Pi Commands
|
1 2 |
sudo apt-get install python-serial sudo pip install pyserial |
Since there are different USB ports on the Raspberry Pi, we must know which serial address the Arduino is attached to a raspberry pi.
Must connect Arduino USB Plug to Raspberry PI with a USB cable and check the connection between Arduino and Raspberry pi by typing “ls /dev/tty*” in the Raspberry Pi terminal, the result should be scope”/dev/ttyACM0” and you are right to go.
In my issue, I located the serial connection with the name /dev/ttyACM0. copy or type your name for the serial connection, as we are using the name in the next python program code.
Directly we want to make the code. the code is so short, we created the python file directly on the Raspberry Pi. Create the file with nano serial_communication.py.
The nano text editor now opens an empty python file called serial_communication.
The script is the following:
serial_communication.py
|
1 2 3 4 5 |
import serial ser = serial.Serial('/dev/ttyACM0',9600) while True: read_serial=ser.readline() print(read_serial) |
Click Ctrl + X then Y to assure the save and push the Enter button to save to the current file.
Conclusion
Start the python script from the terminal with python serial_communication.py. You should see the temperature and humidity from the DHT11 transferred through USB and Arduino serial communication. You can end the script by clicking Ctrl + C.


