Introduction
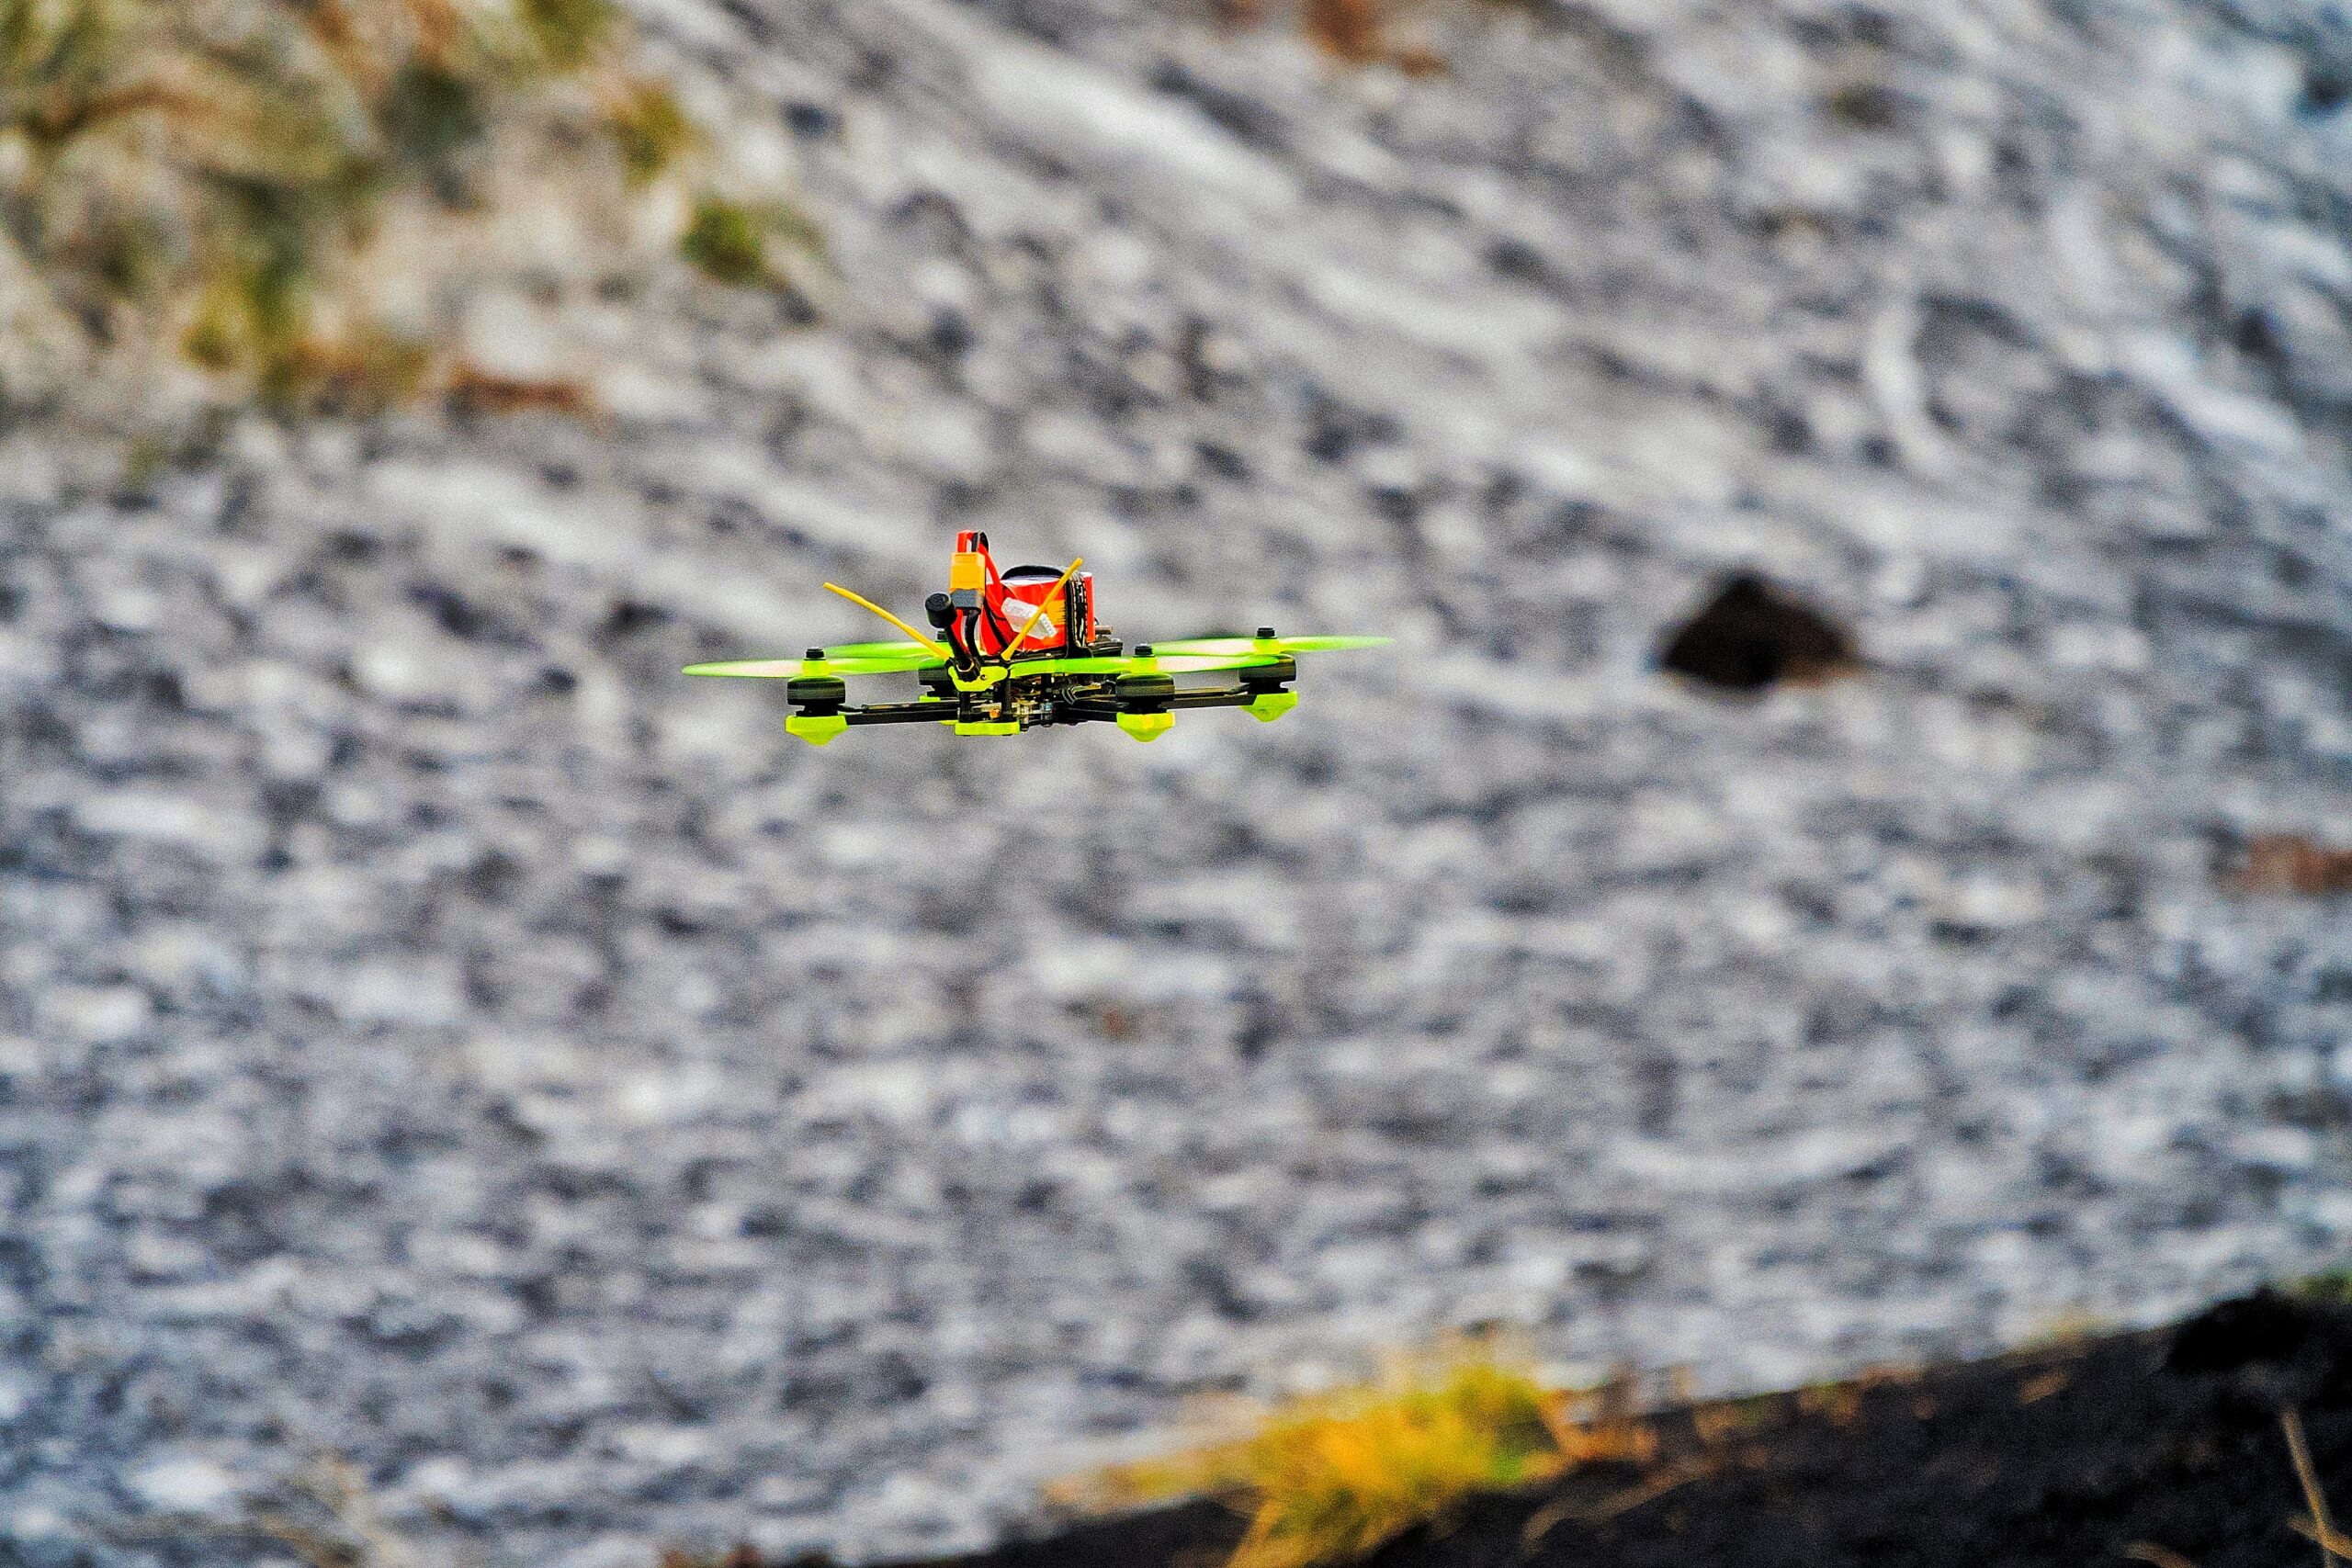
So, you want to Build a Drone? Great! Over the past few years, radio-controlled Drones have been becoming ever more popular in industries. In this tutorial, I’m going to be explaining the different Components and Tools required for Drones, and how to build one, Have fun building your own Drone, I hope this tutorial will be a great starting point for you!
Thank You NextPCB:
This project is successfully finished because of the service and support from NextPCB. NextPCB is one of the most professional PCB manufacturers in Global and has specialized in the PCB and assembly industry for over 16 years. Not only could NextPCB deliver the most creative printed circuit boards and assembly technologies in the most elevated quality standards, but the fastest delivery turnaround was also as fast as 24 hours.
Guys if you have a PCB project, please visit their website and get exciting discounts and coupons. if you sign-up using this link you will get free coupons worth $100. Checkout out NextPCB now and get amazing discounts on your first order.
- Only 0$ for 5-10pcs PCB Prototypes:https://www.nextpcb.com/PCBPrototypes
- Register and get $100 from NextPCB: Nextpcb.com/coupon
In this Tutorial, we will learn about.
- The Parts List
- Choosing Components
- How It Works
- Learning To Fly
Below are all the Parts, tools, and equipment that we will need to build a Drone
Components Required for Building a Drone
- Motors (Amazon.com)
- Battery (Amazon.com)
- Flight Controller (Amazon.com)
- RC Receiver (Amazon.com)
- The frame (Amazon.com)
- Propeller (Amazon.com)
- ESC (electronic speed controller) (Amazon.com)
- PDB (power distribution board) (Amazon.com)
Optional
- Telemetry
- Camera
- Video transmitter and receiver. Etc…
- The Required Parts List For Building a Drone
I have seen that many people have to think about which parts are good for drones to buy and where to buy controllers, frames, motors, etc.
Here I tell you, it’s very easy, I am also a beginner but seems easy to build a drone. As per my need, I used to make a drone with these (below) components.
- A-frame (f450) easy to find in your local market
- A flight controller (APM, Pixhawk, kk board) mine is APM 2.8 flight controller
- 4pcs BLDC (kV means rotation per volt. 1000 means 1000/volt).
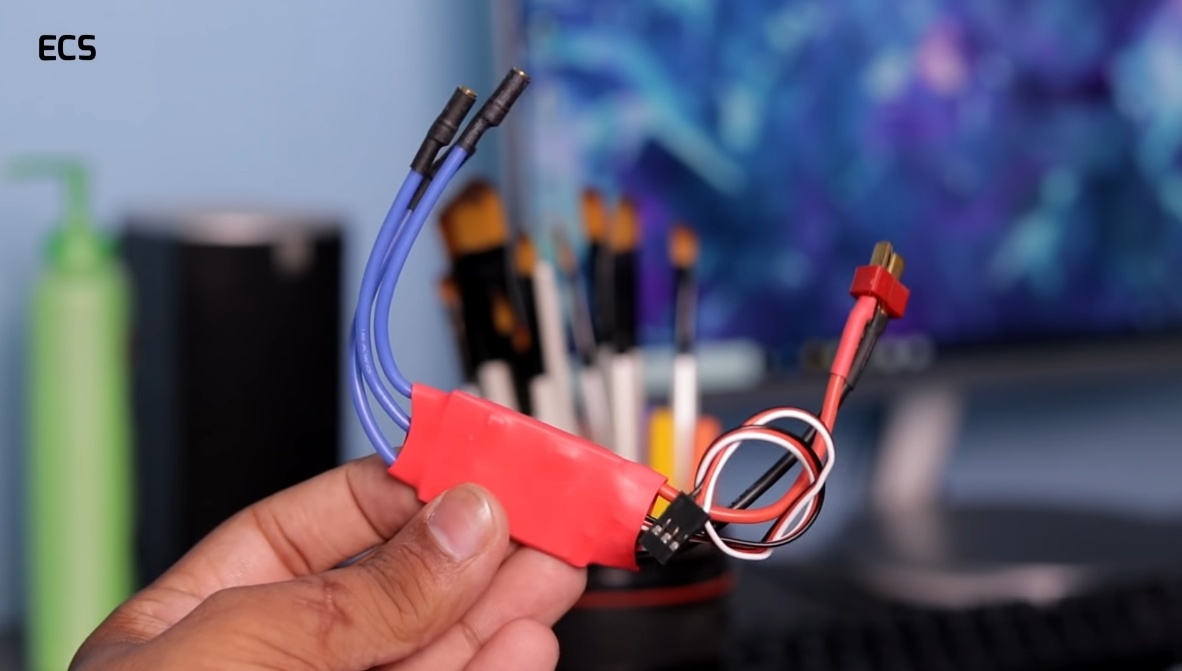
- 4pcs ESC which means an electronic speed controller to control the speed of your motor.
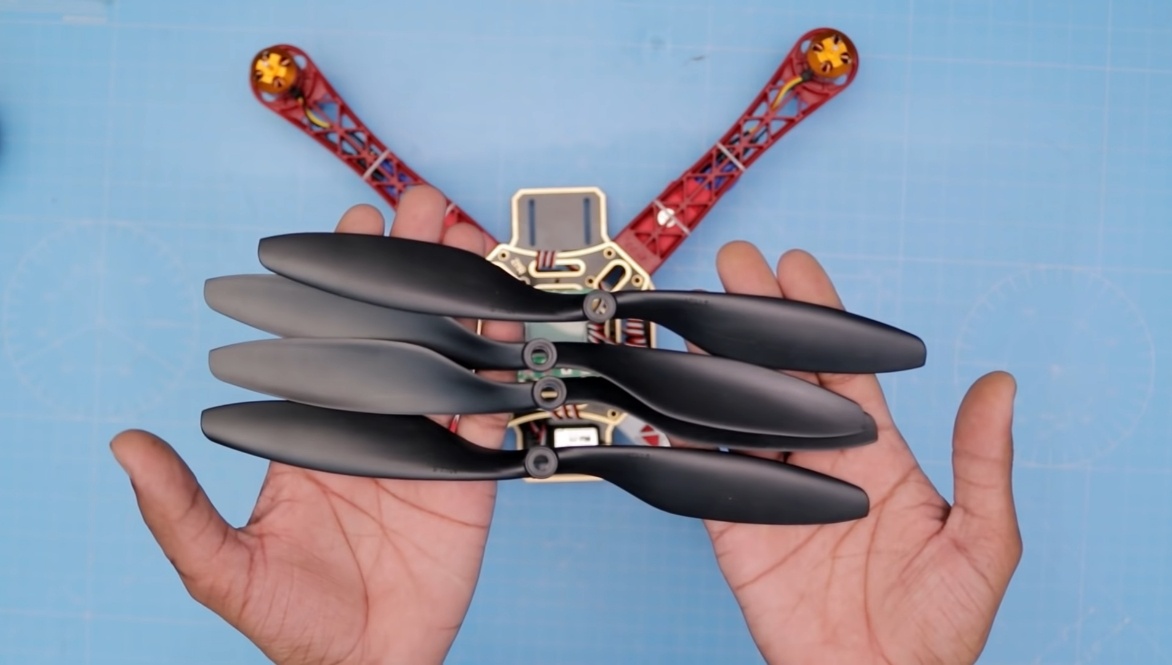
- 4 pairs of Propeller blades.
- Lipo battery ( more mah means more capacity ).
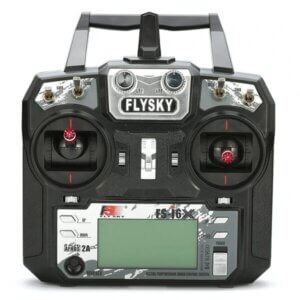
- RC fly sky i6 Transmitter is one of the best Transmitters for beginners. It can be upgraded from 6 channels to 10 channels (I also discuss what a channel is in below Article) And it has also a telemetry feature.
- Ublox neo 6/7/8(as per your choice) GPS with external compass.
- Power module which helps the flight controller to sense the voltage and current of the battery.
- Lipo charger. Don’t go for the cheapest it will kill your battery slowly.
- A pc or a laptop with Mission planner software.
A little bit about Components
- Motors & Propellers: The motors and propellers provide the thrust and the lift for the aircraft.
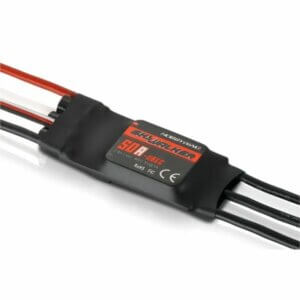
- ESCs (Electronic Speed Controllers): The ESCs take the signals from the flight controller and adjust the speed of the motors.
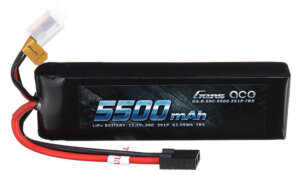
- The Battery: The battery provides the power supply to all the components.
- Frame: The frame provides the structure and rigidity and it’s where all the components will be mounted onto.
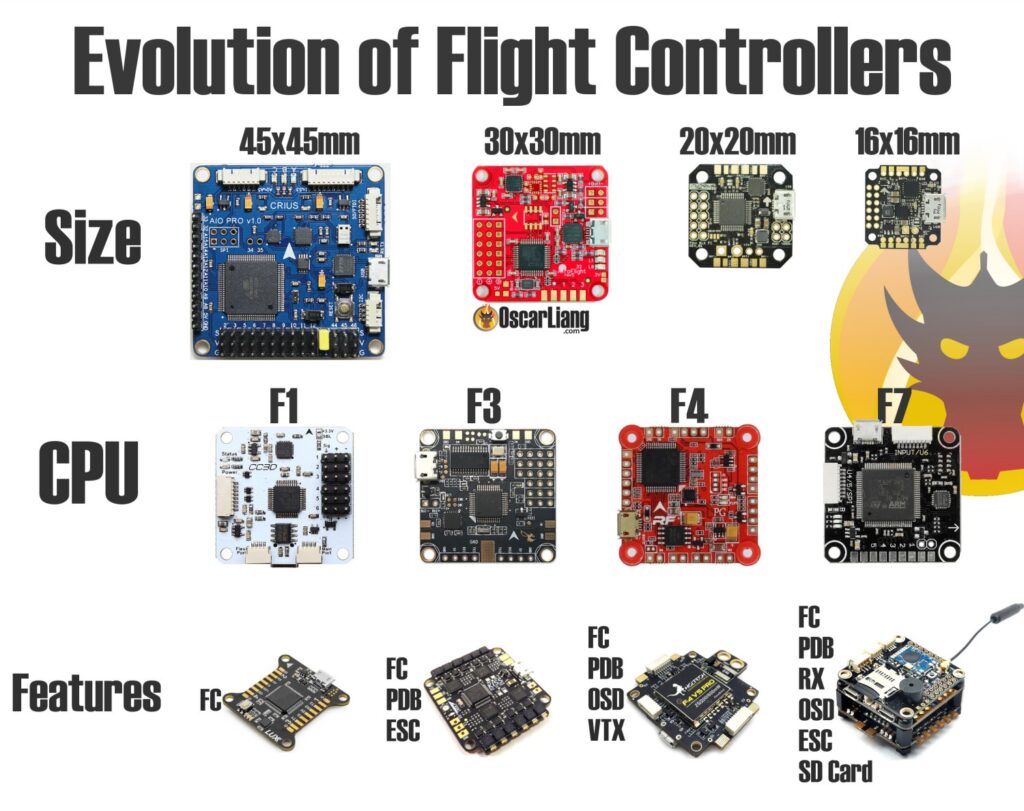
- Flight Controller: The flight controller manipulates the RPM of the individual motors in response to the user’s input. If you tell it to go forward, the flight controller will adjust the RPM of the rear motors so that it goes forward.
- Transmitter & Receiver: The transmitter and receiver are what allow you to control the movements of the quadcopter.
Choosing Components To Build a Drone
If You want high-quality and reliable Parts for the drone’s main components, Good places to buy Drone Parts from:
Beware of imitation because due to the rapid increase in the market, many imitation products are being sold such as motors ESCs and batteries. Most of the sellers on Amazon sell clones and low quality but not all of them. Before looking at the best drone motors and propulsion systems manufacturers, here is a video on how Brushless motors work
- HobbyKing
- BangGood
- GoodLuckbuy
- HobbyRc
- Flyduino (These top drone Parts manufacturers)
Motors
There are two types of motors: brushed and brushless Motors, Generally, we use brushed motors On the smallest quadcopter, micro drones, and toy drones. and brushless motors used in larger Models (such as racing drones, and any bigger models), and UAVs will use brushless motors, as it can carry the extra weight of the electronics parts. Brushless drone motors also require an ESC (electronic speed controller) to operate motors. How Brushless Motor Works?
According to the general consensus:
- Taller stator = more power at higher RPM
- Wider stator = more torque at lower RPM
You can watch the following video How Brushless Motor Works from How to mechatronics
ESC (Electronic Speed Controller)
ESC (Electronic Speed Controller) controls the brushless motor movement and regulates the speed, acceleration, and deceleration of the motors. or allow drone flight controllers to control and adjust the speed of the BLDC motors, The ESC is responsible for controlling each motor speed. I suggest you buy an ESC that has a value of at least 5A above the Max current draw of the motors.
To understand ESC in one line the ESCs receive signals from the flight controller changes the amount of power given to each of the motor’s speeds and also provide monitoring and fault tolerance on the motors.
Battery
RC cars, helicopters, and Drones almost exclusively use LiPo (Lithium Polymer) batteries that offer the best combination of energy density, and power density. LiPo batteries have become the most common high-performance R/C battery and are used in cars, boats, planes, Drones, and more. I highly recommend you to read this article: 15 Things Every LiPo Battery User Should Know.
Transmitter
A transmitter is a long-term investment, A Drone Radio Transmitter is an electronic device that uses radio signals to transmit data wirelessly via radio frequency over to the Radio Receiver. The transmitter is One Time investment device, it is okay to spend a bit more on a good quality Radio Transmitter and Receiver so please Buy Good quality Transmitter otherwise if your transmitter fails on you while you’re flying, your aircraft can drop out of the sky and potentially injure or even kill someone.
In other words, it’s the device that translates the pilot’s commands into the movement of the drone.
Channels
Radio Transmitter transmits commands via channels. Each channel is an individual action being sent to the Drones.
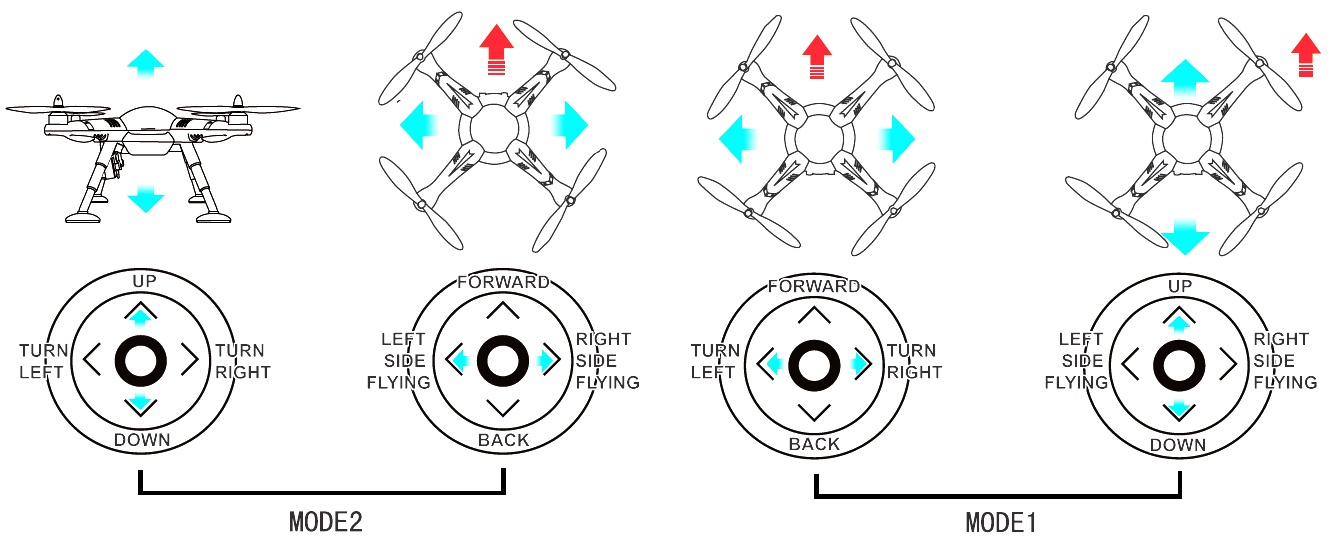
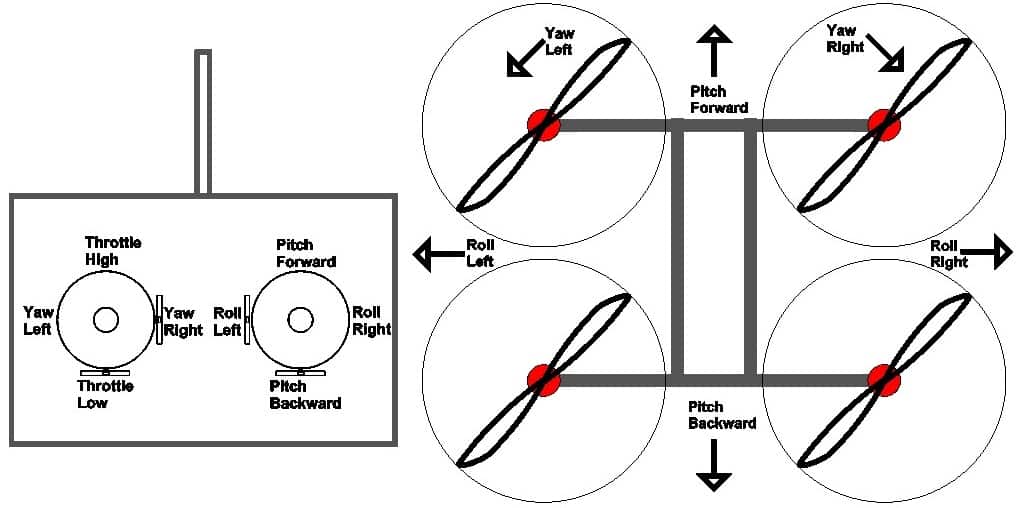
Throttle, Yaw, Pitch, and Roll are the four main inputs required to control the Drone. Each of them uses one channel, so there is a minimum of four channels required for any drone or quad.
- Roll. Moves your drone left or right in the air, literally “rolling” your drone.
- Pitch. Tilts your drone forward or backwards.
- Yaw. Rotates your drone clockwise or counterclockwise, allowing you to make circles or patterns in the air.
- Throttle. Controls the amount of power sent to your drone, which makes the drone go faster or slower.
Radio Receivers
A Radio Receiver is a device capable of receiving commands from the Radio Transmitter and interpreting the signal via the flight controller where those commands are converted into specific actions controlling the aircraft’s directions.
Flight Controller
The flight controller manipulates the RPM of the individual motors in response to the user’s input. If you tell it to go forward, the flight controller will adjust the RPM of the rear motors so that it goes forward.
Frame
The frame of a quadcopter is the main structure, There are many different styles of frame. frame styles are common: acro and FPV. Acro frames are what’s known as ‘true X’ frames because Acro arm shapes are like X shapes, in which a motor is mounted to each end of the arms Knowing the Total Weight and Frame Size.
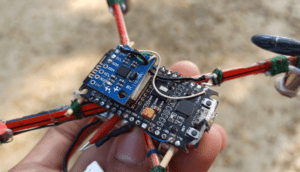
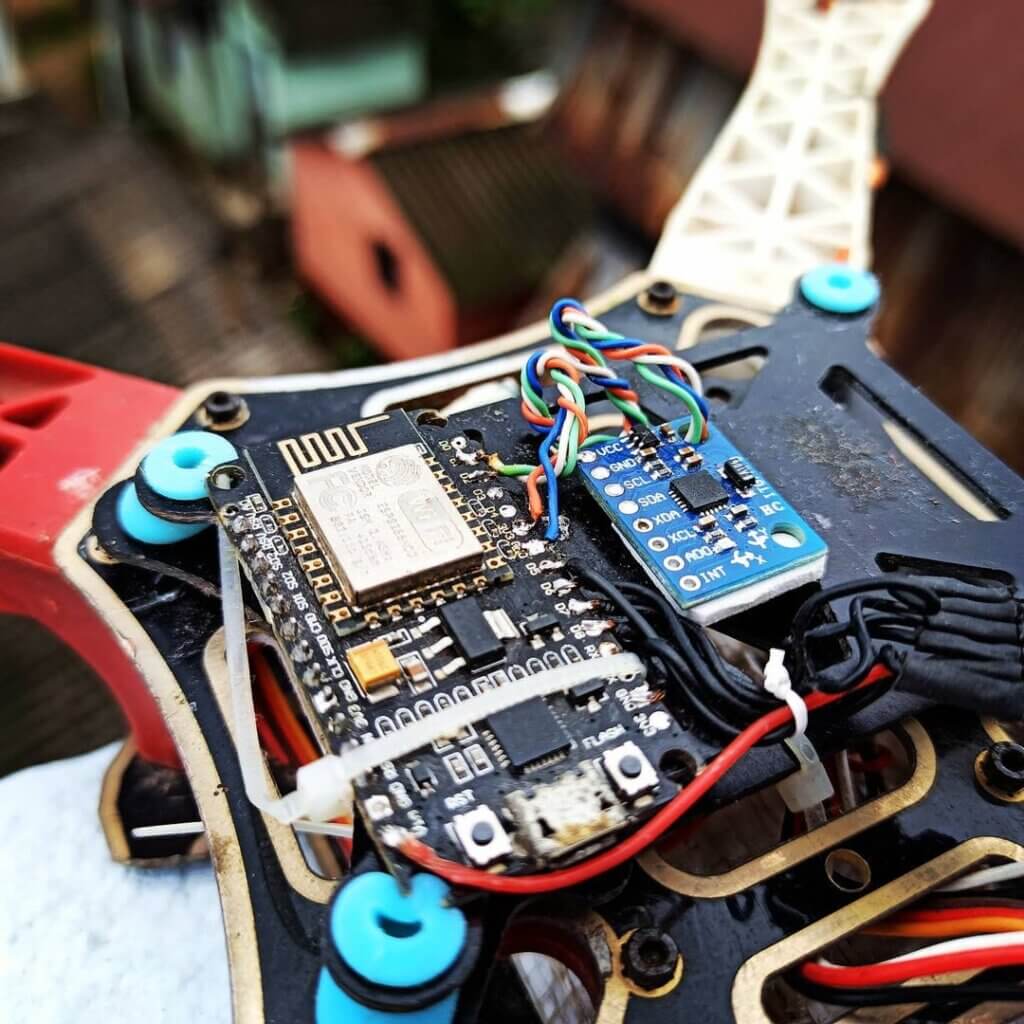
I Made My Own Flight Controller Using ESP8266
The total weight of the Drone should include all the Electronics tools and components: frame, FC, ESC, motors, propellers, RX, LiPo battery, and so on. Builders
Beginners Tips: When you choose a frame it is important to check that the mounting for the Flight Controller and the motor shaft match your choice for these components.
CW and CCW Motors
You will sometimes see brushless motors labelled as CW Motor and CCW. Motor They stand for “ClockWise” and “Counter-ClockWise”.
CCW- Counterclockwise refers to the rotation in the opposite direction as that of the hands-on clock. The direction in which the clock hands rotate is called CW (clockwise).
CW- Clockwise ( refers to the rotation in the same direction as that of a clock. The opposite direction is called CCW (counterclockwise).
The letters R or L denote the propeller’s rotational direction.
- R = Right or Clockwise direction (CW)
- L = Left or Counter-Clockwise direction (CCW)
Here are a few links to get you started:
- RCGroups (Community)
- The UAV Coach community forum (forum)
- DJI’s official forum (forum)
- Commercial sUAS Remote Pilots (a Facebook group)
The awesome community will be more than willing to help you 🙂
Assembly & Build a Drone
Assembling the Frame
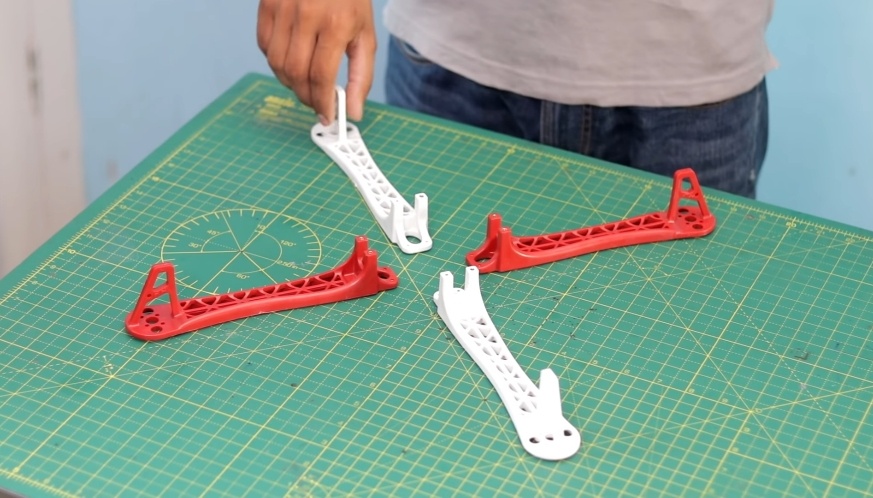
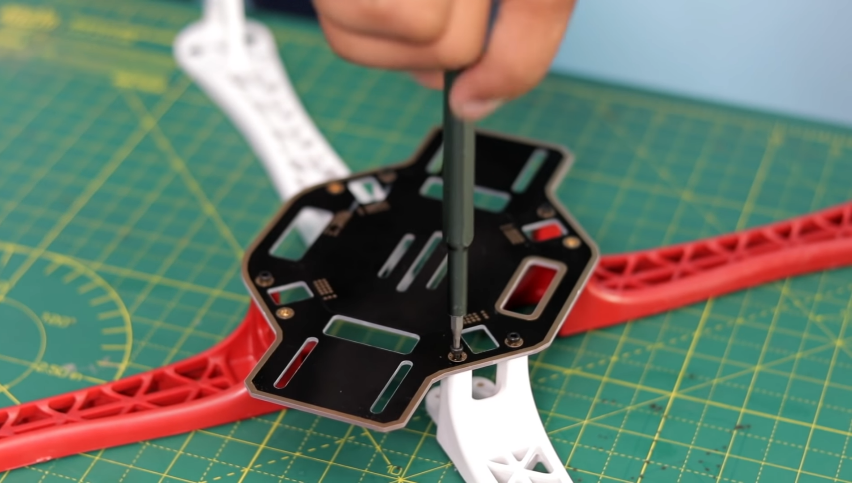
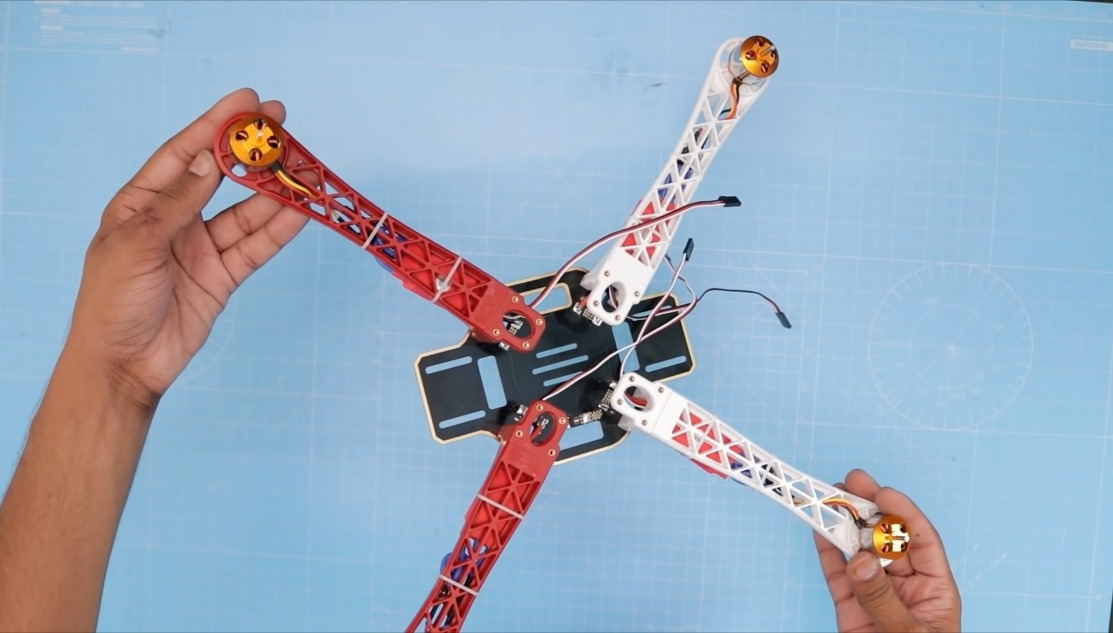
The Quadcopter frame is made of Carbon, Wood, Metal, and Plastic. I am using an f450 frame because I do have not too much budget for an expensive Drone. Let’s assemble
Firstly take F450 Quadcopter Frame And Assemble it. As shown in the image
Mounting the Motors
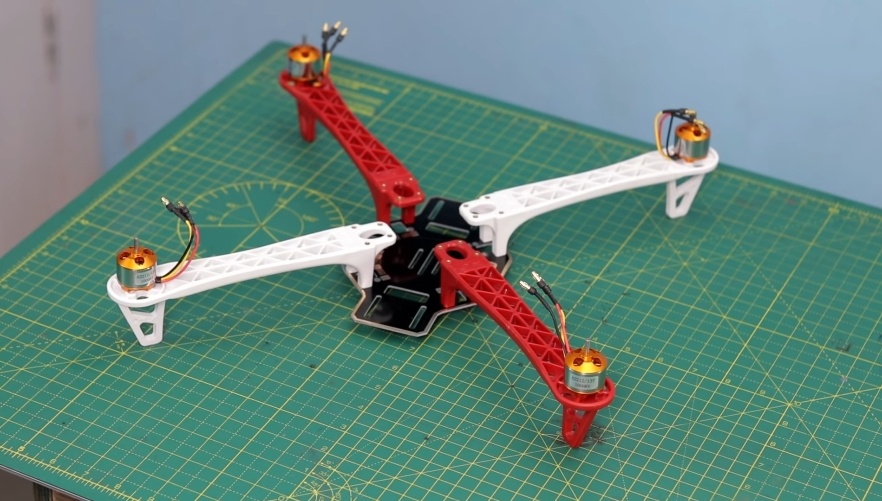
Our frame holds mounting holes for the motors which already fit the motors). I have decided to use longer screws and have the metal X frame between the motor and the frame so the wires that come out of the motor won’t make it unbalanced.
Make sure that you mount all the motors in a way the wires direct to the inside, and that all the motors are well connected. Connect the Motors to the Frame
Soldering ESCs To PDB
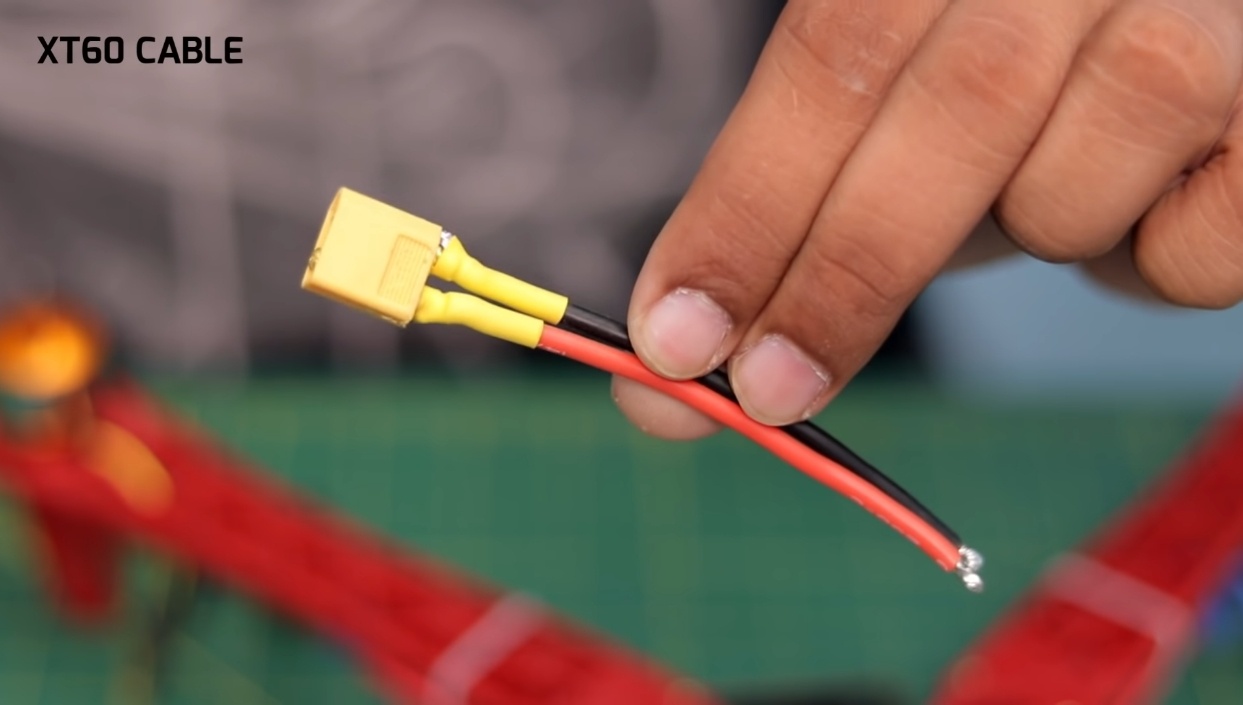
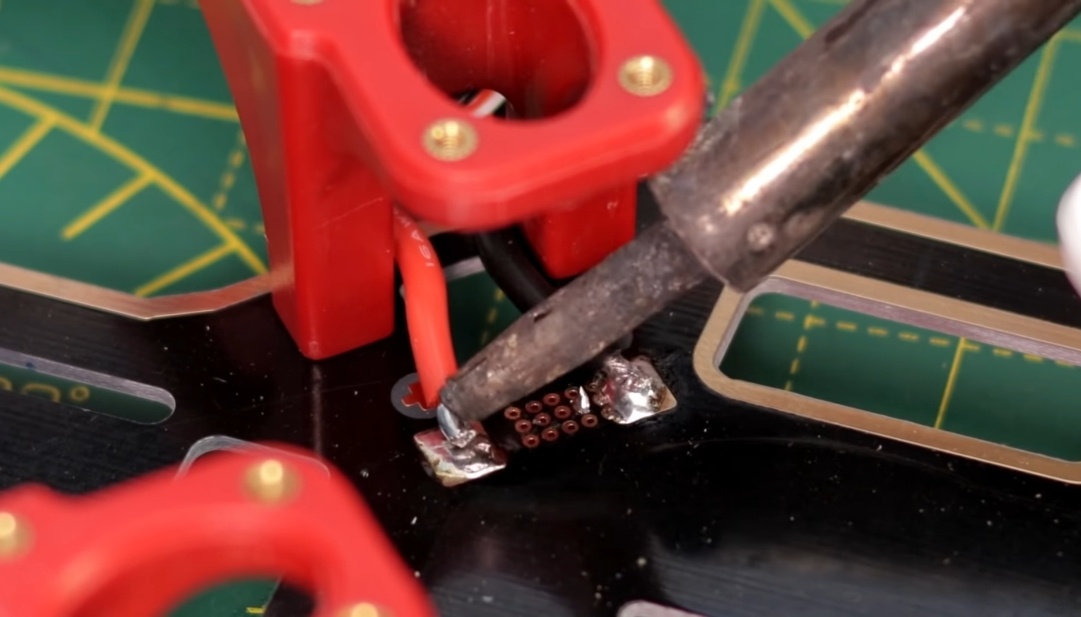
Secondly, you need to solder ESCs to the power distribution board Finally solder the red (positive +) and black (negative -) wires of all ESCs to the power distribution board to the specific + and – points.
Soldering The ESCs clearly and strongly To The PDB (Power distribution board)
Connecting the Motors to the ESCs
Three wires come out of the ESC and that’s the signal line,+5V, and ground, Connect all the 3 wires of ESC’s to the 3 wires of motors (directly, which means middle to middle, right to right, left to left). Use The Zip ties To Hold The ESC in The Arms.
Preparing the Flight Controller
Mounting and Configuring the Flight Controller
Before mounting the flight controller on the frame, I suggest you mount the anti-vibration damping plate to the frame with double-sided tape. It absorbs vibration, the centre-supported plate is ideal for sensitive electronic components.
Mount the Flight controller on the vibration-damping plate with double-sided tape and remember to point the forward sign(marked on APM) to the direction you want your Drone to move forward.
Connect All Components To Flight Controller
The APM flight controller is extremely easy to connect, there is a specific connection for each module. it is highly recommended to connect the wires only after you placed the flight controller in its place.
- Connect the GPS module to the 2 ports
- Connect the 2.4 receivers to the inputs ports, in the same order (output one to input 1, output 2 to input 2…) you must connect at least 6 channels.
- Connect the telemetry plug to the APM
- Connect the small plug of the power module to the APM.
Connecting the ESCs
Wiring the ESC To Flight ControllerThe APM is used as an example but other autopilots are connected in a similar way.
Now it’s time to connect all the ESCs’ control cables to the flight controller. Follow the instructions attached and make sure that you connect the right ESC to its specific port. Our quadcopter is an X-4 means that we use M1 to M4 ports in the flight controller.
You would have four wires from all the ESC.
You must need to attach the motors outputs to the ESC in this order:
- The first(front-right) ESC goes to Pin 1 in the OUTPUT section.
- The second (back-left) ESC goes to Pin 2 in the OUTPUT section.
- The third (front-left) ESC goes to Pin 3 in the OUTPUT section.
- The fourth(back-right) goes to Pin 4 in the OUTPUT section.
You need to do this for all four motors. After that, we can connect the motors with the ESCs. Follow this order:
- Motor 1 will spin CW (Later it will get the Propellers labelled “R”).
- Yellow – A
- Black – B
- Red – C
- Motor 2 will spin CCW.
- Yellow – A
- Red – B
- Black – C
- Motor 3 will spin CW (Later it will get the Propellers labelled “R”).
- Yellow – A
- Black – B
- Red – C
- Motor 4 will spin CCW.
- Yellow – A
- Red – B
- Black – C
Congratulations, you are now done with the actual hardware electronics part. So let’s finish up this frame, and do the settings.
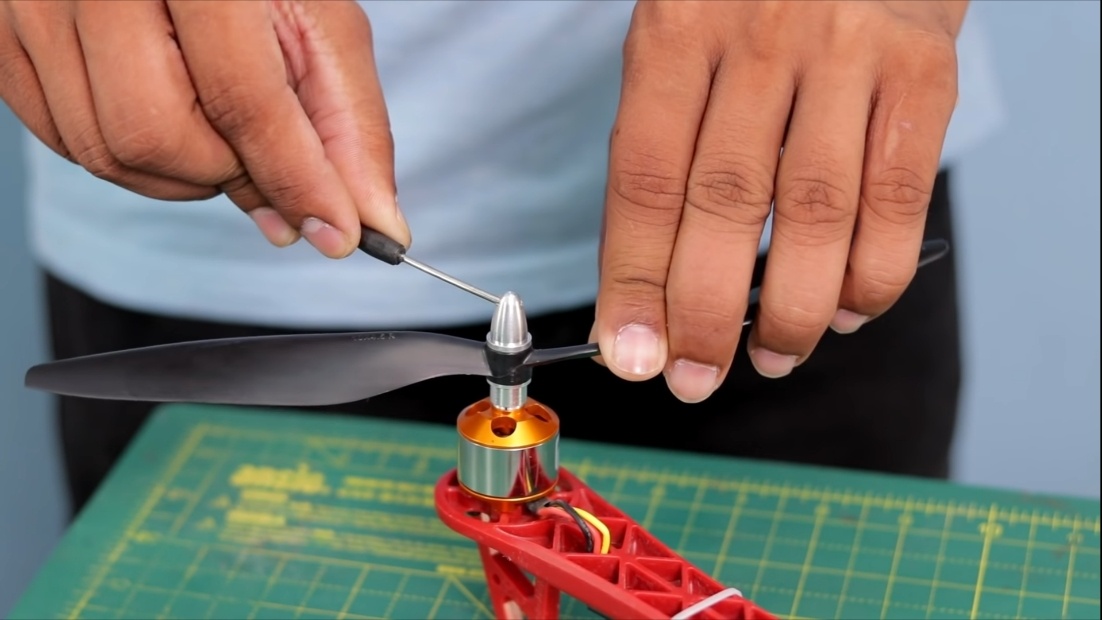
Mounting the Proppeler
After we’re sure the motors are connected correctly, it’s time to mount the props.
- Top left = Clockwise
- Top right = Counter-Clockwise
- Bottom right = Clockwise
- Bottom left = Counter-Clockwise
Bind the Receiver With the Remote
Follow these simple steps to bind the receiver with the remote:
- Plug the binding wire into the bind port of the receiver.
- Now connect the battery to the power distribution board.
- Hold the button down on the back side of the remote, and then turn it on.
- After the receiver LED glows in a constant red, it binded successfully.
Some tips
- Most transmitters have a motor lock and unlock
- Fly in open fields
- Use a Lipo alarm
- Charge Lipo in Lipo safe
- Be careful
That’s it run and fly your quadcopter!


4 Comments
Pingback: Important Parts Of A Drone – Explained- FC, ESC, Motors,1
Pingback: How To Build Obstacle Avoidance Drone Using Arduino
Pingback: How To Build ESP8266 Flight Controller For Drone
Pingback: How To Build Obstacle Avoidance Drone Using Arduino 1