In this tutorial we are going to learn how to record or register fingerprints with Arduino and then read them with the biometric sensor and activate a lock.
Hardware
we need some components for making this
1. Arduino
2. fingerprint sensor
3. Relay module
4. solednoid lock
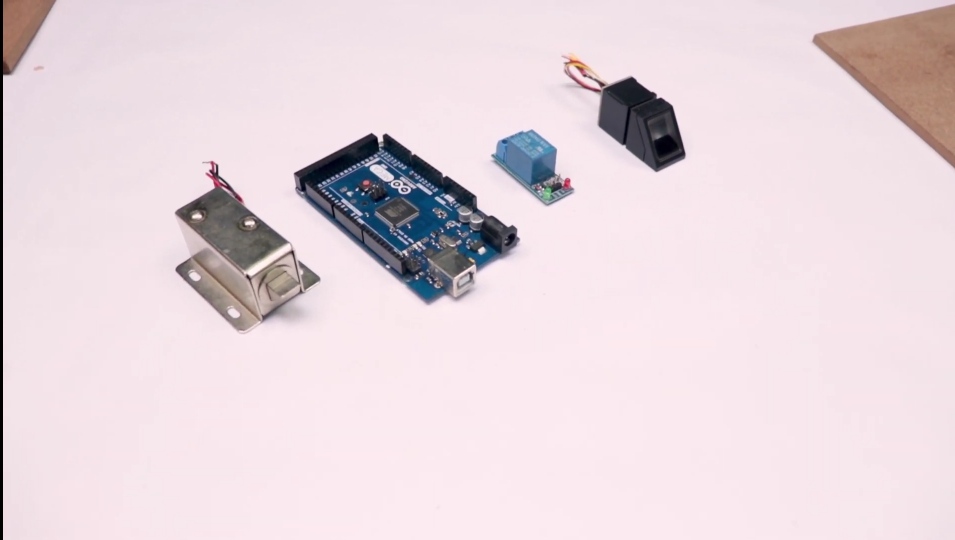
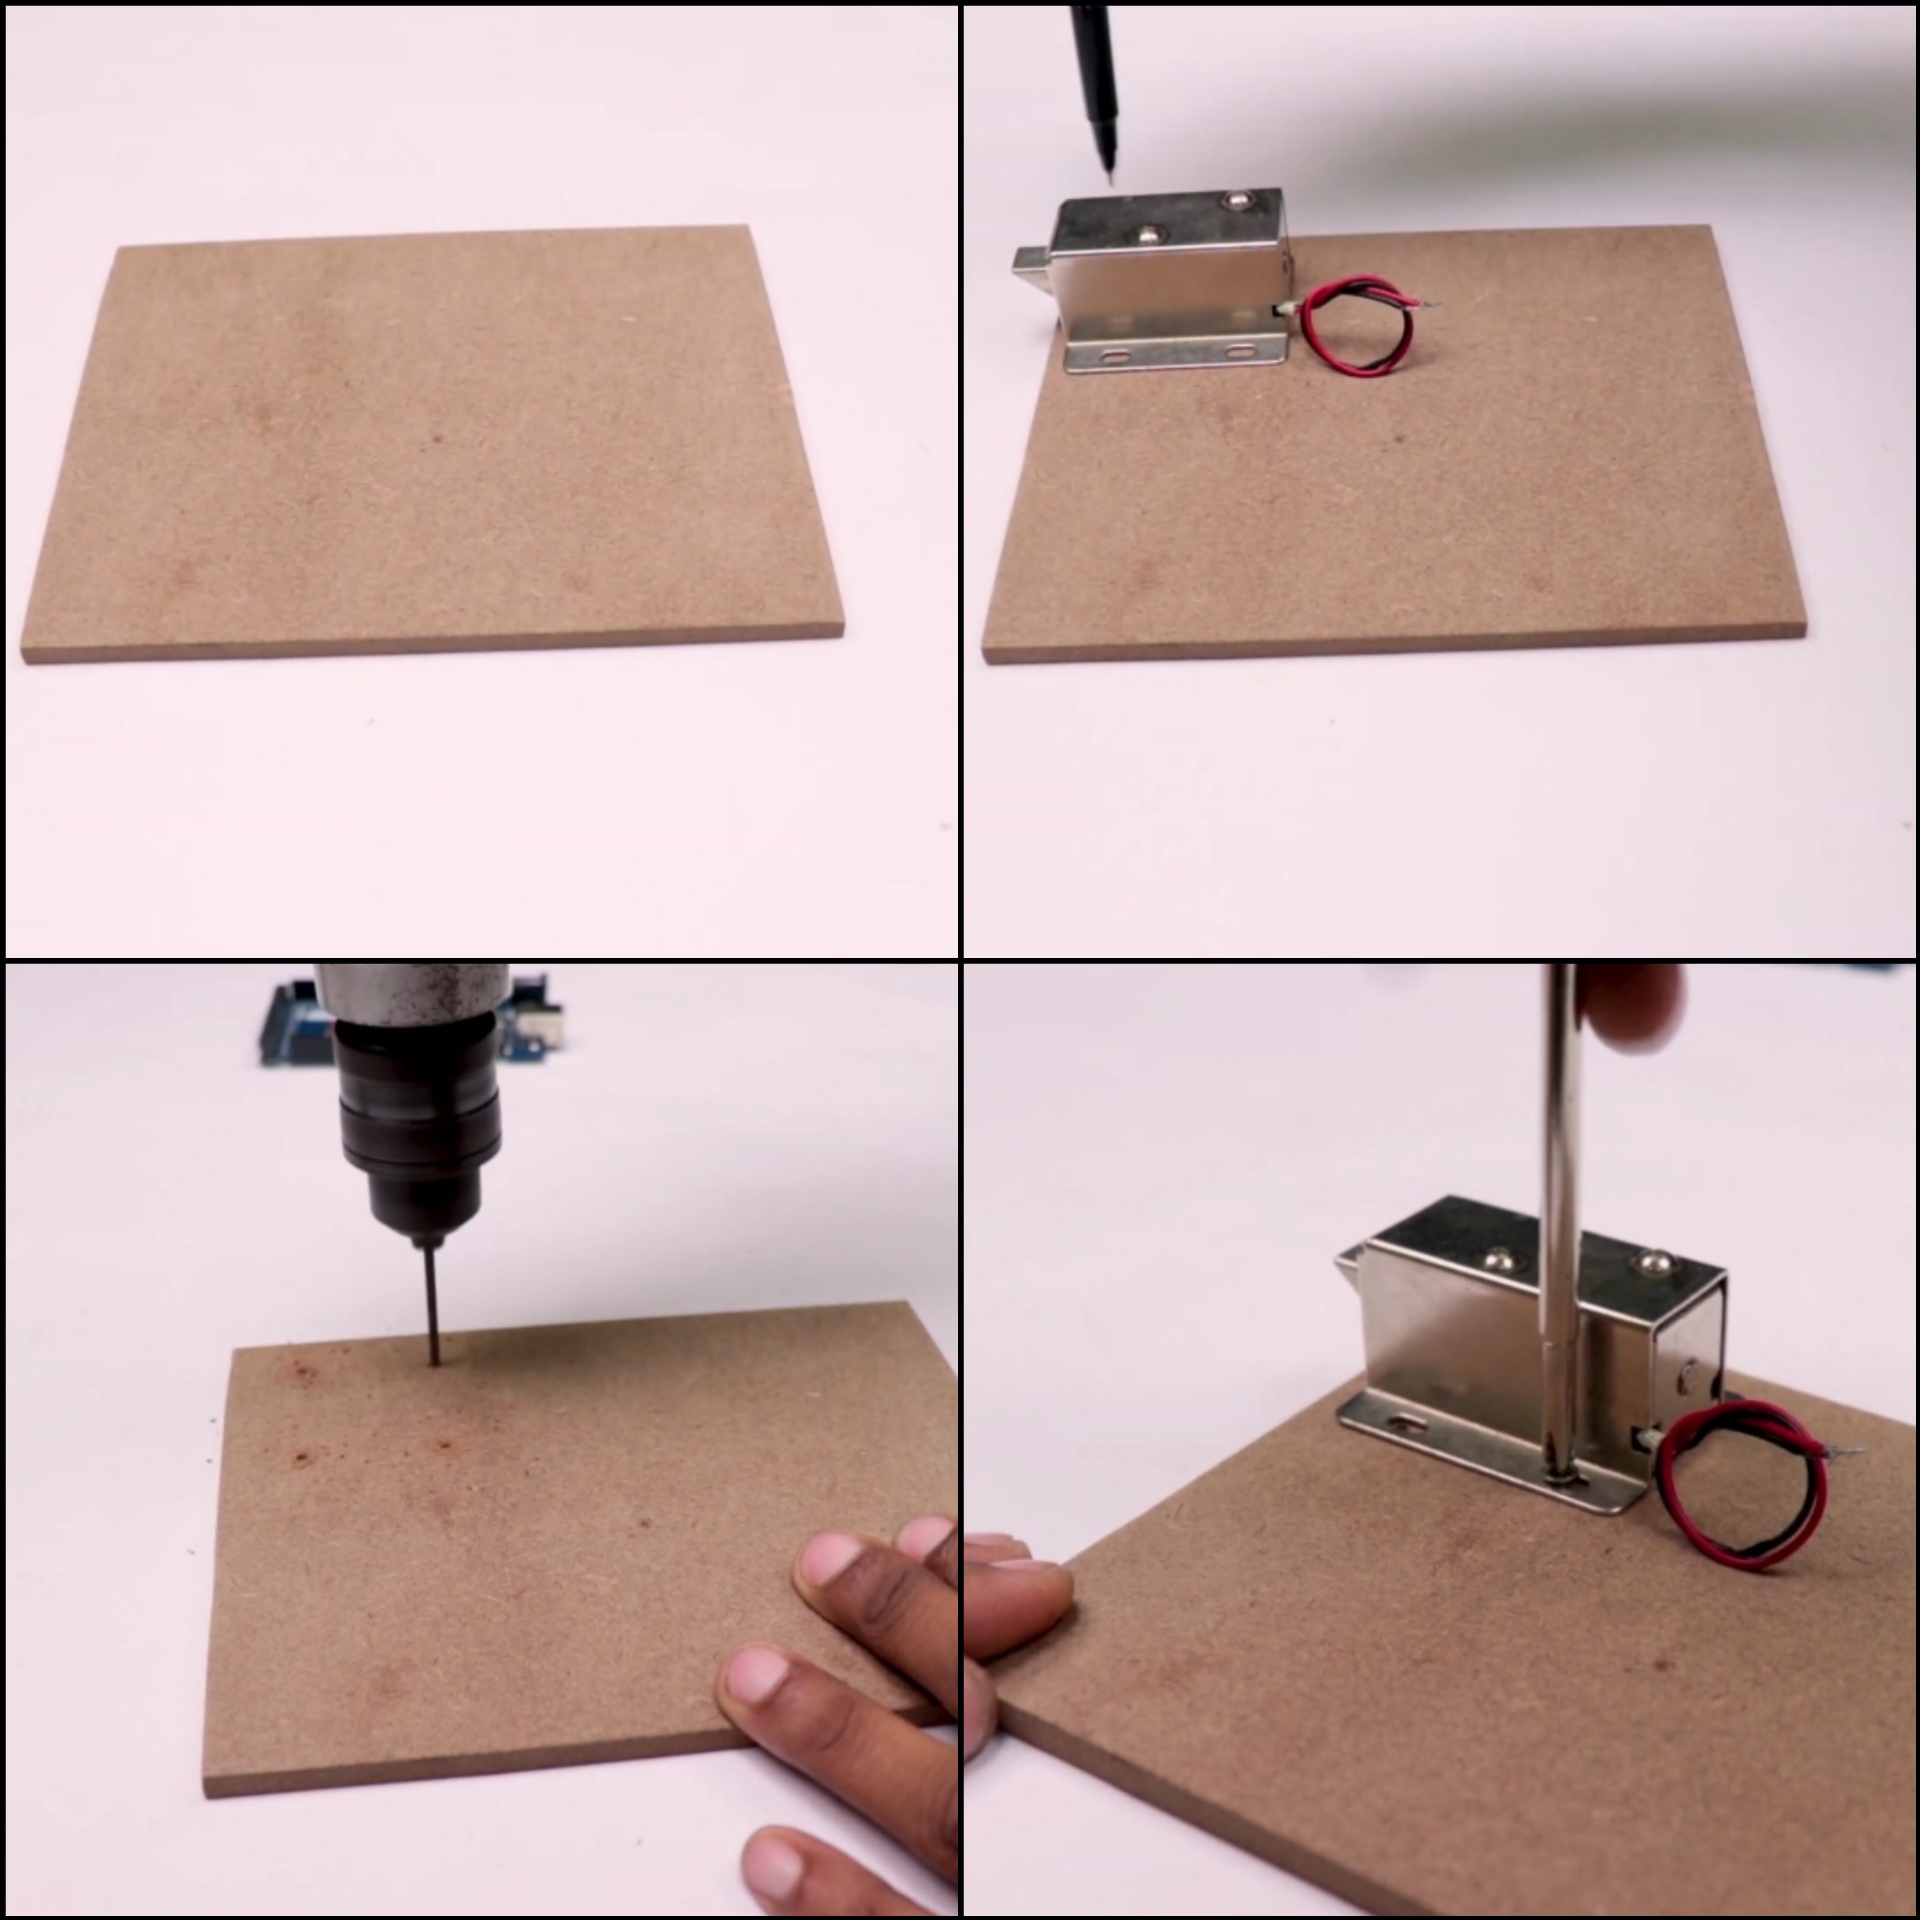
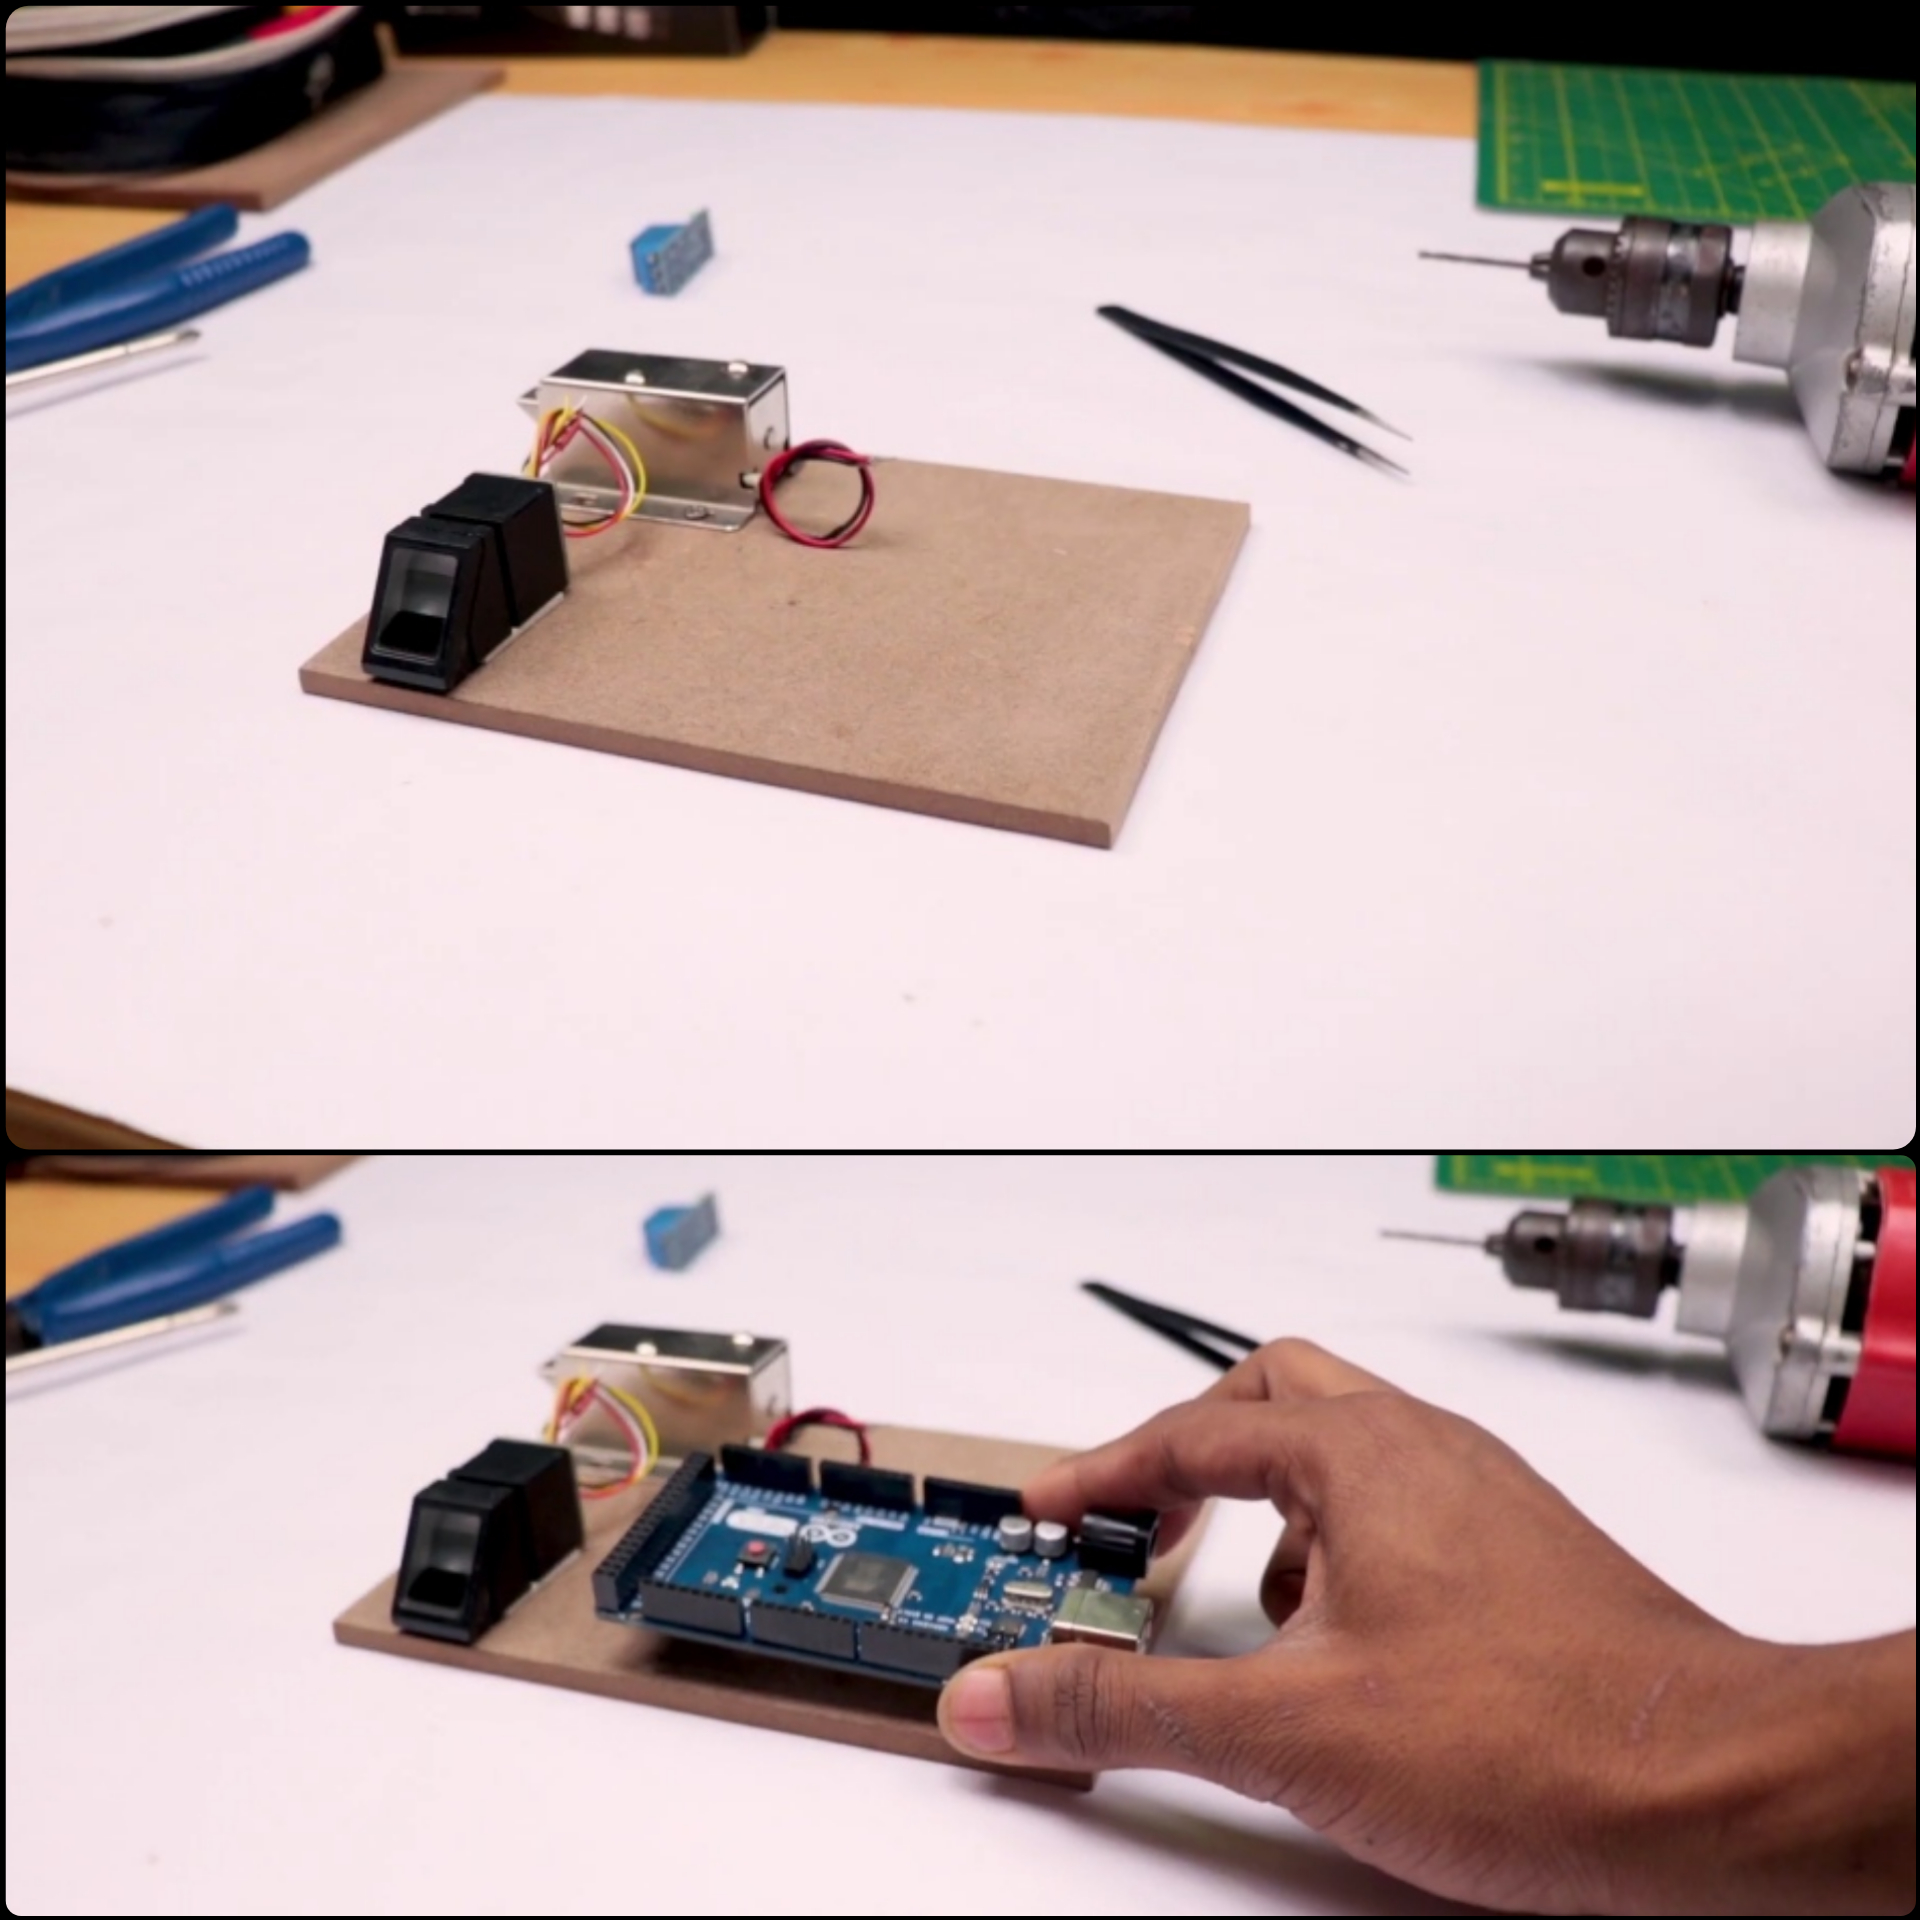
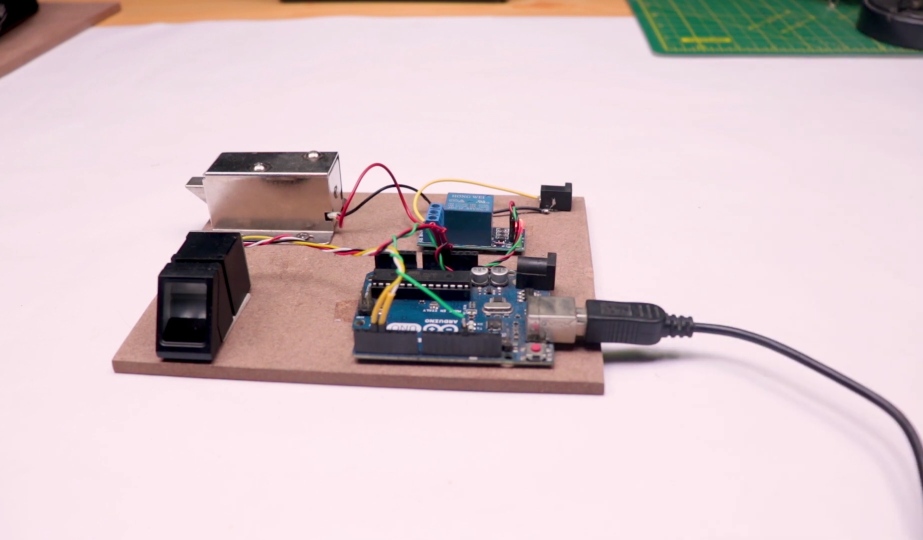
I am using MDF wood to fix it all the components on it
R307 Digital fingerprint reader sensor
Digital fingerprint reader
The biometric fingerprint sensor is ideal to create a system capable of protecting what you require through the
analysis of your fingerprint. The device works with the serial protocol, so it can be used with any microcontroller
(arduino etc..) or development card.
The device has the capacity to store up to 162 fingerprints in its internal FLASH memory. The device’s LED lights up every time it is taking pictures for fingerprints.
- -Model: r307 Supply voltage: 5V
- -Operation current: 100mA-150mA
- – Fingerprint parity mode: 1: 1 1: n
- -Baud rate: 9600 * NN = 1 to 12 (Default is 6)
- -Acquisition time less than 1 second
- -5 Security levels
- -Window dimension: 14x18mm
- -Working environment: -10 º c to 40 º c (Relative Humidity 40% to 85%)
- -Dimensions: 5.5 x 2.1 x 2.0 cm Weight: 22g
To be able to use the device, it is necessary to save the fingerprints in its database. These footprints are assigned an ID. Subsequently, the reading and comparison sequence can be started to verify the fingerprints of the users and thus be able to discern and execute actions based on the result.
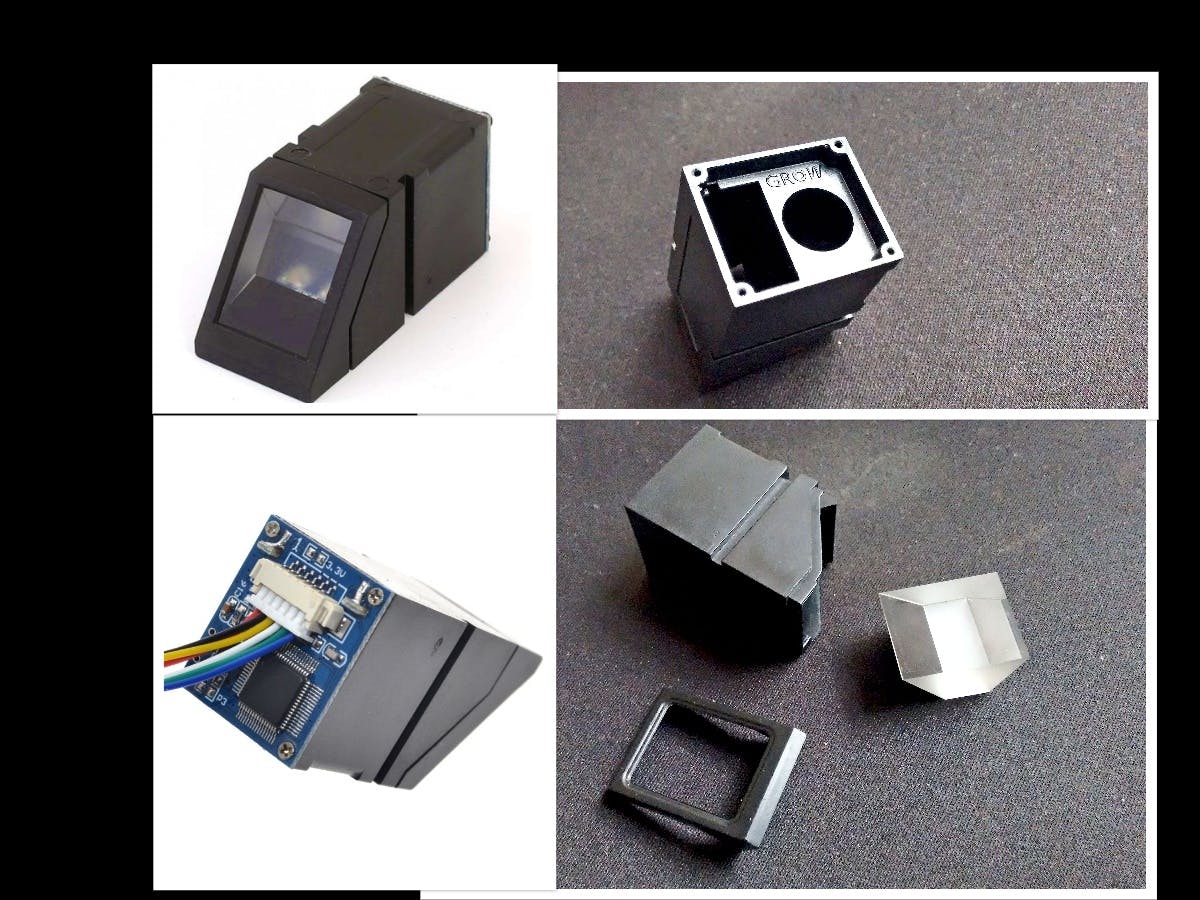
what is inside in R307 fingerprint sensor
LEDs and touch sense pad
TTP233D IC
Remove the cap to see the prism
Image sensor
_fMKeylHicQ.jpg?auto=compress%2Cformat&w=1280&h=960&fit=max)
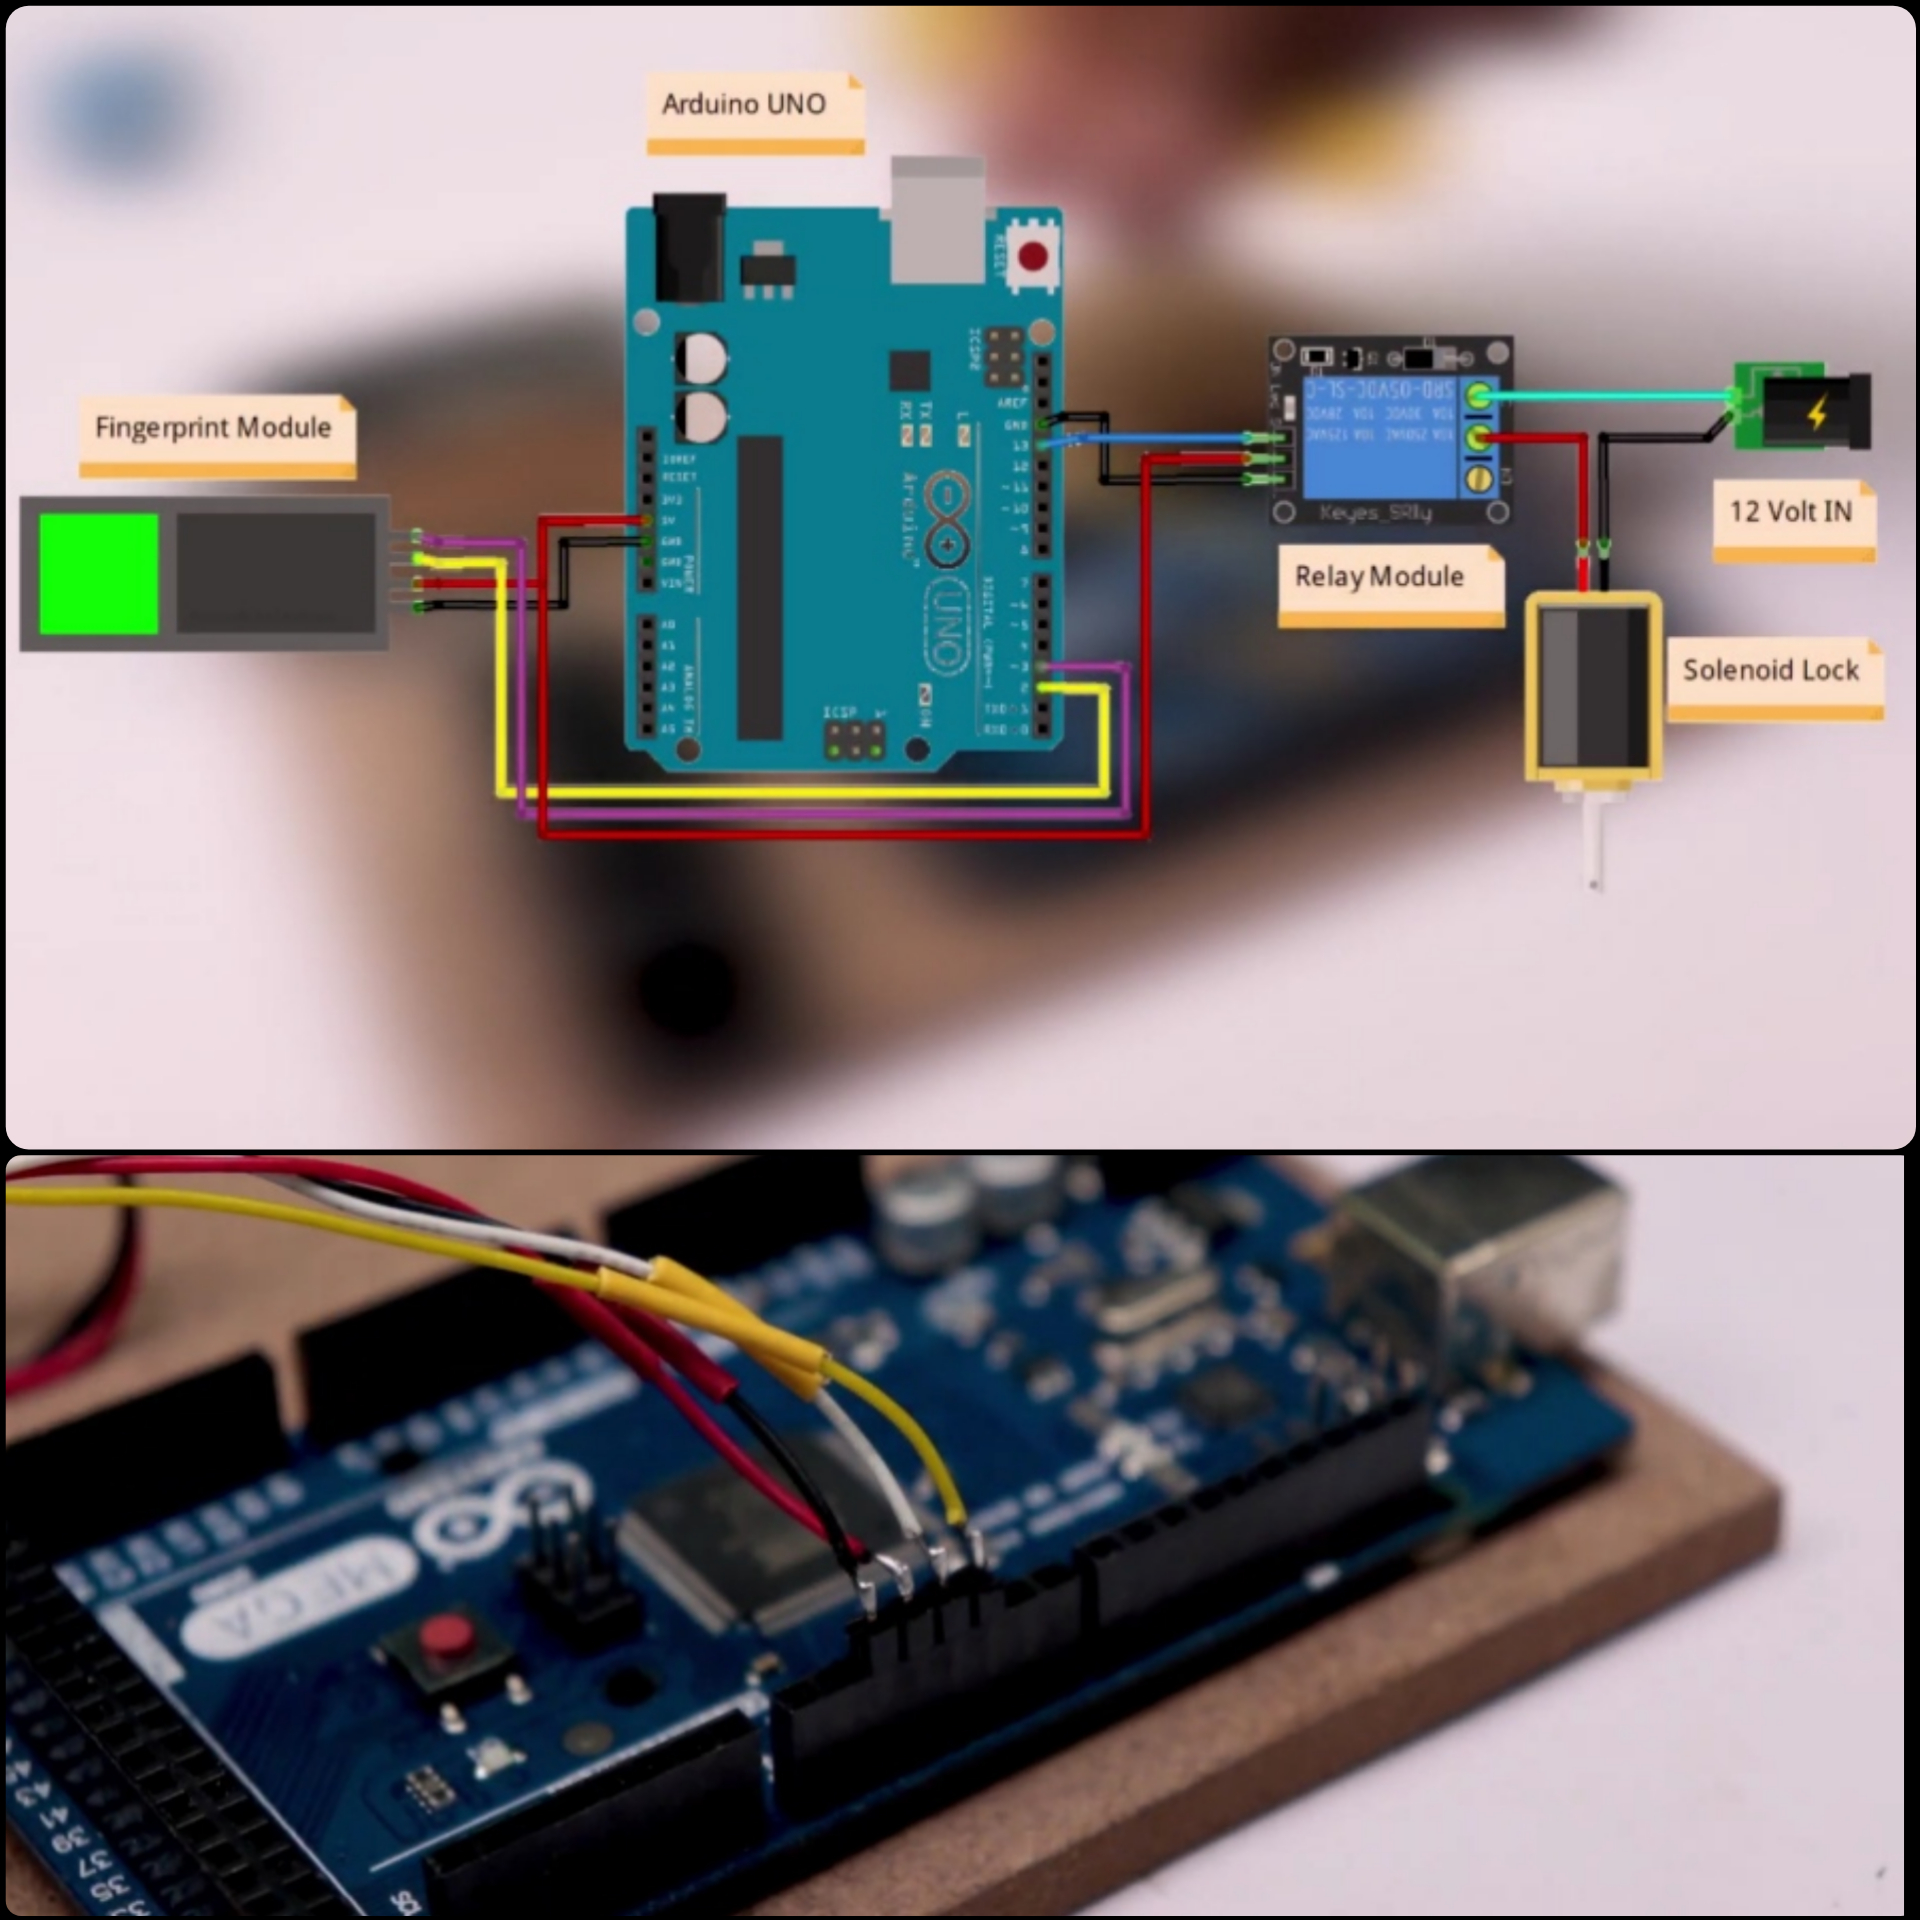
Schematic & circuit
Arduino Fingerprint module
D2 RX
D3 TX
GND GND
5v 5v
Programming
First we proceed to download the library for Arduino from the following link:
https: //github.com/Adafruit/Adafruit-fingerprint-S …
Once downloaded, the library is unzipped and saved in: C: Program Files (x86) Arduino libraries It is necessary to rename the library folder in case the “.cpp” file is found with a different name is in it.
The sensor works at 57600 baud, it can be configured but this is the default speed, when using serial, the arduino uses the software serial library.
- #include <SoftwareSerial.h>
If it is required to change pins, the serial by software can be done in the following instruction:
- MySerial SoftwareSerial (2, 3);
For the example of the fingerprint, if the arduino is required to execute an action after having found a fingerprint, it is necessary to indicate it in this section of code:
- Serial.Print (“found ID #”);
- Serial.Print (Finger.fingerID);
- Serial.Print (“with confidence”);
- Serial.println (Finger.Confidence); Write the code here return finger.fingerID;
We open the Arduino Serial Monitor to start recording the tracks and follow the instructions:
We save the first fingerprint in position 1 and then we give it enter and follow the instructions:
If the fingerprint was registered correctly, it will show the message “Fingerprint DOES match!” , followed by the position where it was saved and the message “Registered!”
To save more than one fingerprint, the sensor allows up to 162 fingerprints, we now retype the number of the next position where we want to save it, which in this example would be position 2 , we type 2 and press enter and continue again the same instructions until all the necessary footprints are recorded, always indicating a different position so that one already saved is not overwritten.
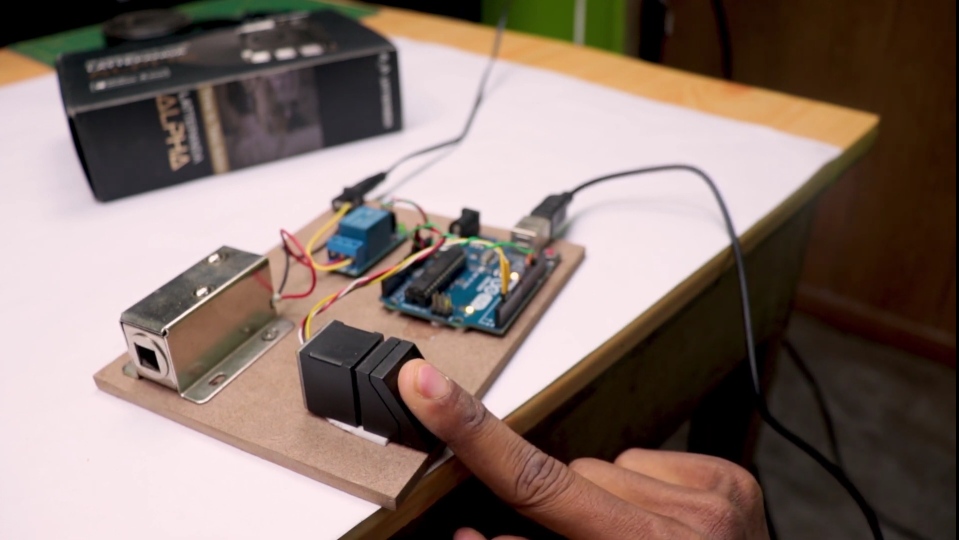
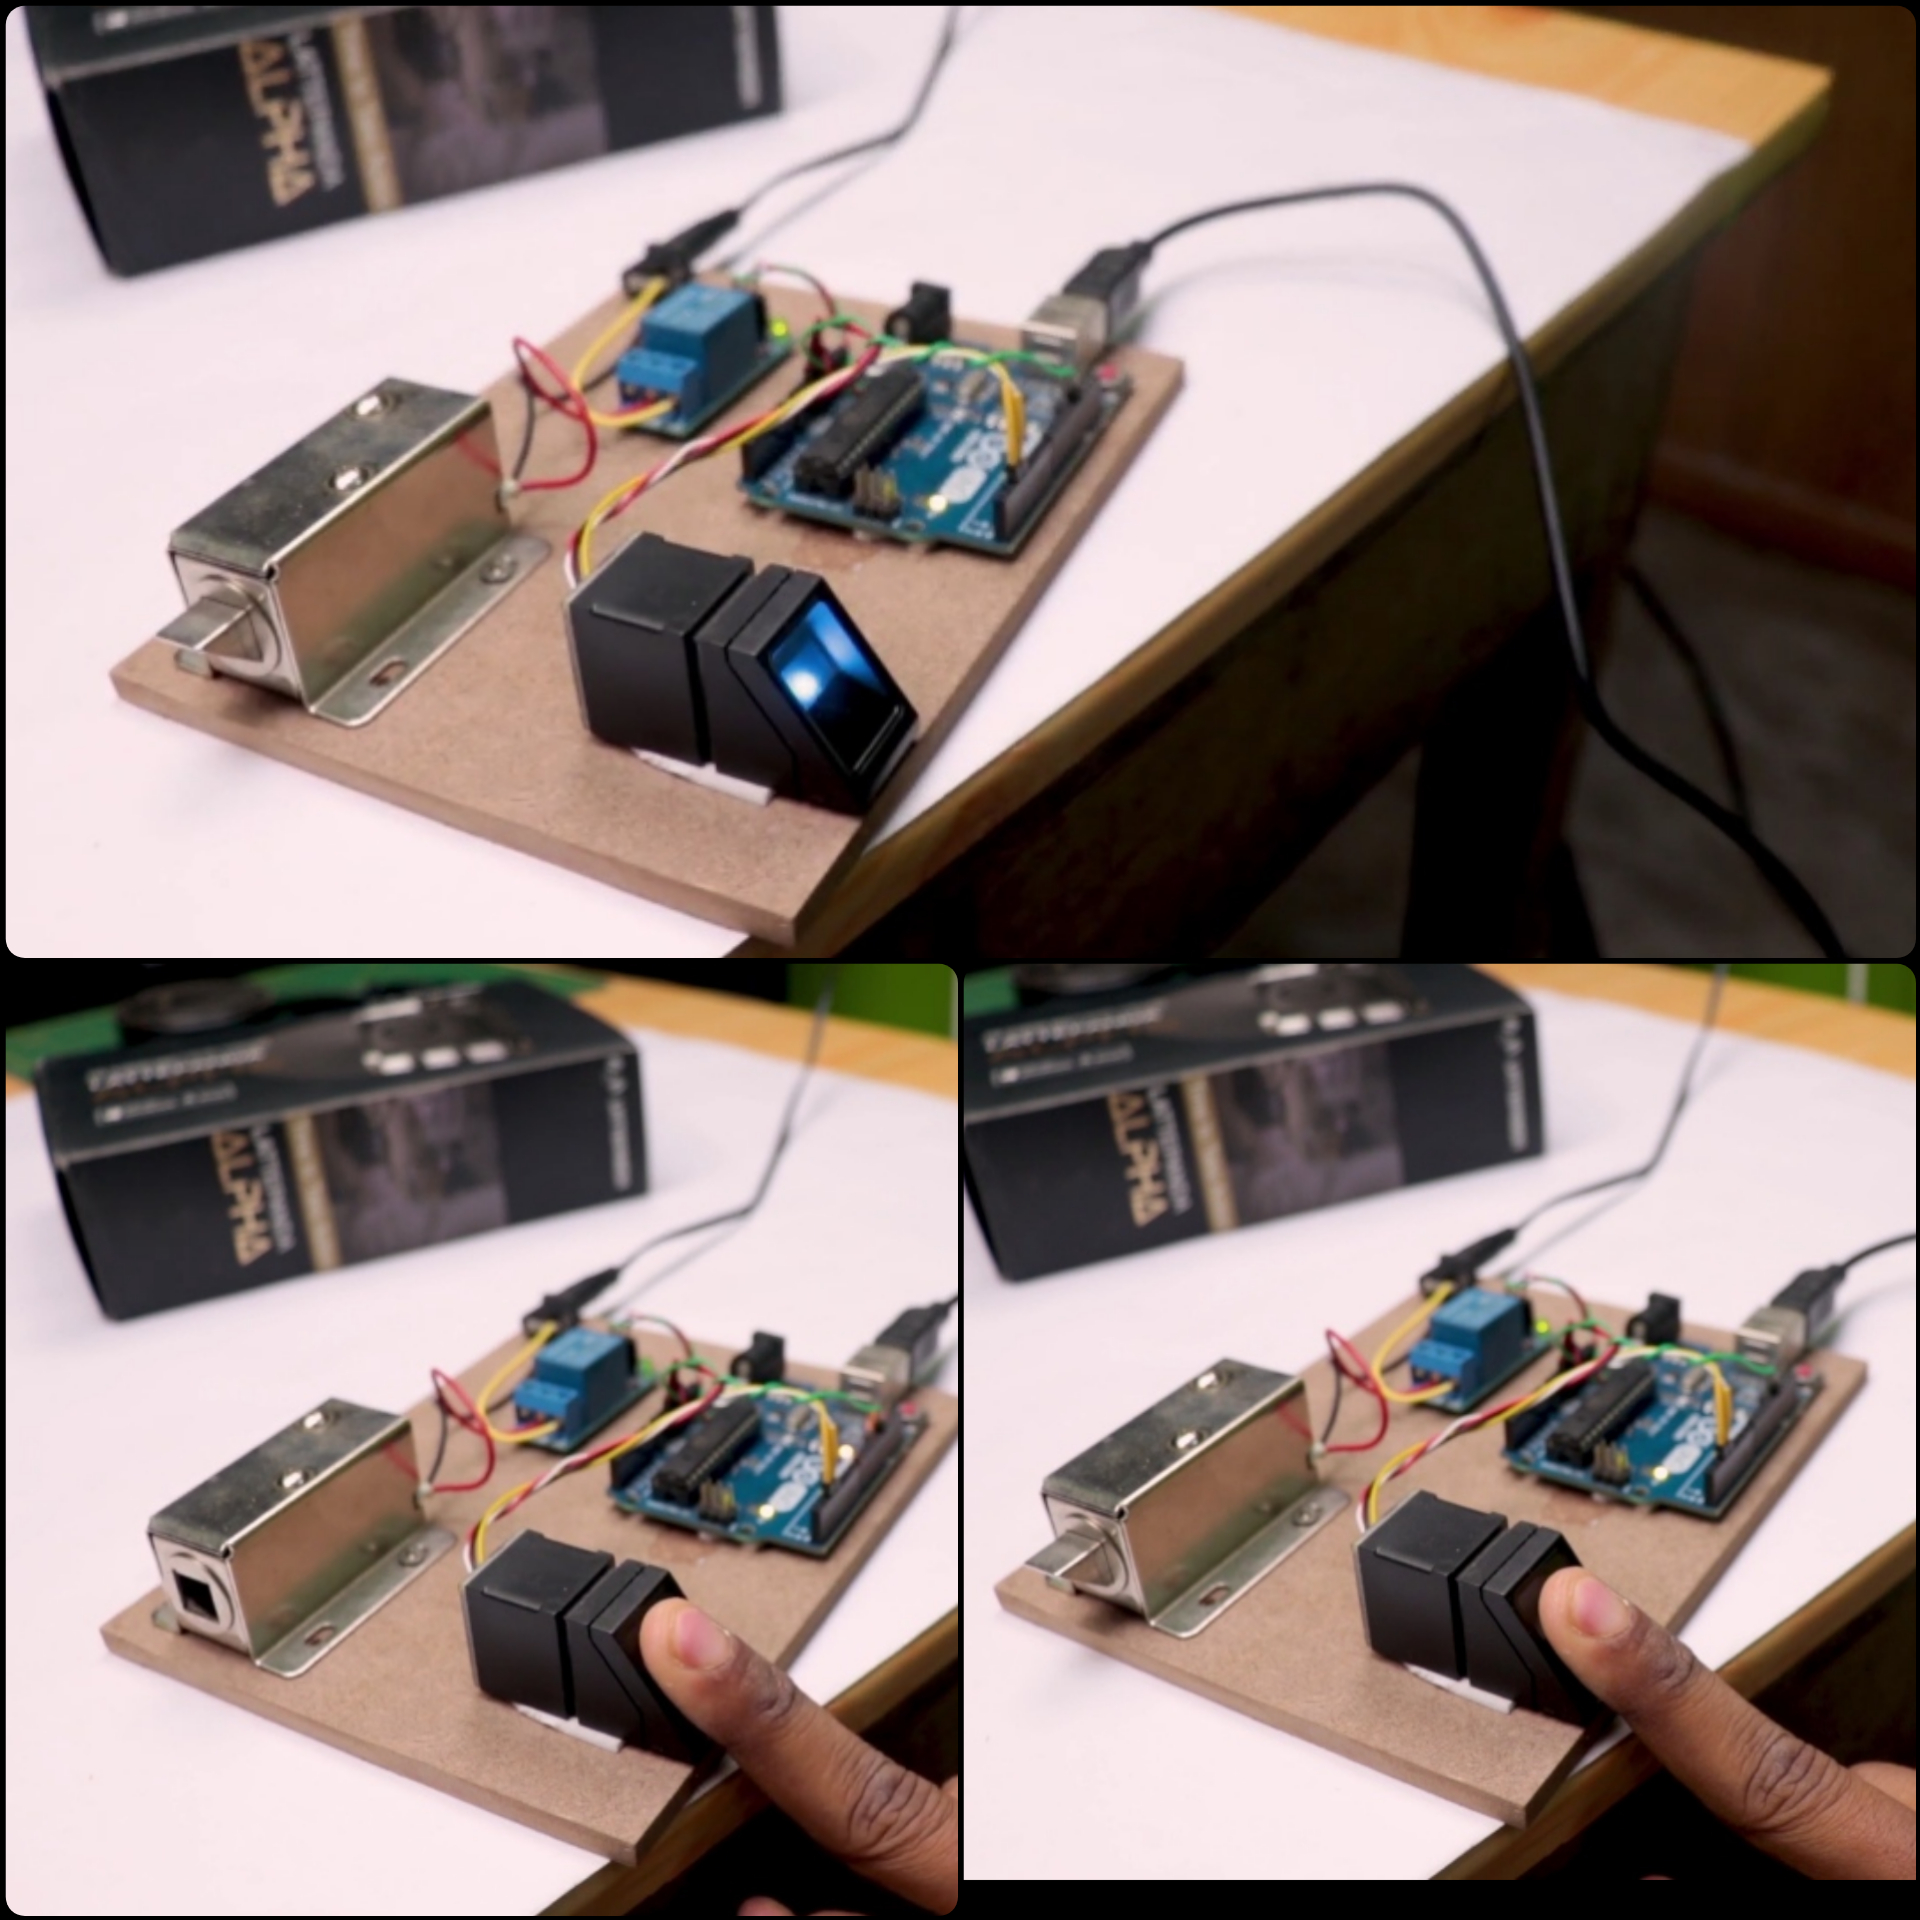
Finally we load the final program that will read the fingerprints. If the fingerprint read matches one of those stored, the relay that is connected to Pin 13 of the Arduino will be activated for 3 seconds
Code
#include
#include
int getFingerprintIDez();
// pin #2 is IN from sensor (GREEN wire)
// pin #3 is OUT from arduino (WHITE wire)
SoftwareSerial mySerial(2, 3);
Adafruit_Fingerprint finger = Adafruit_Fingerprint(&mySerial);
void setup()
{
Serial.begin(9600);
Serial.println(“fingertest”);
pinMode(13, OUTPUT);
digitalWrite(13, LOW);
// set the data rate for the sensor serial port
finger.begin(57600);
if (finger.verifyPassword()) {
Serial.println(“Found fingerprint sensor!”);
} else {
Serial.println(“Did not find fingerprint sensor :(“);
while (1);
}
Serial.println(“Waiting for valid finger…”);
}
void loop() // run over and over again
{
getFingerprintIDez();
delay(50); //don’t ned to run this at full speed.
}
uint8_t getFingerprintID() {
uint8_t p = finger.getImage();
switch (p) {
case FINGERPRINT_OK:
Serial.println(“Image taken”);
break;
case FINGERPRINT_NOFINGER:
Serial.println(“No finger detected”);
return p;
case FINGERPRINT_PACKETRECIEVEERR:
Serial.println(“Communication error”);
return p;
case FINGERPRINT_IMAGEFAIL:
Serial.println(“Imaging error”);
return p;
default:
Serial.println(“Unknown error”);
return p;
}
// OK success!
p = finger.image2Tz();
switch (p) {
case FINGERPRINT_OK:
Serial.println(“Image converted”);
break;
case FINGERPRINT_IMAGEMESS:
Serial.println(“Image too messy”);
return p;
case FINGERPRINT_PACKETRECIEVEERR:
Serial.println(“Communication error”);
return p;
case FINGERPRINT_FEATUREFAIL:
Serial.println(“Could not find fingerprint features”);
return p;
case FINGERPRINT_INVALIDIMAGE:
Serial.println(“Could not find fingerprint features”);
return p;
default:
Serial.println(“Unknown error”);
return p;
}
// OK converted!
p = finger.fingerFastSearch();
if (p == FINGERPRINT_OK) {
Serial.println(“Found a print match!”);
} else if (p == FINGERPRINT_PACKETRECIEVEERR) {
Serial.println(“Communication error”);
return p;
} else if (p == FINGERPRINT_NOTFOUND) {
Serial.println(“Did not find a match”);
return p;
} else {
Serial.println(“Unknown error”);
return p;
}
// found a match!
Serial.print(“Found ID #”); Serial.print(finger.fingerID);
Serial.print(” with confidence of “); Serial.println(finger.confidence);
}
// returns -1 if failed, otherwise returns ID #
int getFingerprintIDez() {
uint8_t p = finger.getImage();
if (p != FINGERPRINT_OK) return -1;
p = finger.image2Tz();
if (p != FINGERPRINT_OK) return -1;
p = finger.fingerFastSearch();
if (p != FINGERPRINT_OK) return -1;
// found a match!
Serial.print(“Found ID #”); Serial.print(finger.fingerID);
Serial.print(” with confidence of “); Serial.println(finger.confidence);
digitalWrite(13, HIGH);
delay(3000);
digitalWrite(13, LOW);
return finger.fingerID;
}
Friends, I hope you liked it, if yes, please support me on YouTube
NextPCB PCB Manufacturers Company
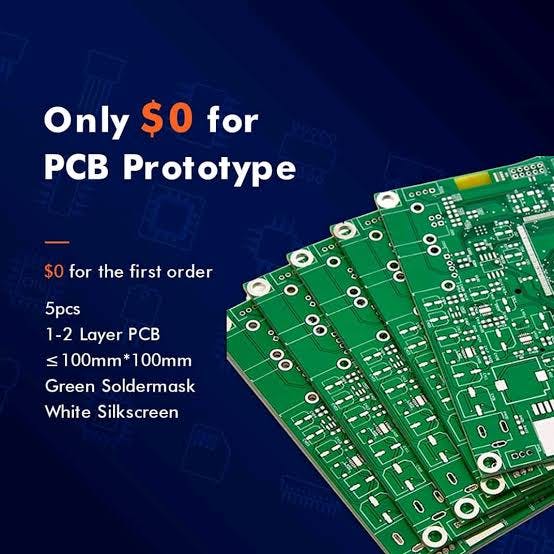
1st Thanks NextPCB for sponsor this project. Nextpcb offer For New Customer, Your First Order Will Be 10 PCBs for just $0 at Free.
NextPCB one of the world’s most professional PCB manufacturers based in China. With professional PCB manufacturing capabilities, for each file of our customer will be double-checked by more than 14 years PCB engineers. they handle the whole process of PCBs including the PCB assembly ,PCB manufacturing, testing and final shipment.


_a0YH3a7Jju.jpg?auto=compress%2Cformat&w=1280&h=960&fit=max)



2 Comments
This is my first time I have visited here. I found a lot of interesting stuff in your blog. From the tons of comments on your posts, I guess I am not the only one! keep up the impressive work.
Hi my name Romeo, I am very happy that you liked my post, I will try and keep bringing even better projects for you and you guys keep supporting us. Thank You