Jupyter Notebook is a popular tool for Python programming and data analysis this guide will show you how to install Jupyter Notebook on Raspberry Pi 3/4/5. Jupyter Notebook is a powerful tool that allows you to create and share documents that contain live code, equations, visualizations, and explanatory text.
What is Jupyter Notebook
The Jupyter Notebook is an open-source web application that allows you to create and share documents that contain live code, equations, visualizations, and explanatory text. Plans include data cleaning and transformation, numerical simulation, statistical modeling, machine learning, and much more.
Prepare your Raspberry Pi
Before you begin, you must have a Raspberry Pi 3, 4, or 5 set up and running with a fresh installation of Raspbian or Raspberry Pi OS before you start. Checkout our previous post on How to Setup a Raspberry Pi for the First Time | Getting Started with Raspberry Pi
Update and Upgrade Your Raspberry Pi
|
1 2 |
sudo apt update sudo apt upgrade |
Install Python and Pip
Jupyter Notebook is only available if you have Python installed. Most Raspberry Pi systems come with Python pre-installed, but it’s best to check you have it! If not, run the following command.
|
1 |
sudo apt install python3-pip |
Install the necessary packages:
Installation Steps:
- Open a Command terminal on your Raspberry Pi.
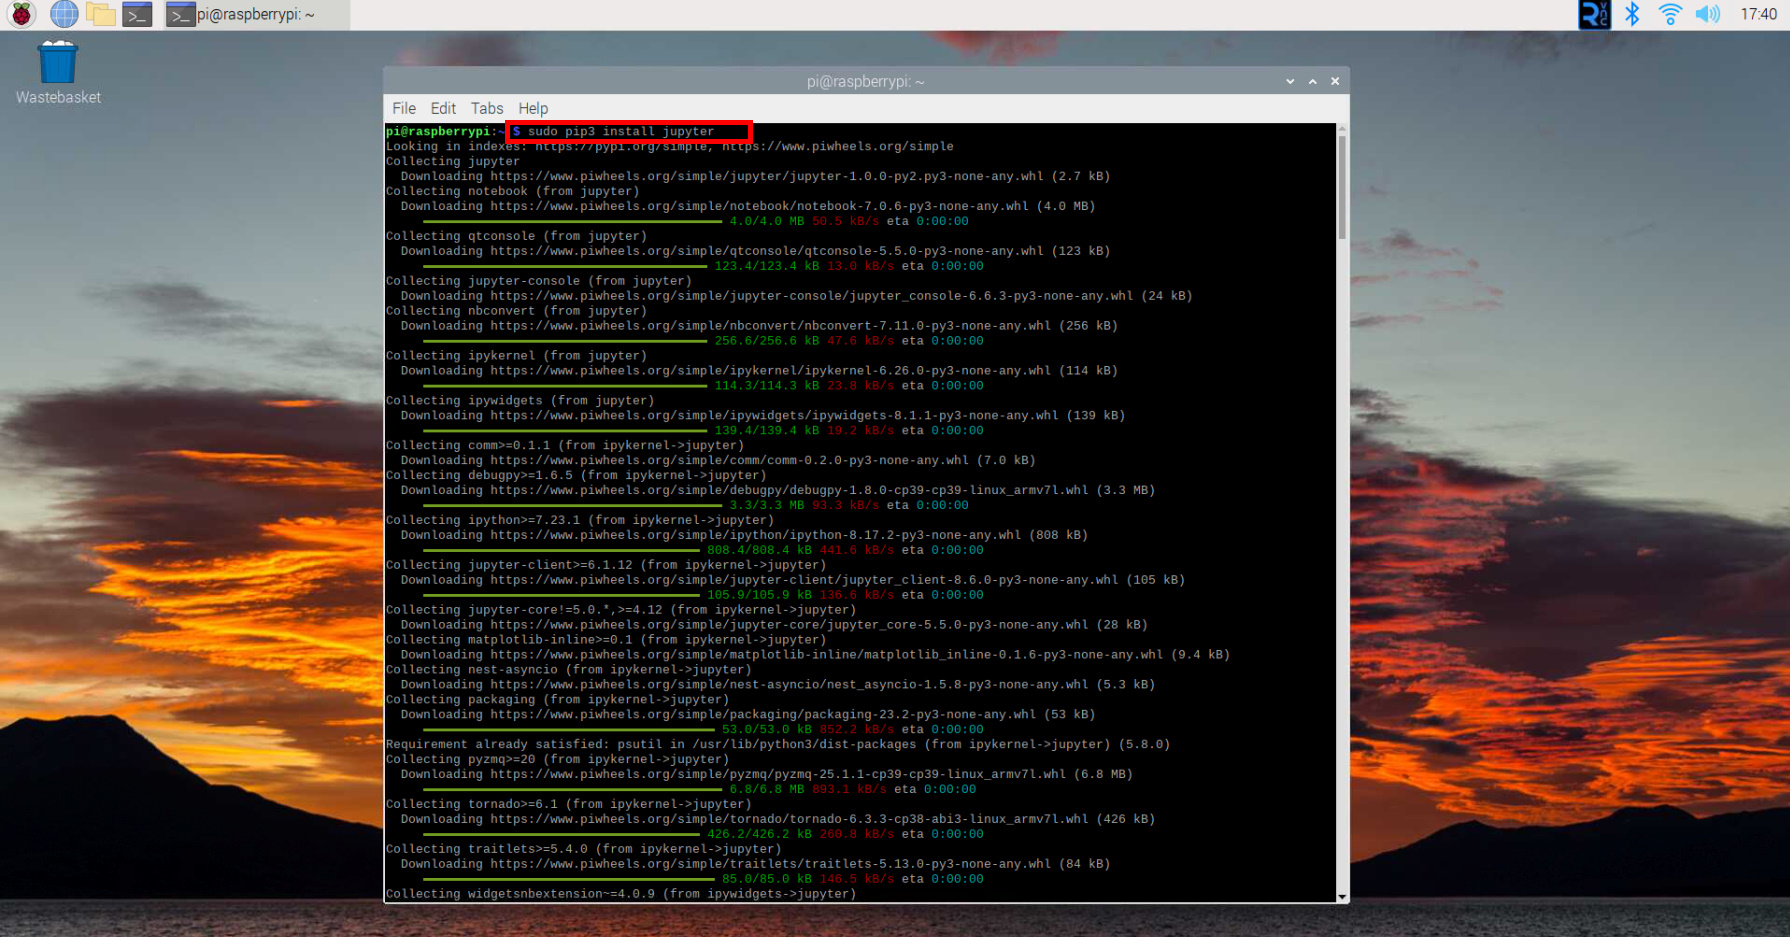
- Enter the following commands one by one:
|
1 2 3 4 5 6 7 8 |
sudo apt-get update sudo apt-get install python3-matplotlib python3-scipy pip3 install --upgrade pip sudo reboot sudo pip3 install jupyter sudo apt-get clean sudo update-alternatives --config x-www-browser sudo reboot |
Testing
- Open a command terminal on your Raspberry Pi.
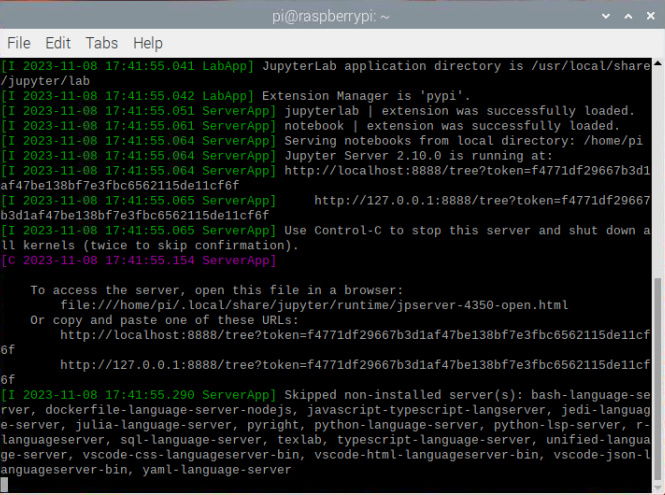
- Start Jupyter Notebook by running the below command:
|
1 |
jupyter-notebook |
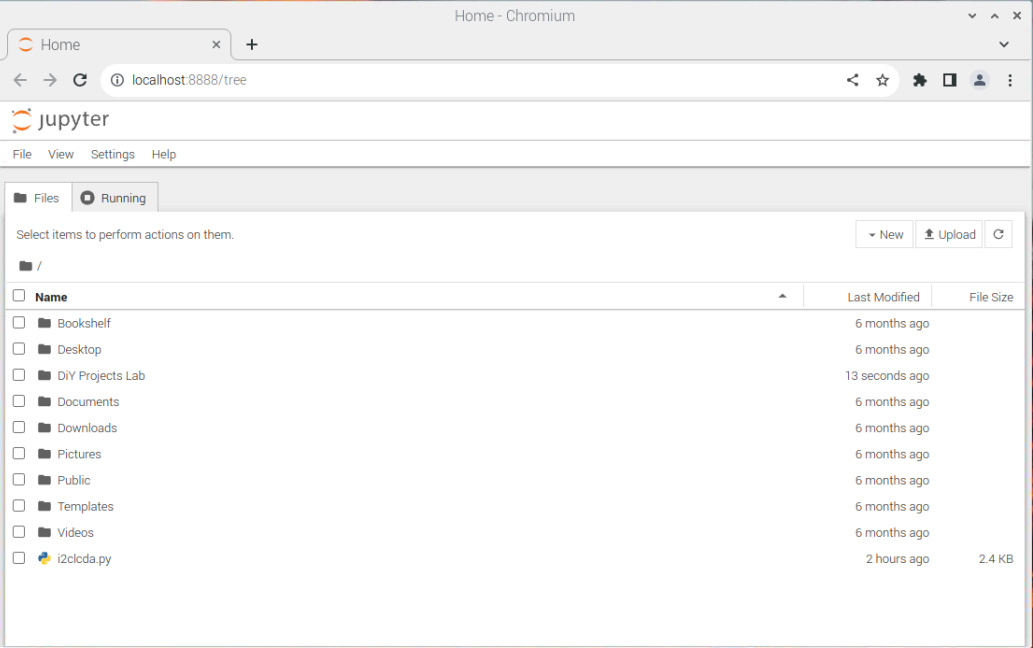
This command will launch Jupyter Notebook automatically on Chromium Browser, and now you can start working with IPython notebooks.


