Introduction
Welcome to the most detailed tutorial of Raspberry Pi Pico W. This tutorial is prepared to cover every part and every detail of Raspberry Pi Pico W. By the end of this tutorial, You will have learned all the Raspberry Pi Pico W, its features & specifications. The detailed guide of Raspberry Pi Pico W Pins like ADC pins, I2C Pins, SPI Pins, UART, etc. will help you to interface any supported electronics components that you want.
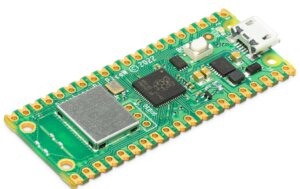
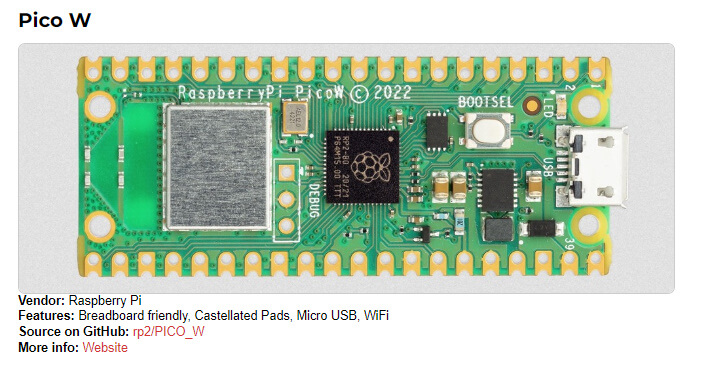
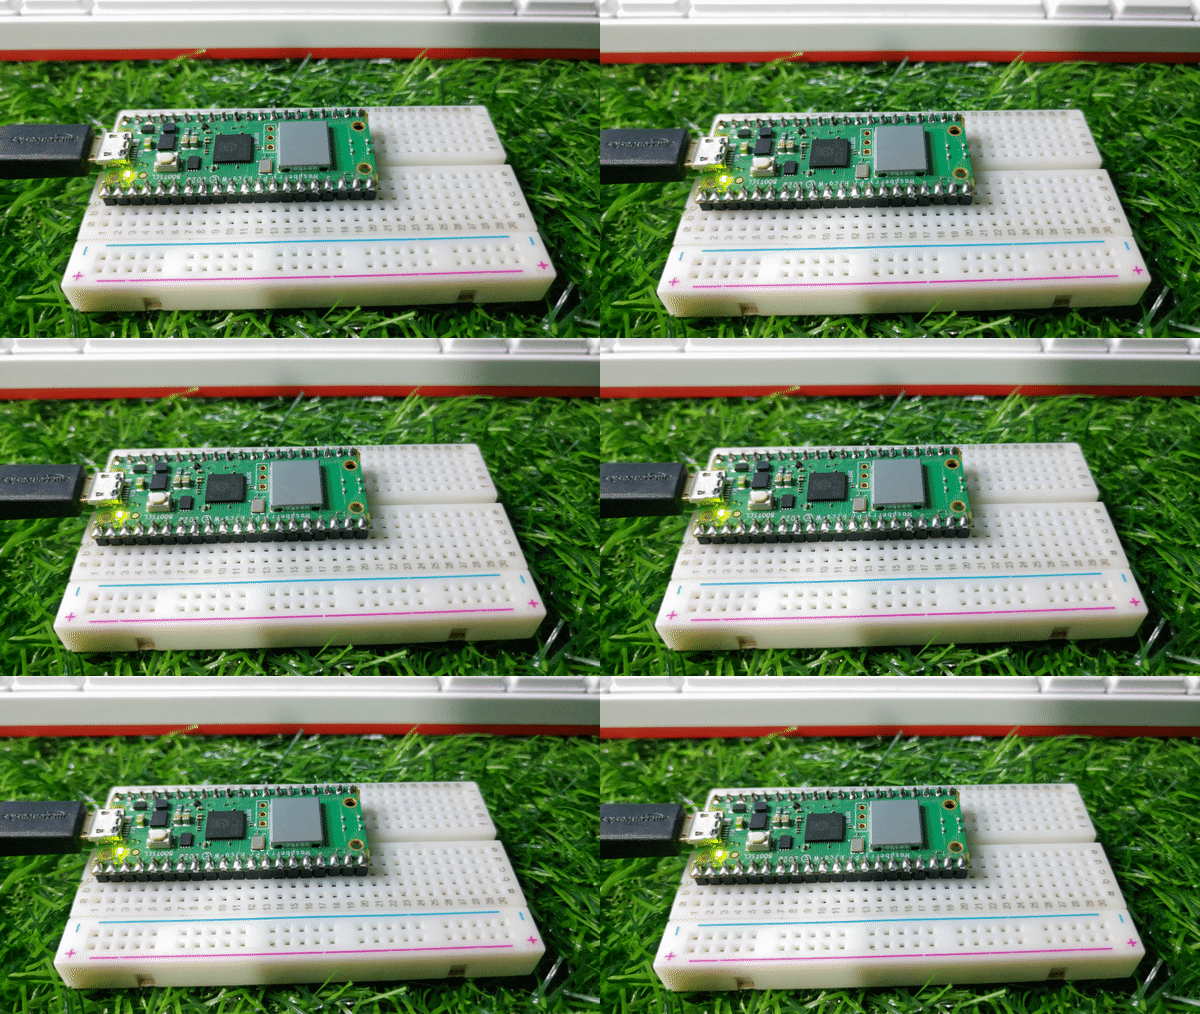
Raspberry Pi Pico W is a microcontroller board based on the Raspberry Pi RP2040 microcontroller chip, a variant of the Raspberry Pi Pico that adds CYW43439 WiFi+BLE Chip. The Raspberry Pi Pico W is a low-cost RP2040 processor-based development board. that we can program using C/C++ and MicroPython.
The Pico is a tiny board measuring just 20mm x 51mm. it also has an onboard temperature sensor, making it perfect for monitoring and controlling temperature-sensitive devices.
RP2040 Microcontroller Chip
RP2040 chip was announced on 21st January 2021 and is the first dual-core processor designed by the Raspberry Pi Foundation. It was designed specifically for Raspberry Pi Pico which is the first microcontroller by Raspberry Pi. The chip is 40nm silicon in a 7×7 mm QFN-56 package.
The RP2040 chip is packed with a dual-core ARM Cortex-M0+ processor and can run at up to 133 Mhz with 264 KB of RAM.
The RP2040 chip has two programmable I/O (PIOs) which can operate as pins, UARTs, I2Cs or SPIs. It also has timers, I2Cs, 12bit analog-to-digital converter(ADC).
Why is the chip called RP2040?
The name of the microcontroller(RP2040) conveys meaning in several layers:
- RP in RP2040 means “Raspberry Pi”
- 2 represents the number of processor cores the microcontroller has i.e, 2 cores.
- 0 indicates the type of core, ARM Cortex-M0+ to be exact. The other microcontrollers of this series by ARM are named Cortex-M1, Cortex-M3, Cortex-M4, and Cortex-M7.
- The digit 4 declares the microcontroller has 264 kilobytes of RAM, based on the mathematical expression: floor(log2(RAM/16))
- 0 symbolises the non-volatile storage on board remains null same as its preceding branch.
Features of RP2040 Microcontroller-
Dual-core Cortex M0+ at up to 133MHz
264kB of SRAM
Raspberry Pi Pico W Datasheet
30 multi-function general-purpose I/O
12-bit analog to digital converter (ADC)
2 × UART, 2 × I2C, 2 × SPI, and 16 × PWM channels
1 × timer with 4 alarms, 1 × real-time clock
2 × programmable I/O (PIO) blocks
RP2040 Microcontroller Boards
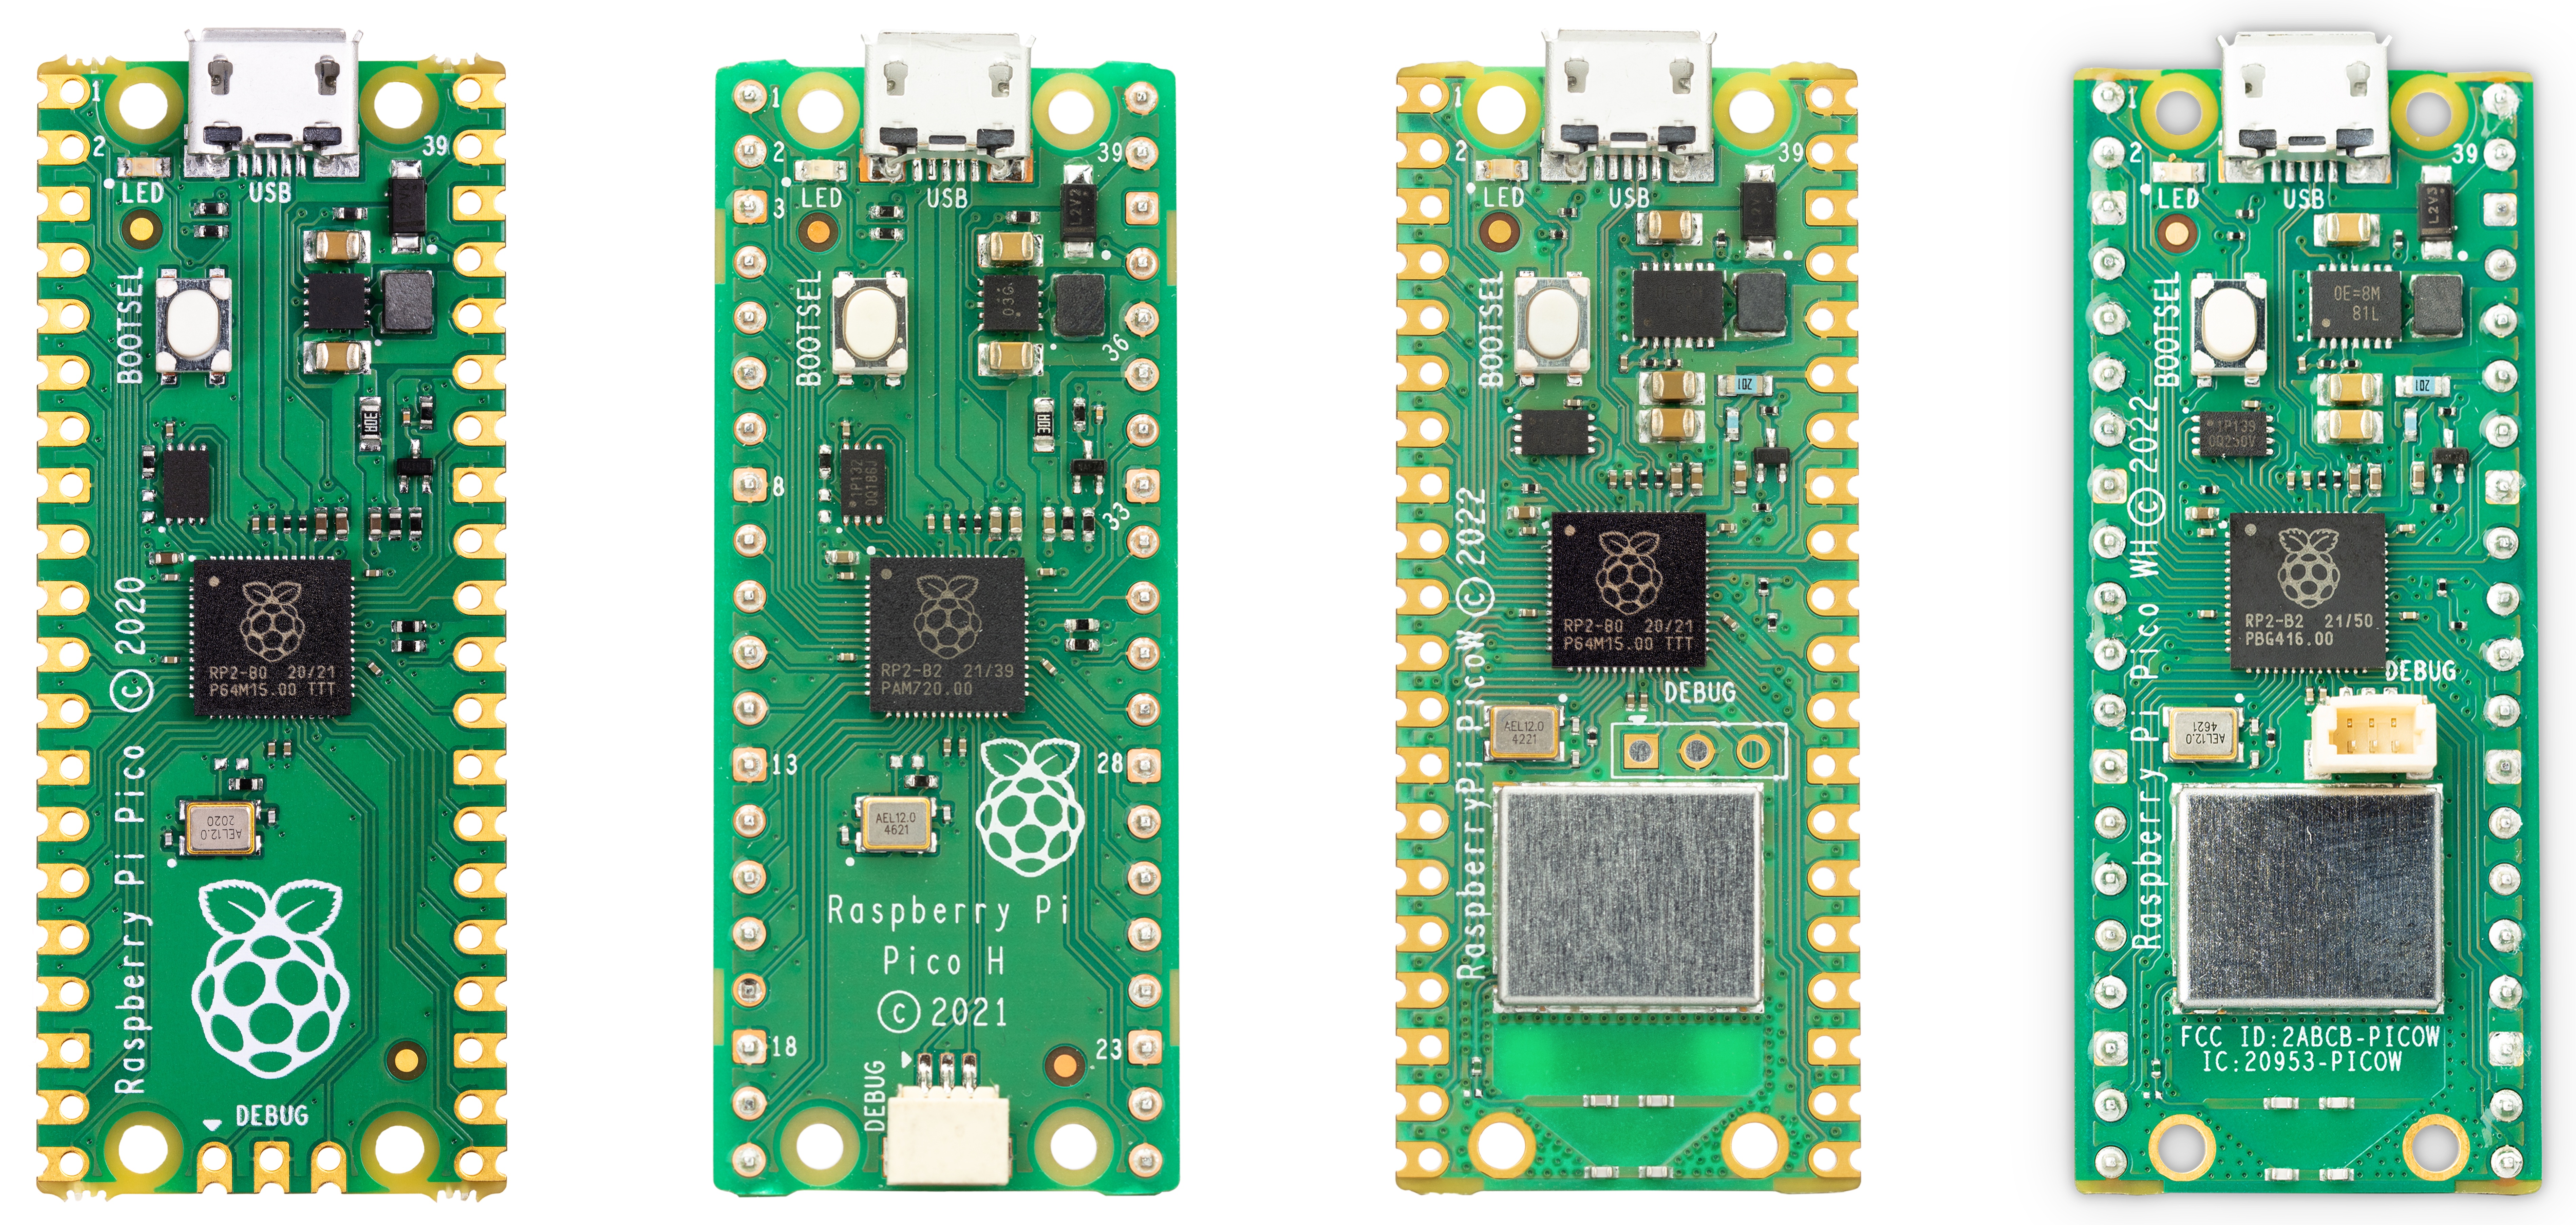
CYW43439 Wi-Fi 4 (802.11n) + Bluetooth 5.2
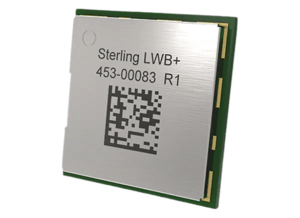
The module is based on the CYW43455 chip, which is a high-performance, ultra-low power SoC combining a 2.4 GHz 802.11n Wi-Fi radio and a dual-mode & Bluetooth® 5.2 is a reliable entry-level solution for low-cost applications. The SoC is manufactured using a 40nm process and is packaged in a 5 x 5 mm BGA package.
The CYW43439 adds updated Bluetooth® capabilities, WPA3, DPP for Wi-Fi Easy Connect™, enhanced Soft AP and shared SDIO host interface for Wi-Fi + Bluetooth
- Wi-Fi 4 (802.11n), Single-band (2.4 GHz)
- 1×1 SISO
- 20 MHz channels, up to 96 Mbps PHY data rat
- Integrated internal PA, LNA, and T/R switch supports a single antenna shared between Wi-Fi and Bluetooth
Applications
- Rugged handheld devices
- Industrial IoT connectivity
- Medical devices
- Industrial IoT sensors
Introduction to Raspberry Pi Pico W
The Raspberry Pi Pico W brings wireless connectivity to the Raspberry Pi Pico. It’s built around our RP2040 microcontroller and CYW43439 WiFi chip.
Raspberry Pi Pico W is a new microcontroller board from the makers of the popular Raspberry Pi single-board computer. The device has 2.4GHz 802.11 b/g/n wireless LAN support. It has an onboard antenna.
It has an onboard antenna. the unique chip of this device supports both station and access-point modes. Moreover, however, in the broadcast of this device, Full access to network functionality is available to both C and MicroPython developers.
RP2040 chips are available in 2MB of flash memory, and a power supply chip. it can support input voltages from 1.8–5.5V. Moreover, they provide 26 GPIO pins, three of which can function as analogue inputs, on 0.1”-pitch through-hole pads with castellated edges.
One of the most notable features of the Pico is its low price point. At just $6, the Pico is one of the most affordable microcontroller boards on the market. It is also one of the most miniature boards, measuring just 20mm x 45mm
The Raspberry Pi Pico W is designed to be used in various applications. One of the most popular applications for the Pico is as a replacement for an Arduino board. The Pico is fully compatible with the Arduino IDE, making it easy for users to start programming the board.
Raspberry Pi Pico W Features & Specifications
- Form factor: 21 mm × 51 mm
- CPU: Dual-core Arm Cortex-M0+ @ 133MHz
- Memory: 264KB on-chip SRAM; 2MB onboard QSPI Flash
- Interfacing: 26 GPIO pins, including 3 analogue inputs
Peripherals:
- 2 UARTs
- 2 SPI controllers
- 2 I2C controllers
- 16 PWM channels
- USB 1.1 controller and PHY, with host and device support
- 8 PIO state machines
- 1 × USB 1.1 controller and PHY, with host and
- Device Support: 8 × PIO state machines
- Input Power: 1.8–5.5V DC
- Operating Temperature: -20°C to +85°C
- Connectivity: 2.4GHz IEEE 802.11b/g/n wireless LAN, on-board antenna
Raspberry Pi Pico W Pinout & schematics
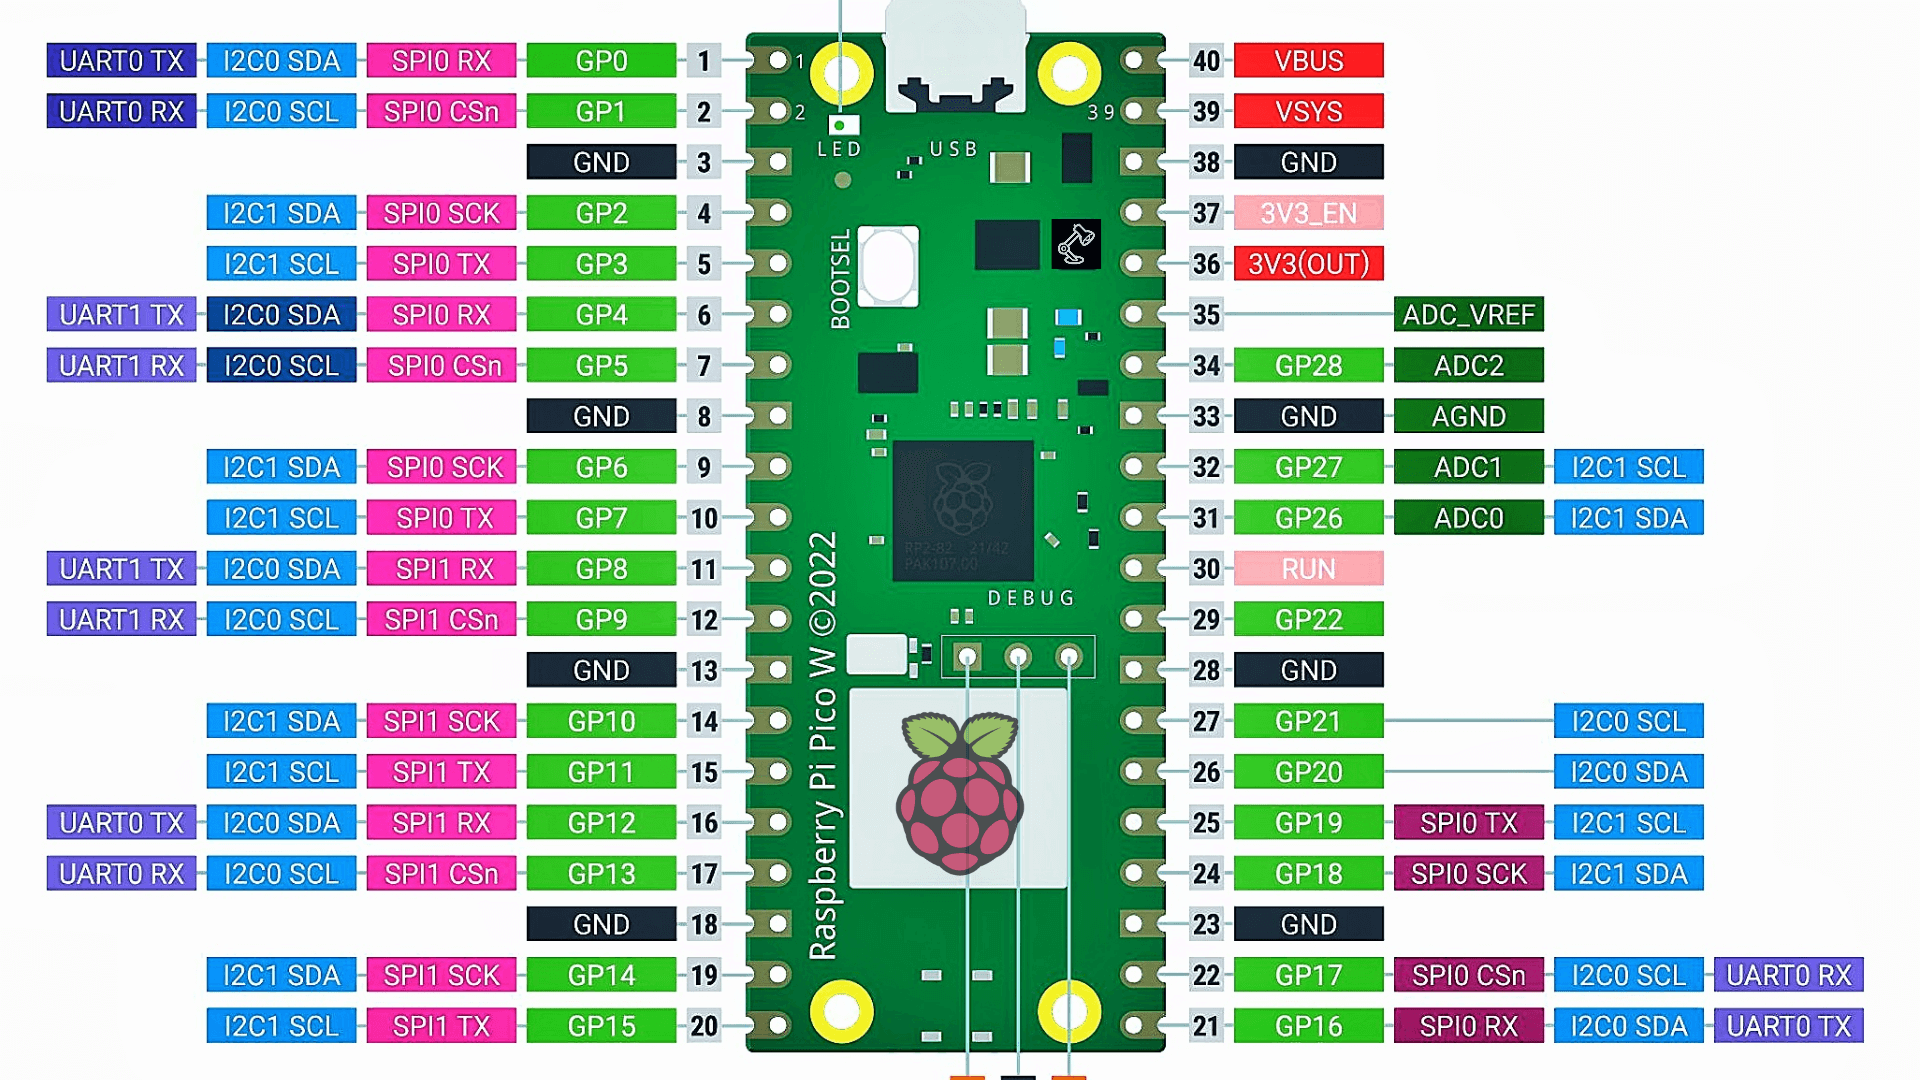
Raspberry Pi Pico has several built-in peripherals, including 40 GPIO pins, 2 SPI buses, 2 I2C buses, 4 PWM channels, and 8 ADC channels. The board also has a programmable LED, a temperature sensor, and a boot mode button.
Raspberry Pi Pico W Pinout
There’s a handy interactive pinout for Raspberry Pi Pico at pico. pinout.XYZ.
| Name | Description | Function |
|---|---|---|
| GP0-GP28 | General-purpose input/output pins | Act as either input or output and have no fixed purpose of their own |
| GND | 0 volts ground | GND pins around Pico W to make wiring easier. |
| RUN | Enables or diables your Pico | You can start and stop Pico W from another microcontroller. |
| GPxx_ADCx | General-purpose input/output or analogue input | Used as an analogue input as well as a digital input or output – but not both at the same time. |
| ADC_VREF | Analogue-to-digital converter (ADC) voltage reference | A special input pin sets a reference voltage for any analogue inputs. |
| AGND | Analogue-to-digital converter (ADC) 0 volts ground | A special ground connection for use with the ADC_VREF pin. |
| 3V3(O) | 3.3 volts power | A source of 3.3V power, the same voltage your Pico W runs at internally, generated from the VSYS input. |
| 3v3(E) | Enables or disables the power | Switch on or off the 3V3(O) power, can also switch your Pico W off. |
| VSYS | 2-5 volts of power | A pin is directly connected to your Pico’s internal power supply, which cannot be switched off without also switching Pico W off. |
| VBUS | 5 volts power | A source of 5 V power is taken from your Pico’s micro USB port and used to power hardware which needs more than 3.3 V. |
Raspberry Pi Pico W Programming
As for programming, the Raspberry Pi Pico W supports MicroPython and C/C++, however high-level programming languages like CircuitPython (A fork of MicroPython created by Adafruit), and Drag and Drop Python Editor like Pico Piper add further enhancements and can be used to program the Pico boards.
- Raspberry Pi Pico programming in C/C++
- Connecting Pi Pico W to the internet
- Programming Pi Pico using the Micropython book
Installing MicroPython on Raspberry Pi Pico W
I’ll be showing you how to program and install MicroPython on the Raspberry Pi Pico W. MicroPython is a lean and efficient implementation of the Python 3 programming language that includes a small subset of the Python standard library and is optimised to run on microcontrollers and in constrained environments
The first thing you’ll need to do is set up your Pico board. You can do this by following the instructions in the board’s documentation.
Install Micropython on the Raspberry pi Pico W board
You’ll need to install the Raspberry pi pico W MicroPython firmware on the raspberry pi pico board. The MicroPython firmware is available for download from the MicroPython website. Once you have downloaded the firmware, you can follow the instructions in Pico’s documentation to install it on the board.
Once you have the MicroPython firmware installed on your Raspberry pi pico W board, you can now write code in MicroPython and run it on the Pico.
To write code in MicroPython, you’ll need to use a text editor. I recommend using the Thonny IDE, I recommend using the Thonny IDE, which is specifically designed for writing MicroPython programs and is available for download from the Thonny.org website. Thonny comes with built-in Python 3.7, so just one simple installer is what you need to learn to program. Check here How to Getting Started With Raspberry Pi Pico With Thonny IDE
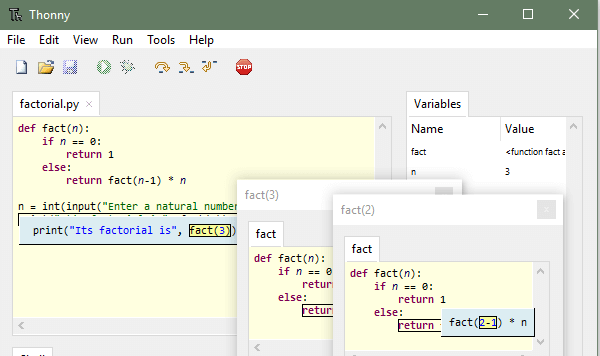
Once you have installed the Thonny IDE, you can open it and create a new file. In the new file, you can start writing your MicroPython code.
After a successful connection, the MicroPython version and Raspberry Pi board will appear in the Python Shell. To test we can write a quick print function to say “Hello DiY Maker”. Press ENTER to run the code and you will get Hello World as a response.
You can also check the device information by following commands.
The directory in the pico W board can also be viewed using the following command.
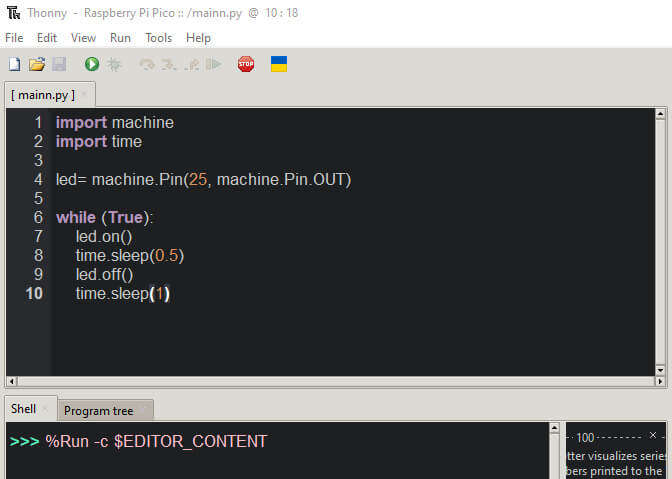
For this guide, we will write a simple program that will turn on an LED
Raspberry Pi Pico W LED Script
Save the program on the Raspberry Pi Pico W and give it a name like main.py
2. Click the “Run” button to execute the code.
The program will run and you can see the LED toggling on the board.
Scanning WiFi Access Points
The Raspberry Pi Pico W is a low-cost microcontroller that supports the CYW43439 2.4-GHz Wi-Fi chip from Infineon. with the support of this wireless chip, you can use Pico to connect to all wireless networks and access all features of a wireless network.
Use Raspberry Pi Pico W as a board to build a station connected to a suitable WLAN. Displaying the list of all access points available for connection can be an important step in achieving the goal
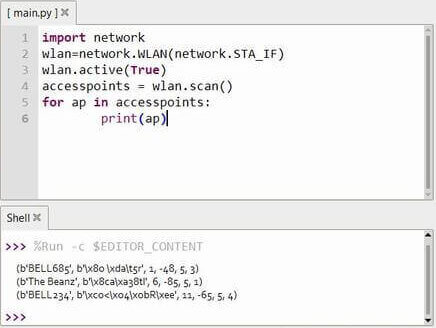
Let’s scan all the available Network Access Points using the Raspberry Pi Pico W working in station Mode.
In the Thonny editor, paste the following code and save it with any name like scan.py
Now hit the run button same as before to run the code.
The WiFi chip will scan all the general network and shows the list of all the network in the Shell Window.
Connecting to the Internet
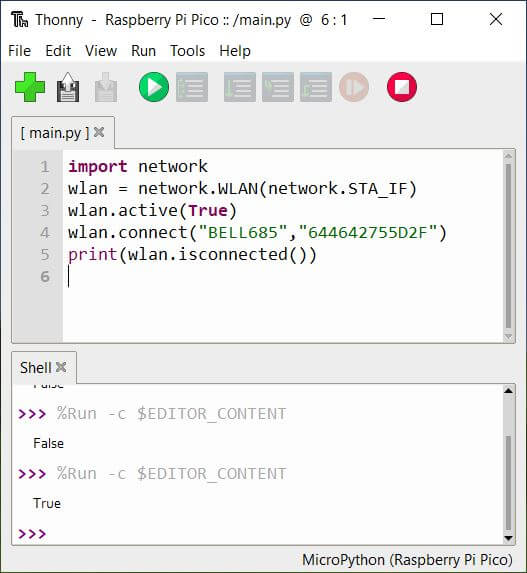
Now let’s see how Raspberry Pi Pico W connects to the Wi-Fi network.
How Raspberry Pi Pico W connects to the Wi-Fi network?…. Copy and paste the following code. Replace the WiFi credentials by changing the SSID and PASSWORD to your own.
Now Run the current script. If the connection is successful, true will be printed.
Resources and more!
- Download Raspberry Pi Pico W Datasheet
- Connecting to the Internet with Raspberry Pi Pico W
- Download RP2040 Datasheet
- Pico C/C++ SDK
- Pico Python SDK


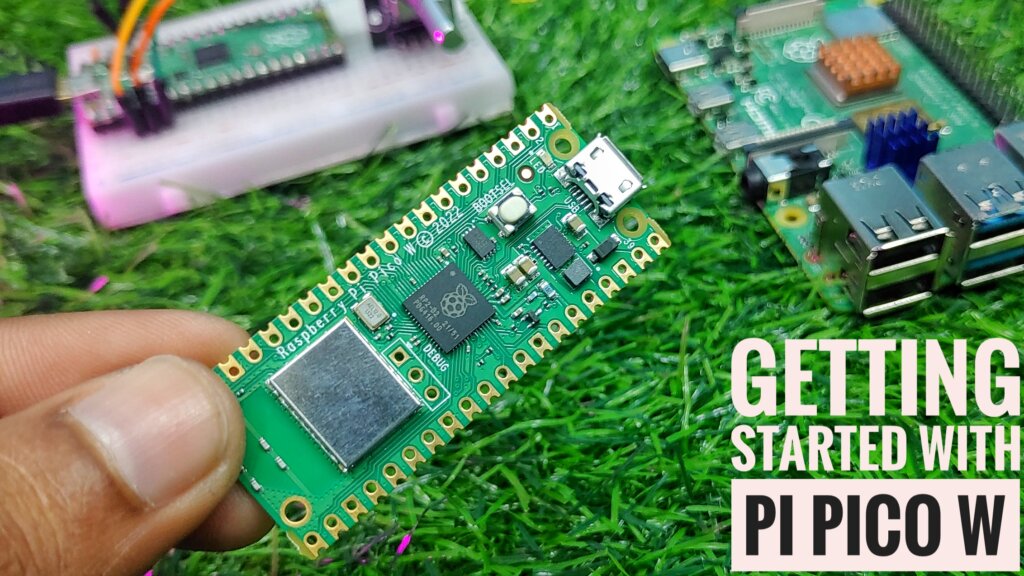




5 Comments
Pingback: How To Make Raspberry Pi Pico W Web Server - MicroPython
Pingback: RFID Door Lock With Raspberry Pi Pico Using Micropython
Pingback: Raspberry Pi Pico W Web Server With BME280 – Weather Station
Pingback: BME280 Sensor With Raspberry Pi Pico W Using MicroPython Code
Pingback: Control WS2812 LED With Raspberry Pi Pico W & Adafruit IO