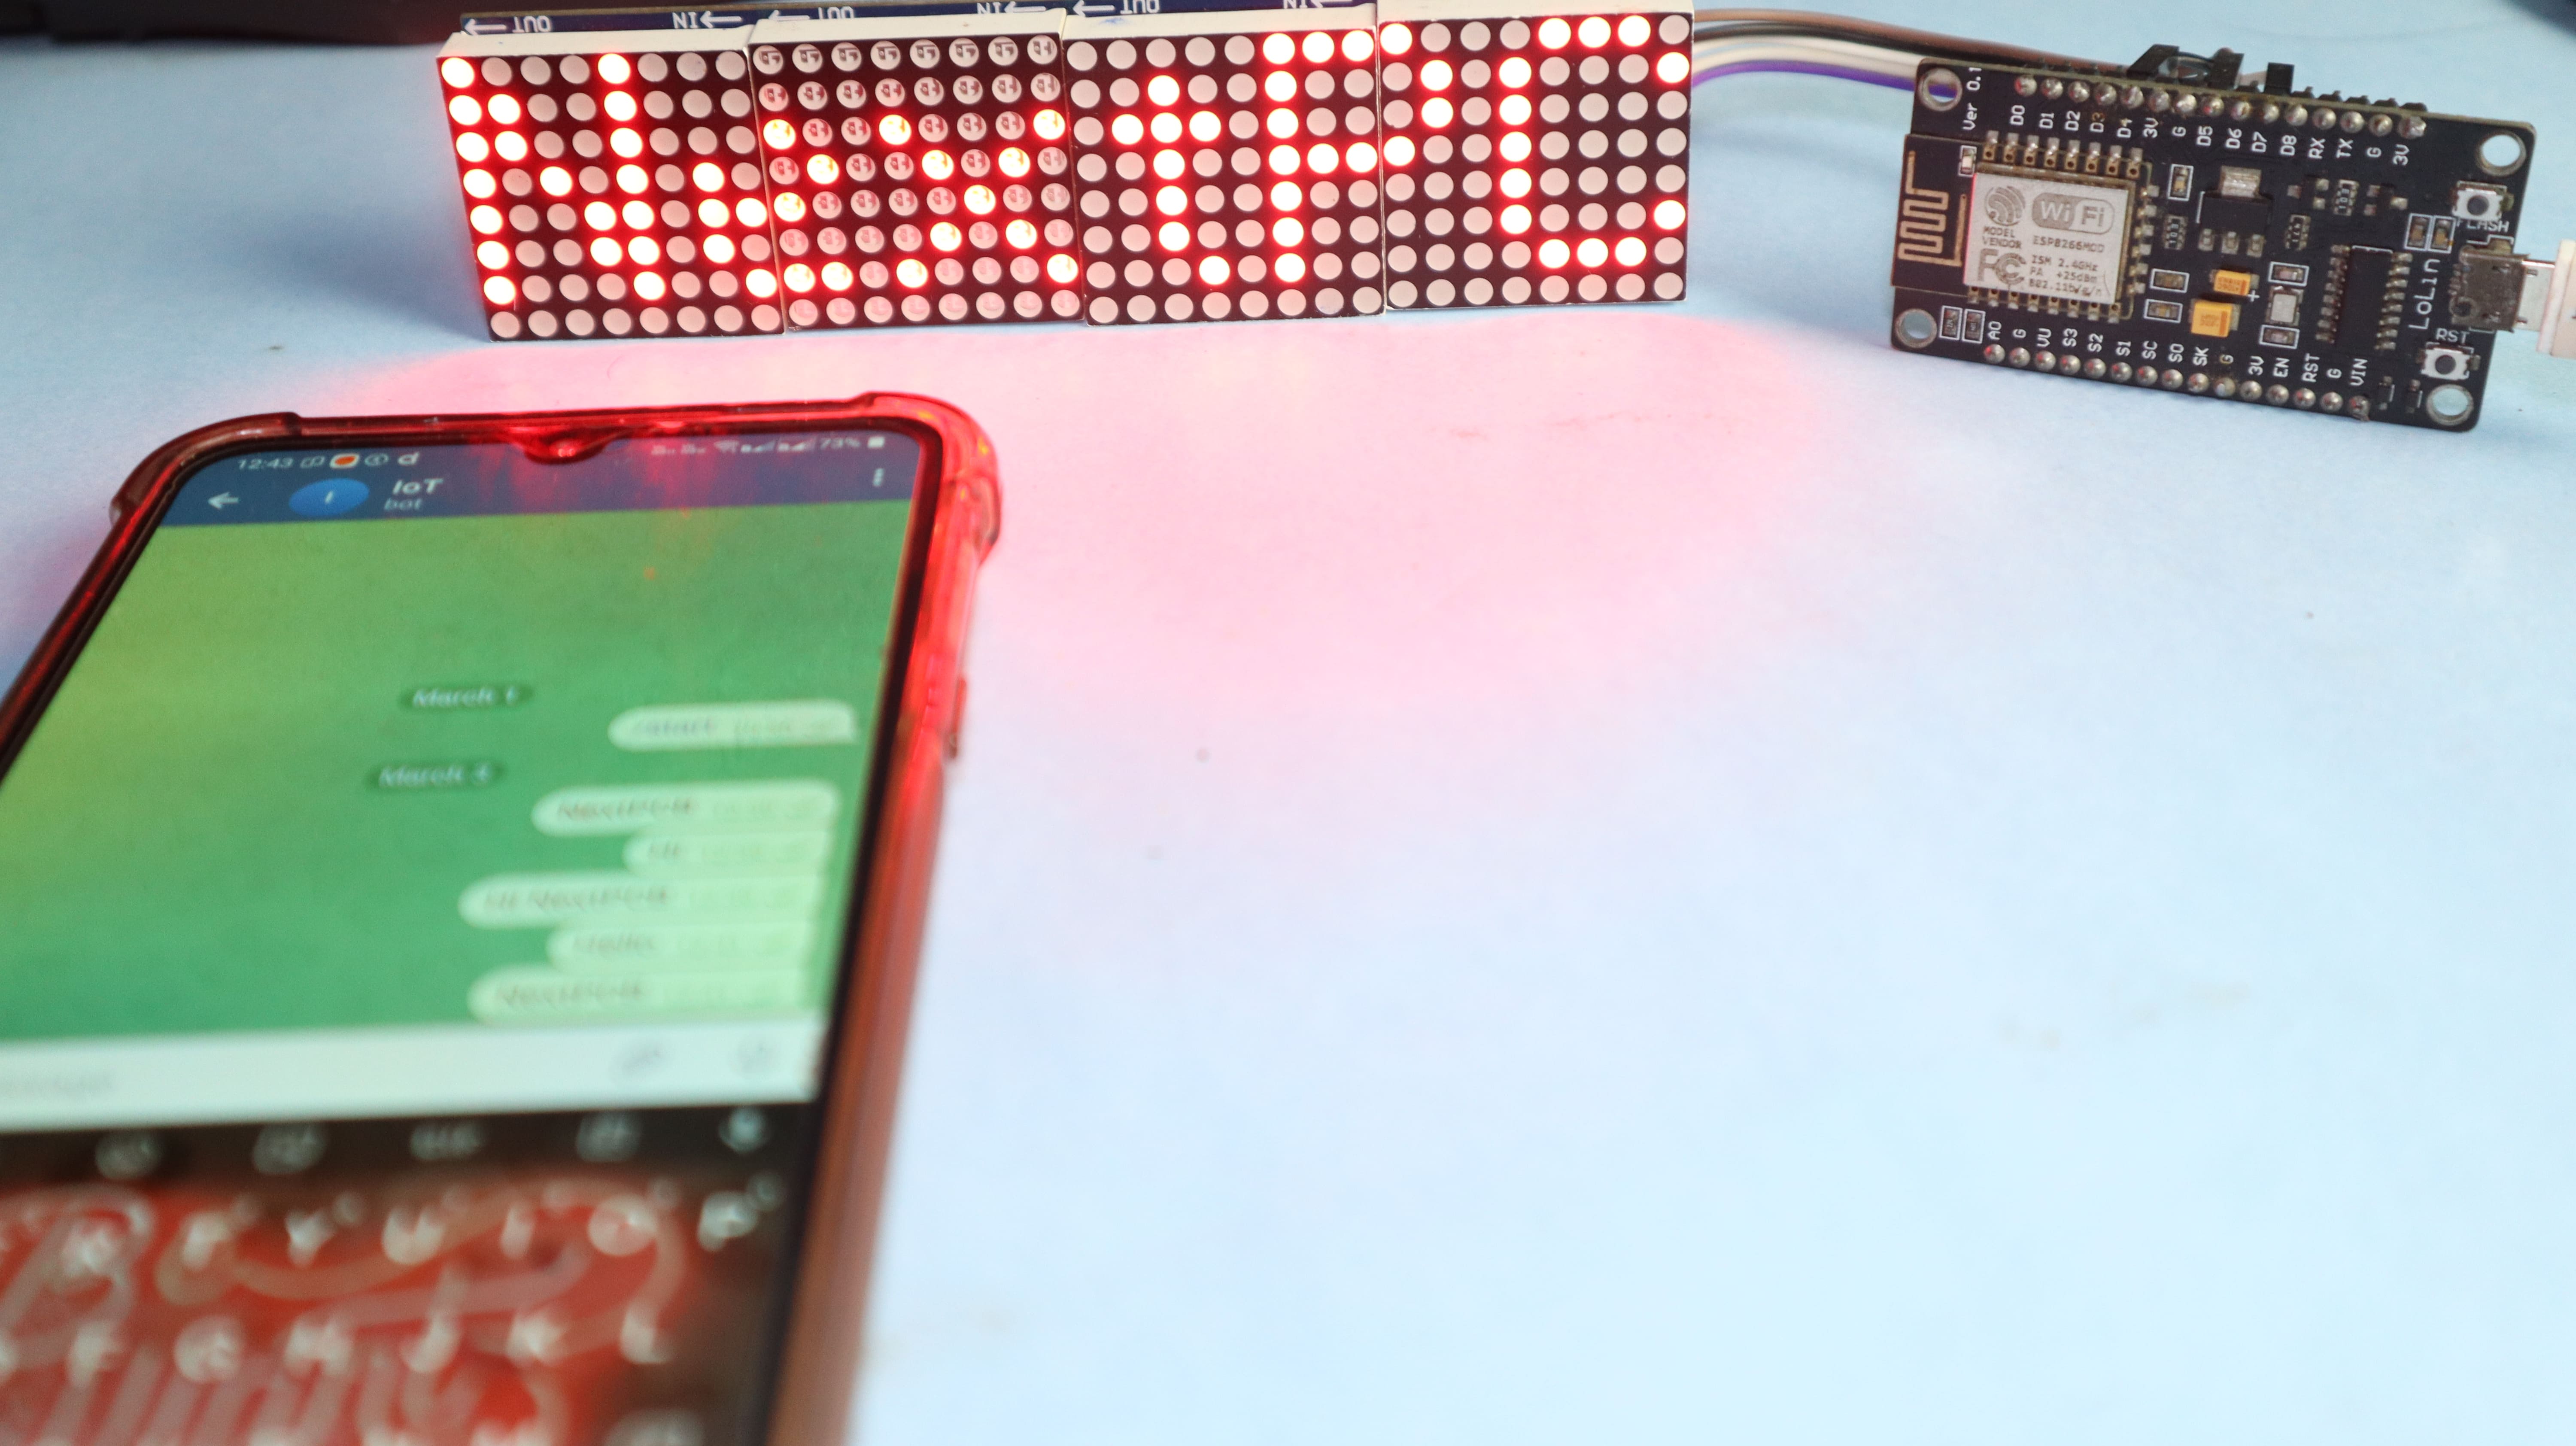
In this article, we are going to use a Telegram bot to control an 8×32 Dot Matrix LED Display. We will use the ESP8266 & Telegram API to create a bot that can receive messages from users and control the dot matrix LED display.
The displays can be used to display weather updates, news headlines, or social media notifications, making it a fun and useful project for both beginners.
Required Material
To control a dot matrix LED with Telegram bot messages, we will need the following components:
- Dot Matrix LED display
- ESP8266
- Jumper wire
Dot Matrix LED Display
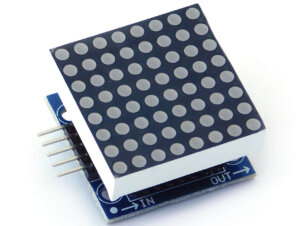
The dot matrix LED display is a type of display that uses an array of individual LEDs, Each LED represents a single pixel, and by turning on or off the proper LEDs, the display can create any pattern or image. This type of display is often used in calculators, clocks, etc…
LED matrices are available in different styles and dimensions to suit different applications and requirements.
The dimensions of the LED matrix vary depending on the number of LEDs in each row and column. Some standard sizes have 5 x 7, 8 x 8, 16 x 16, 8 x 32, and 32 x 32, etc…
Dot Matrix LED Display Pinout
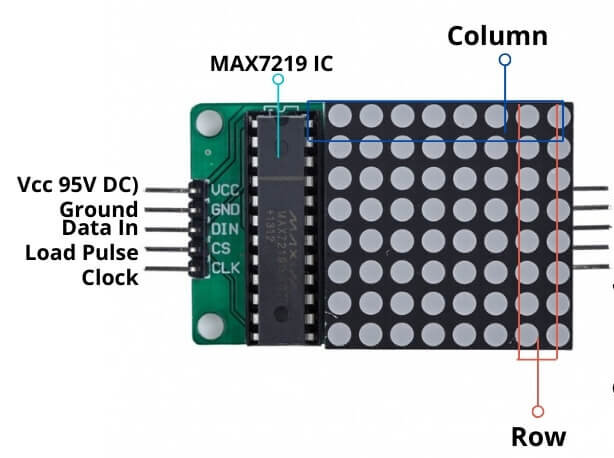
- VCC or VDD: This pin is used to supply power to the display. The voltage level is between 3V and 5V.
- GND: This pin is used to connect the ground of the display.
- DIN: This pin is used to send data to the display.
- CS: This pin is used to select the display. When the CS pin is low, the display is active and can receive data. When the CS pin is high, the display is inactive and ignores any data sent to it.
- CLK: This pin is used to provide a clock signal to the display.
Control MAX7219 LED Matrix Display With Telegram
The 4-in-1 Dot Matrix LED matrix display consists of 8 individual 8×8 dot matrix displays. Each dot matrix display contains 64 LEDs arranged in an 8×8 grid, allowing for a total of 256 LEDs in the full display.
LED dot matrix display is controlled using a MAX7219 LED driver chip, which facilitates the process of controlling the individual LEDs and allows for the display of complex patterns and animations.
Circuit Diagram ESP8266 & MAX7219 Dot Matrix LED Display
- VCC – VIN.
- GND – GND
- DIN- D7
- CS – D4
- CLK – D5
Creating a Telegram Bot
To create a Telegram bot, follow these steps:
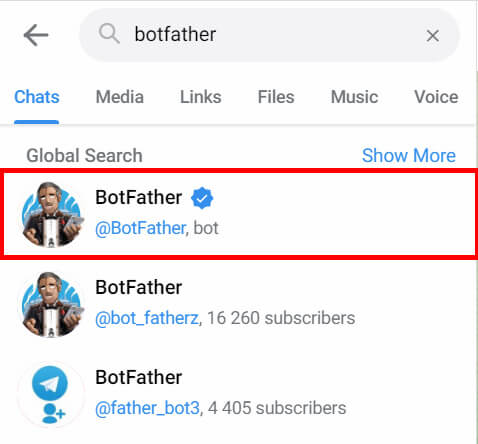
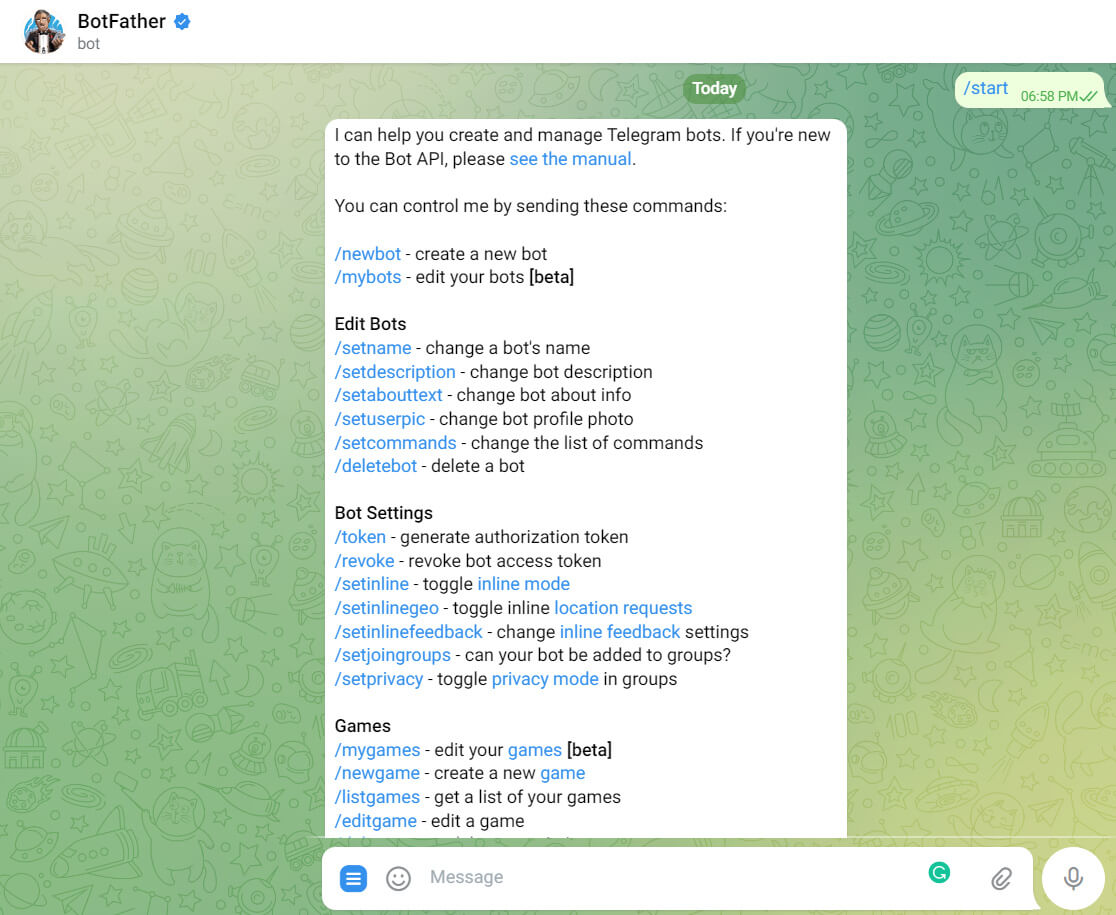
Open the Telegram app on your device or desktop and search for the “BotFather” bot.
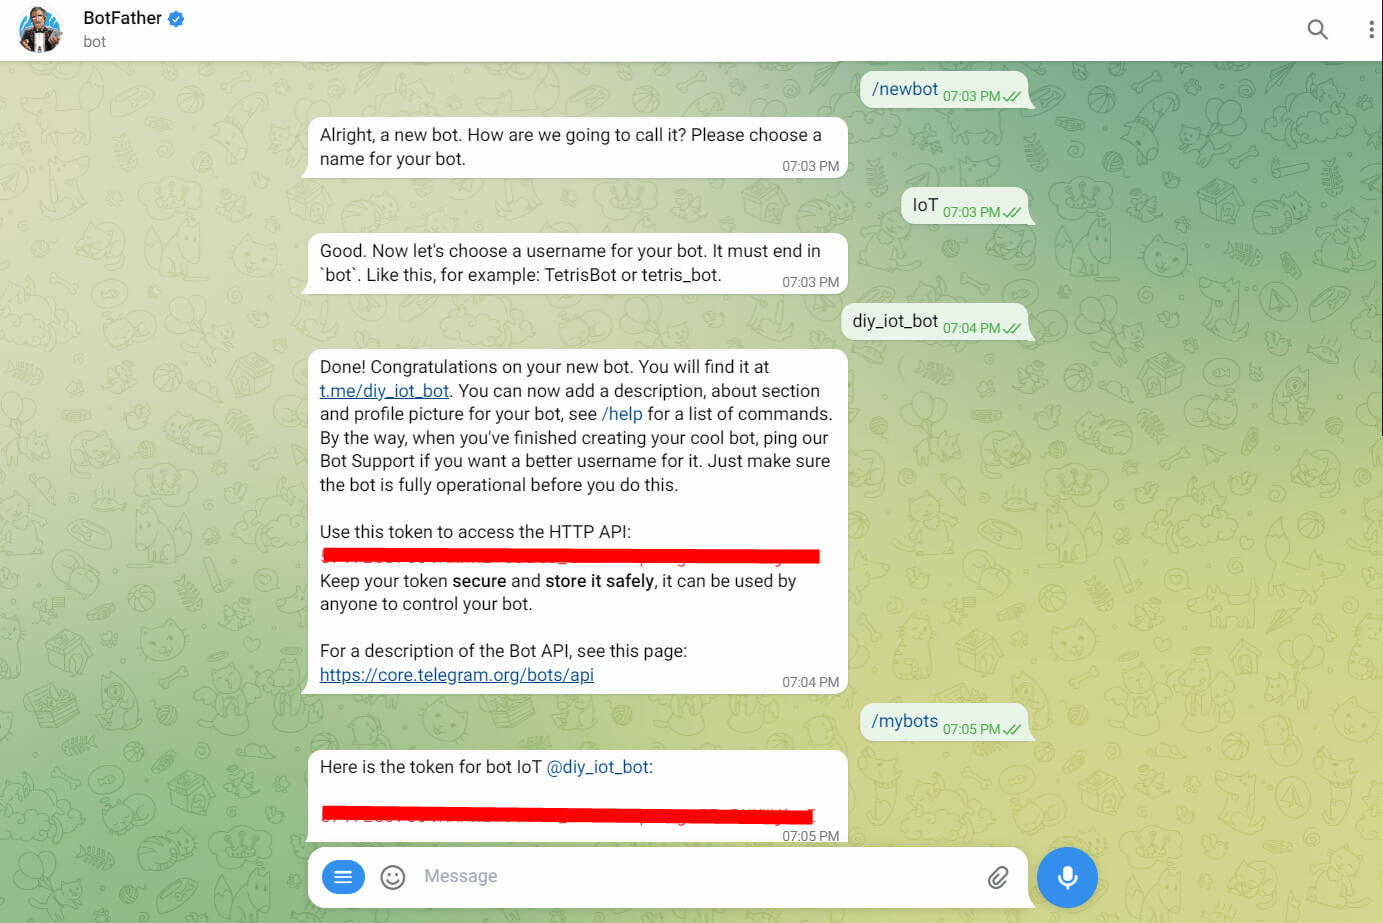
Start a chat with BotFather and send the command “/newbot”.
create a new bot, including giving it a name and username.
Once your bot is created, BotFather will provide you with an API token. it will be required to authenticate your bot in the Arduino code.
Configuring NodeMCU in the Arduino IDE
To use the ESP8266 NodeMCU with the Arduino IDE, Launch the Arduino IDE and open “Preferences”. In the “Additional Boards Manager URLs” field, add the following URL:
|
1 |
http://arduino.esp8266.com/stable/package_esp8266com_index.json |
Open the “Boards Manager” from the “Tools” menu. Search for “esp8266” and select “esp8266” by ESP8266 Community. Click the “Install” button to install the required drivers and libraries.
Installation of libraries
The following libraries are required for this project:
For this project, two libraries are needed, ArduinoJson and CTBot, which we are going to install from the Arduino IDE. Select the menu Sketch -> Include Library -> Manage Libraries and look for CTBot, then click on library and Install it :
Next, search for “ArduinoJson” by name and select it from the search results.
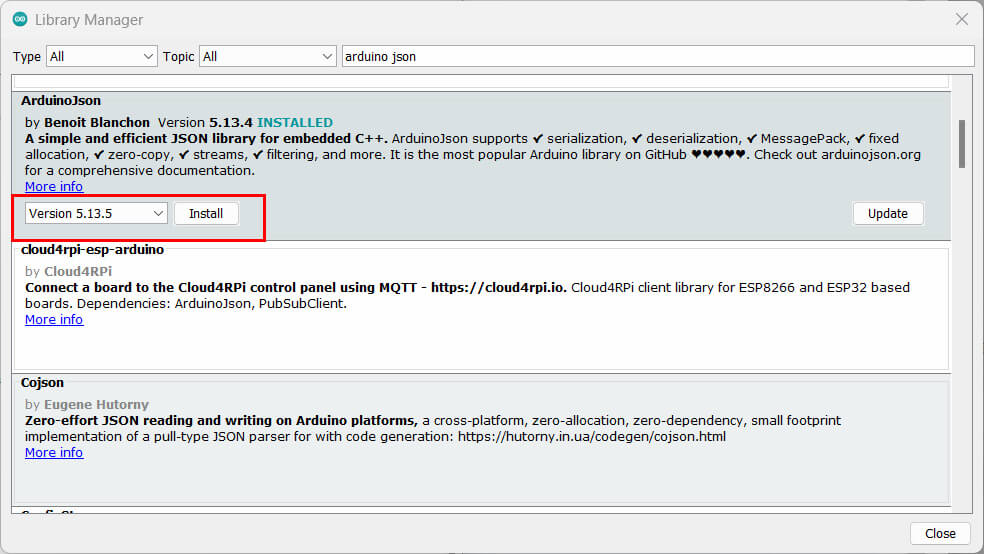
Note – CTBot requires a specific version of ArduinoJson, which is version 5.13.5. Search for arduinojson, select the library as shown in the image below, then choose the correct version and click Install :
The dot matrix display libraries cannot be installed by the Arduino IDE, requiring manual installation. The libraries are Altairis ESP8266 FC16 and the other is LedControlSpiESP8266. Download these libraries, unzip them, and put them in the libraries folder of your Arduino IDE.
Source code
|
1 2 3 4 5 6 7 8 9 10 11 12 13 14 15 16 17 18 19 20 21 22 23 24 25 26 27 28 29 30 31 32 33 34 35 36 37 38 39 40 41 42 43 44 45 46 47 48 49 50 51 52 53 54 55 56 57 58 59 60 61 62 63 64 65 66 67 68 69 70 71 72 73 74 75 76 77 78 79 80 81 82 83 84 85 86 87 88 |
//Programa: Painel de avisos com Bot Telegram //Autor: Arduino e Cia #include <FC16.h> #include "CTBot.h" CTBot myBot; //WiFi network and connection settings String ssid = "Shiva"; //Your WiFi network password String pass = "77777777"; // String token = "5717203763:AAHn2Tovdcvd3dt6_6RtkF9qCw3g6IZnRYMWjbeI"; //Token bot Telegram //CS Pin Connection const int csPin = D4; //Number of displays we are using const int numDisp = 4; //Scroll time in milliseconds const int scrollDelay = 50; char message[20]; //Stores the value (time) of the last time of checking for new messages unsigned long previousMillis = 10; //Time interval between checking messages (in milliseconds) const long intervalo = 1000; FC16 display = FC16(csPin, numDisp); void setup() { Serial.begin(115200); Serial.println("Initializing Telegram bot..."); //WiFi network connection myBot.wifiConnect(ssid, pass); //Define o token myBot.setTelegramToken(token); //check the connection if (myBot.testConnection()) Serial.println("Connection Ok!"); else Serial.println("Connection failed!"); //Initialize the display display.begin(); //Intensity / Brightness display.setIntensity(8); //turn off the display display.clearDisplay(); //Initial text displayed on the display display.setText("DiY Projects Lab"); } void loop() { unsigned long currentMillis = millis(); if (currentMillis - previousMillis >= intervalo) { //Stores the value of the last time the check was performed previousMillis = currentMillis; //Variable that stores the received message TBMessage msg; //Check if any message arrived if (myBot.getNewMessage(msg)) { msg.text.toCharArray(mensagem, 20); //Show the received message in Serial Monitor Serial.print("Message received: "); Serial.println(msg.text); //Refresh the display with the new message display.setText(message); } } //Calls the scroll routine display.update(); //Wait for the set time delay(scrollDelay); } |
Change Credentials
|
1 2 3 4 |
//WiFi network and connection settings String ssid = "Shiva"; //Your WiFi network Name String pass = "77777777"; //Your WiFi network Password String token = "5717203763:dfdfAAHn2To3dt6_6RtkF9qCw3g6IZnRYMWjbeI"; //Token bot Telegram |
Testing
Upload the sketch to the ESP8266 module and test the bot by sending messages to it through the Telegram app.

