This reader provides instructions for how to get started with using Micropython Tutorial for ESP32. Micropython is a lean and efficient implementation of the Python 3 programming language that includes a small subset of the Python standard library and is optimised to run on microcontrollers and in constrained environments.
If you like to know more additional about MicroPython, check out the MicroPython Main Page and the MicroPython Documentation
What is MicroPython?
As Python became very popular, the Python community created MicroPython. MicroPython is a lean and efficient implementation of the Python 3 programming language that includes a small subset of the Python standard library and is optimised to run on microcontrollers and in constrained environments. Micropython is supported by the boards like PyBoard, Raspberry Pi Pico, ESP8266, ESP32 & other boards.
MicroPython is designed to be as easy to use as possible, and thus it has a very simple and straightforward syntax. It also includes a small set of libraries that are designed to be used on microcontrollers.
Python vs MicroPython
So, what’s the difference between Python and MicroPython? Python is a full-featured language that is easy to learn and use. MicroPython is a lean and efficient implementation of the Python 3 programming language that includes a small subset of the Python standard library and is optimised to run on microcontrollers and in constrained environments.
Python is best suited for use in large applications, while MicroPython is more suited for use in small applications or in applications where memory and CPU resources are constrained.
Why MicroPython?
MicroPython is a great choice for microcontroller programming because it is: MicroPython’s purpose is to make programming digital electronics as easy as possible, so it can be used by anyone. Nowadays, MicroPython is used by hobbyists, researchers, teachers, instructors, and even in retail developments.
- Lean and efficient.
- It includes a small subset of the Python standard library.
- It is optimised to run on microcontrollers.
- It is easy to use.
- It is open source.
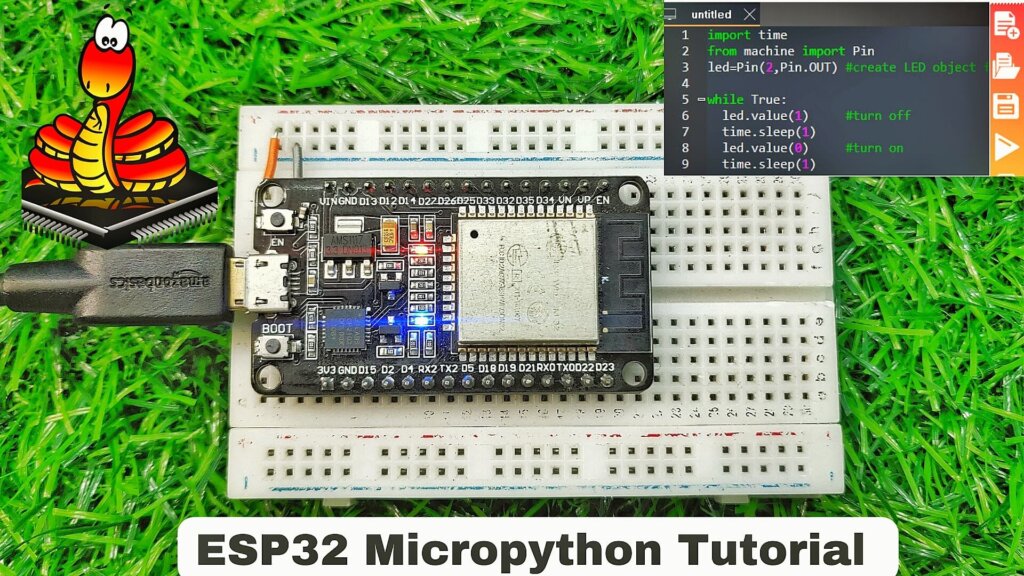
In this tutorial, we’ll show you how to use MicroPython on an ESP32 board to blink an LED. We’ll also show you how to write a simple MicroPython program to control the ESP32’s onboard LED.
MicroPython Support Boards
MicroPython is popular among hobbyists who use smaller form factor boards such as the ESP8266 and ESP32 for Internet of Things (IoT) applications.
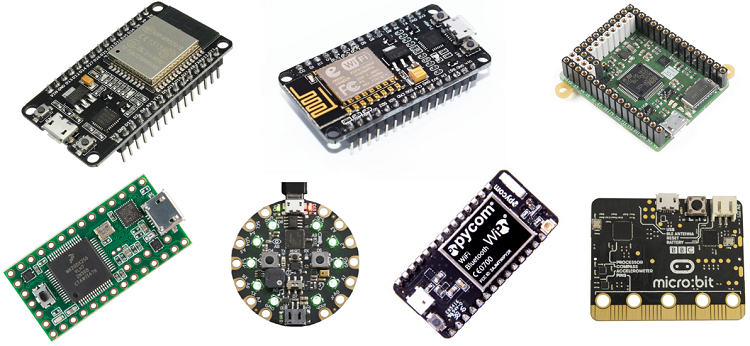
- ESP32
- ESP8266
- Adafruit Circuit Playground Express
- WiPy – Pycom
- PI Board
- Teensy 3.X
- Micro:Bit
You can choose in these guides to see more additional details on supported boards for MicroPython
ESP32 Board
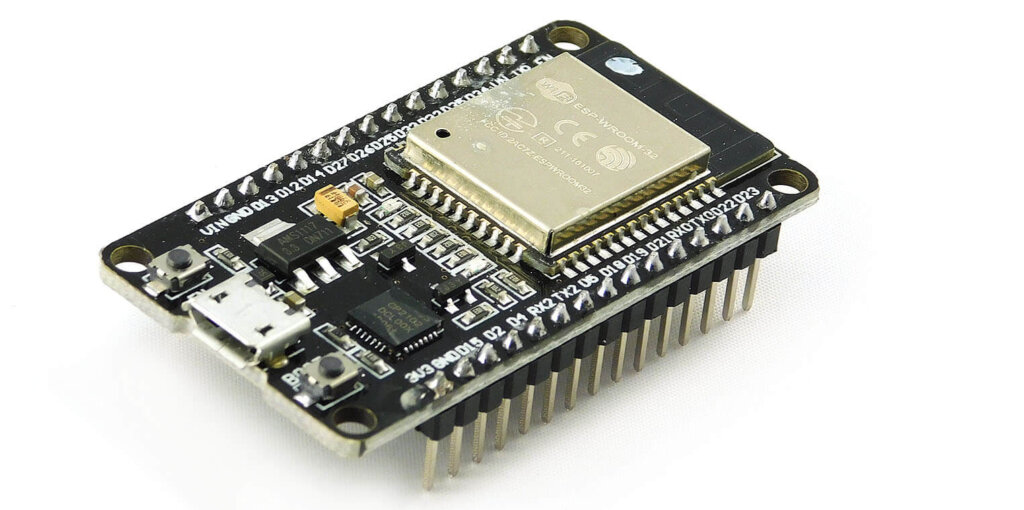
The ESP32 is a powerful, generic Wifi+ BLE MCU microcontroller with onboard WiFi and Bluetooth, making it perfect for internet-of-things (IoT) applications. The ESP32 is also relatively easy to use, with a wide range of development boards and software available. ESP32-D2WD is a chip that combines Bluetooth v4.2 BR/EDR and Bluetooth Low Energy (BLE) with advanced features for Wi-Fi and dual-mode Bluetooth applications. ESP32 is programmed with MicroPython by default, users can start with the MicroPython development as getting them on hand.
Features:
- Processors:
- CPU: Xtensa dual-core 32-bit LX6 microprocessor, operating at 160 or 240 MHz
- Ultra-low power (ULP) co-processor
- Memory: 320 KiB RAM, 448 KiB ROM
- Wireless connectivity:
- Wi-Fi: 802.11 b/g/n
- Bluetooth: v4.2 BR/EDR and BLE
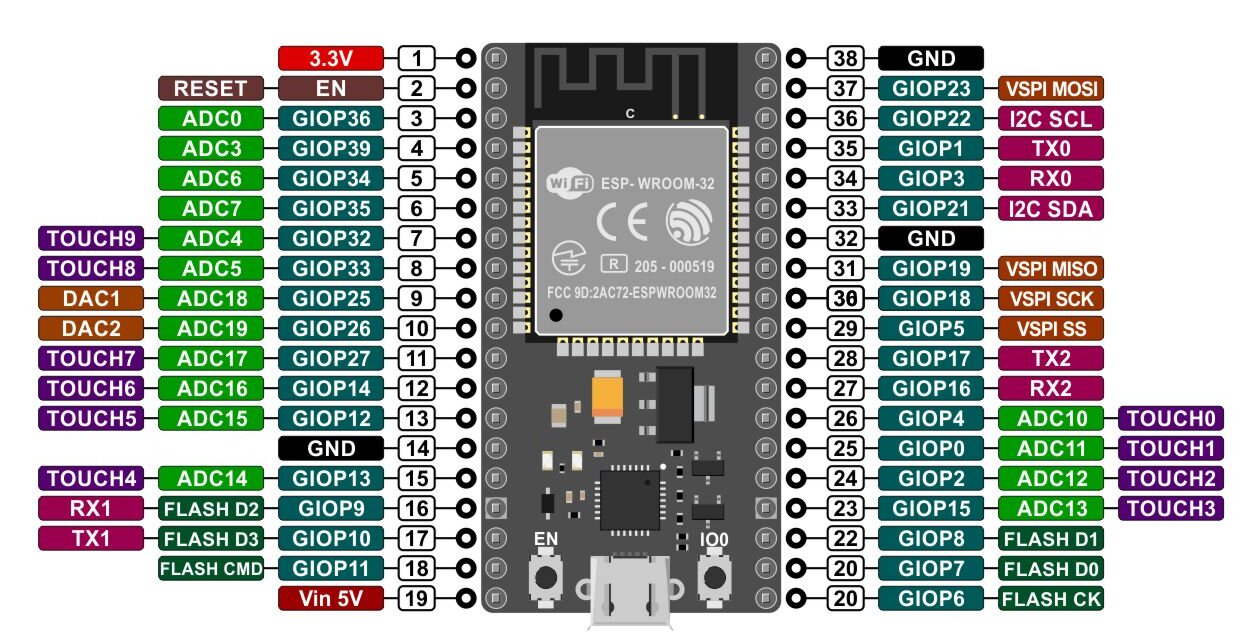
ESP32 Pinout
Getting Started with Micropython Tutorial for ESP32 Board
In this unit, we’ll give you a summary of the uPyCraft IDE software, so that you can start programming the ESP32/ESP8266 with MicroPython Code.
At this moment, we accepted that you have:
- uPyCraft IDE installed on your computer
- ESP32/ESP8266 flashed with MicroPython firmware
The division covers:
1. Installing Python 3.8.x on Windows/MAC
2. Installing uPyCraft IDE on Windows
3. Flashing the MicroPython Firmware (Bin File) on ESP32 Board
4. Writing Python Code and uploading the code on ESP32 using uPyCraft IDE
5. Blinking of LED
Installing Python IDE
Python is a popular programming language that developers widely use in the open-source community.
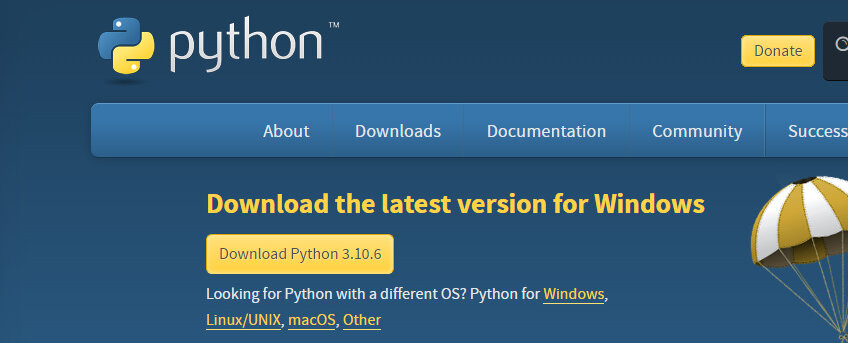
MicroPython is an implement of Python so we are first required to install Python. To install Python download Python from the official site https://www.python.org/downloads/
In order to download and install Python, one must go to the Python website and click on the “Download Python” link. After doing so, one must then choose the version of Python they want to download.
Next, one must select the operating system they are using. After doing so, the Python installer will download. Once the download is complete, one must then open the installer.
On Windows, this is done by right-clicking on the icon and selecting “Run as Administrator.” Once the installer is open, one must follow the prompts. This will install Python on the computer.
Once the installation is finished, you can close the installation window.
Download and Install uPyCraft IDE
uPyCraft IDE is a great tool for programming microcontrollers. In this essay, we will go over how to get started with uPyCraft IDE. We will cover what you need to download and install uPyCraft IDE, how to connect your microcontroller to your computer, and how to program your microcontroller using uPyCraft IDE.
Before we get started, you will need to download and install the latest version of uPyCraft IDE. You can find the download link on the uPyCraft IDE website or Here.
- Windows PC – Install uPyCraft IDE
- Mac OS X – Install uPyCraft IDE
- Linux Ubuntu – Install uPyCraft IDE
Once you have downloaded and installed uPyCraft IDE, launch the application.
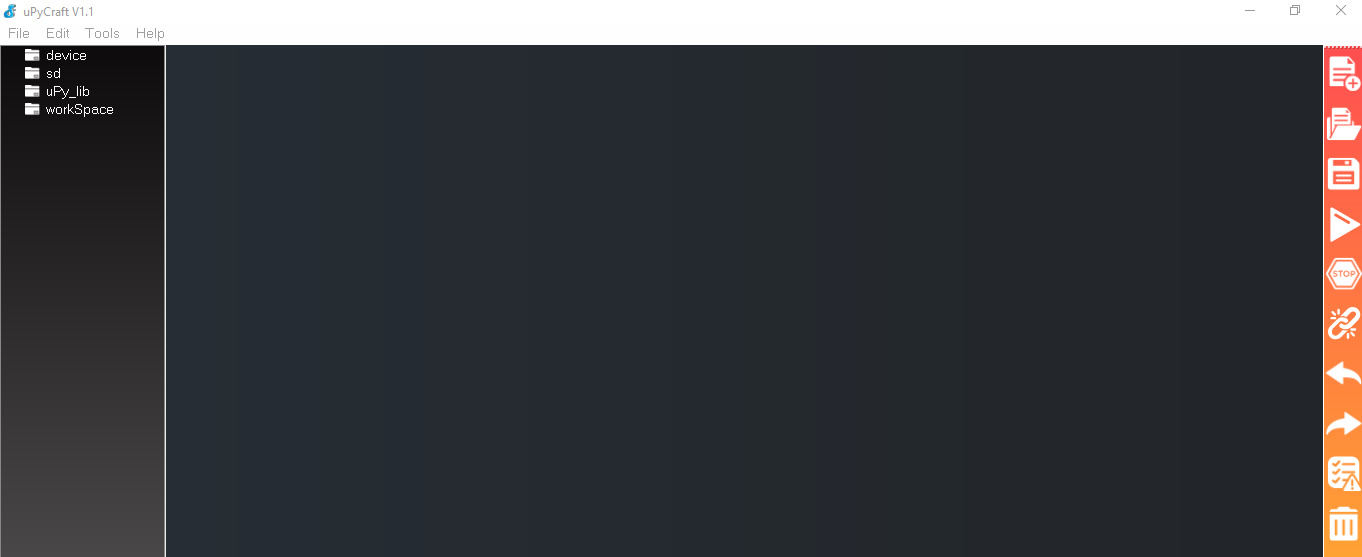
After installing the IDE, click on its icon and the following screen will appear.
We’ll be using this software to flash our ESP-based boards with MicroPython firmware as well as to program the boards.
Flashing the MicroPython Firmware on ESP32 Board
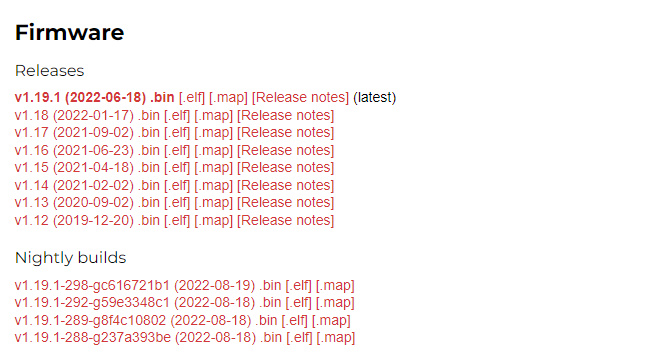
To download the latest version of MicroPython firmware for the ESP32 board, go to the MicroPython Downloads page and scroll all the way down to the ESP32 section.
Note: if you’re using another board (like a PyBoard, ESP board, or other), go to the MicroPython Downloads page and download the right firmware for your board.
- Connect the ESP32 board to your computer using a USB cable.
- Put the ESP32 board into bootloader mode. This can be done by holding the BOOT/RESET button while pressing the EN/RST button.
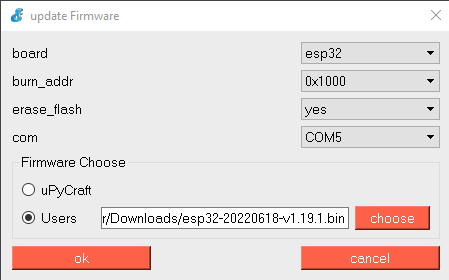
- Now open the uPyCraft IDE and Select Tools >>>Burn Firmware.
- option to select the path to the firmware file.
- In the board section, select ESP32 or ESP8266 whichever board you are using.
- For erase_flash choose the yes option.
- Select the correct Com port according to your module.
- Select the next options shown in the image below.
- Select the bin file that you downloaded recently (explained above). And then click on OK.
So the firmware will start uploading. In some ESP32 boards, you need to press the boot button to get the process started.
when the uploading is done, the window will close automatically.
Python Code using uPyCraft IDE
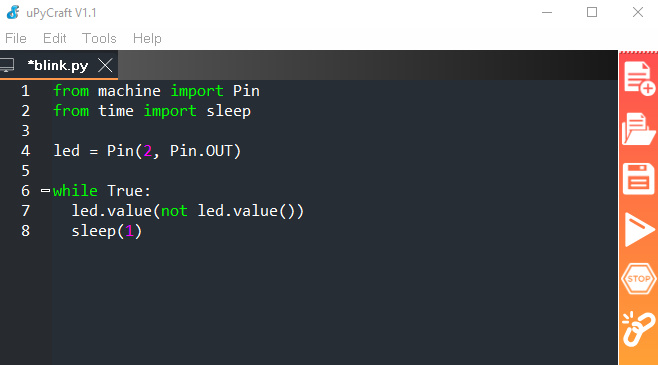
Copy the next MicroPython Code and upload it to the ESP32 Board.
|
1 2 3 4 5 6 7 8 |
from machine import Pin from time import sleep led = Pin(2, Pin.OUT) while True: led.value(not led.value()) sleep(10) |
2. Now copy this MicroPython code into your editor window.
Conclusion Micropython Tutorial for ESP32
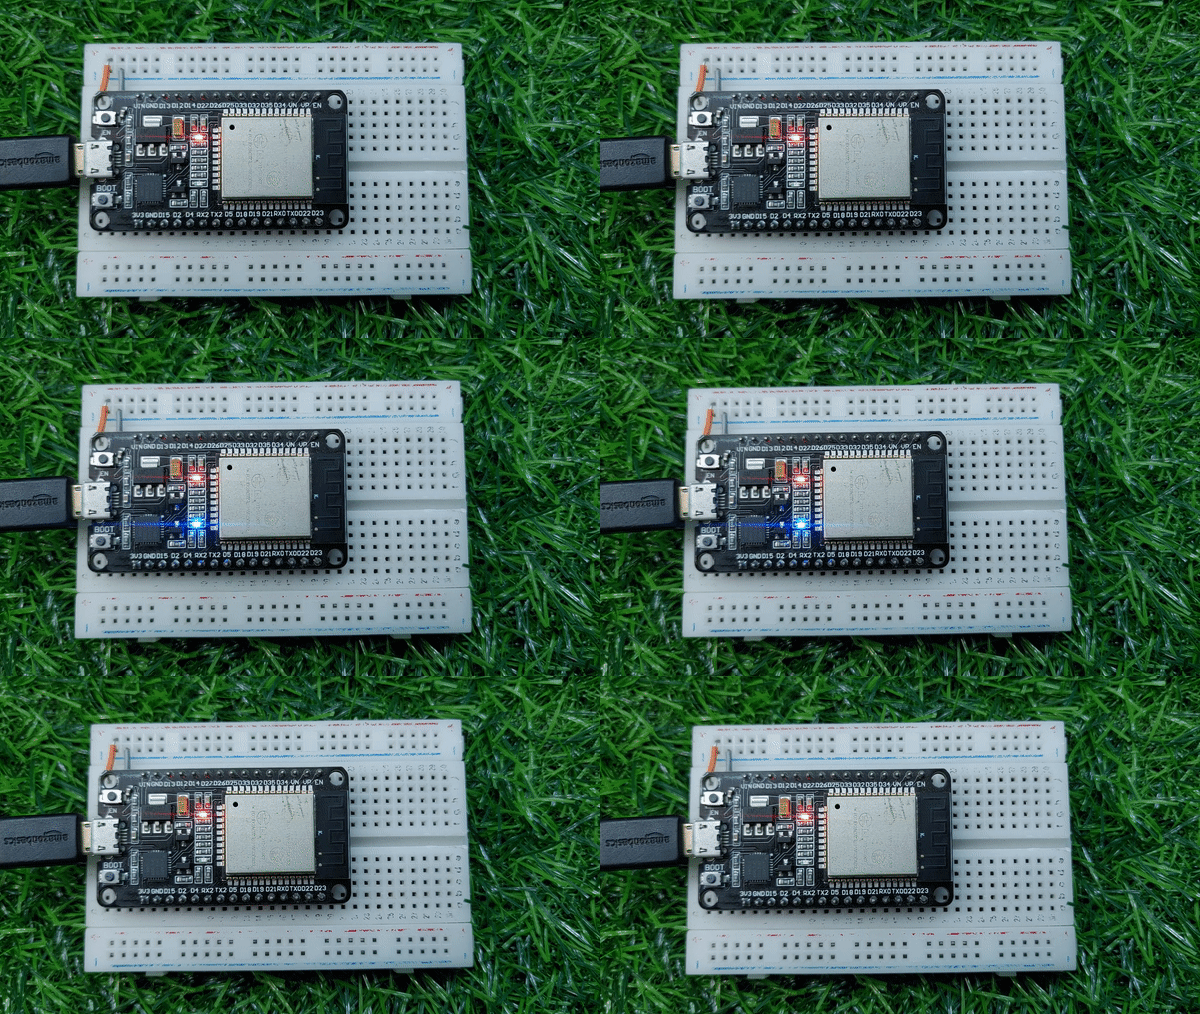
The project is successfully finished with ESP32, onboard LED.
Read Similar Articles:
- Getting Started Raspberry Pi Pico – Pinout, Specs – Beginner Guide
- Interfacing PIR Motion Sensor with Raspberry Pi Pico
- Raspberry Pi Pico Home Automation System
- Interface Servo Motor With Raspberry Pi Pico
- Interface 0.96″ OLED Display with Raspberry Pi Pico
- Raspberry Pi Pico Weather Station Using Dht11 Sensor
- Interface 16*2 LCD Display With Raspberry Pi Pico
- Flame Sensor With Raspberry Pi Pico Tutorial

