Are you looking for an interesting project to work on using your Raspberry pi pico? You’re in luck! This list of Raspberry Pi Pico Projects has something for beginners and advanced. If you’re just starting, consider building one of the easy projects. These include a basic light show project, a temperature sensor project, and a sound sensor project.
If you’re better experienced, test one of the more challenging projects. These include a weather station project, internet of things (IoT) project. Here are all the details you need to get started: Raspberry pi pico Basic Setup with micropython.
What is the Raspberry Pi Pico?
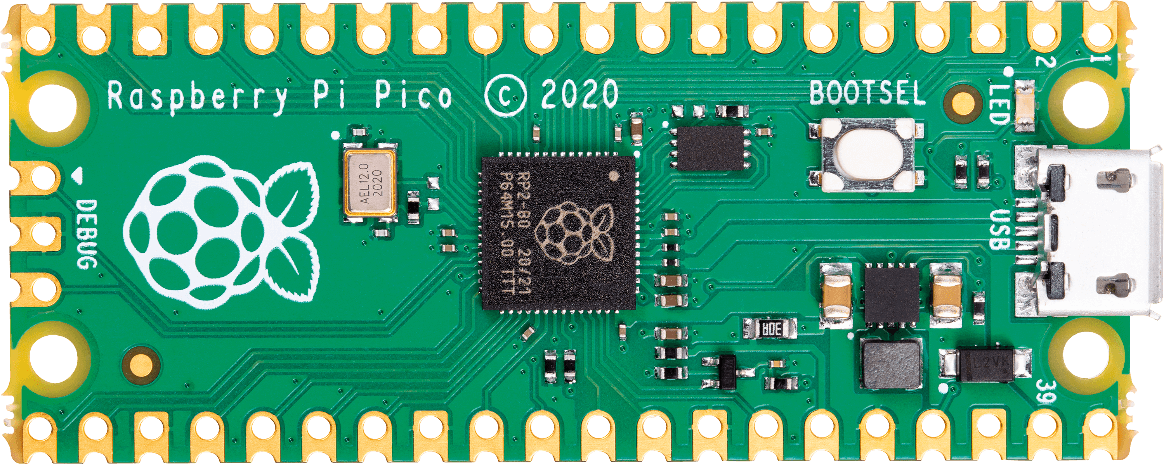
The Raspberry Pi Pico is a new microcontroller board from the creators of the popular Raspberry Pi single-board computer. Pico is a low-cost, high-performance microcontroller with a flexible digital interface. It is designed for use in embedded systems and is perfect for applications such as robotics, the Internet of Things (IoT), and wearable electronics.
The Raspberry Pi Pico board has a powerful Cortex-M0+ processor, making it one of the most powerful microcontrollers on the market. the Pico is a great option for anyone looking for a low-cost, easy-to-use microcontroller. It is also a great choice for anyone who wants to use the Raspberry Pi line of products in their projects.
________________________________________________________________________________________________________________________
Getting Started with Raspberry Pi Pico | An Introduction to Raspberry pi pico
Description: The Pico is designed to be a low-cost and easy-to-use platform for developing microcontrollers. This guide will show you how to get started with the Pico and how to use it to control LEDs, read sensors, and more. The board has a 40-pin header, and a variety of input/output interfaces, including GPIO, I2C, SPI, and UART. The Raspberry Pi Pico also has a USB port and a micro SD card slot.
________________________________________________________________________________________________________________________
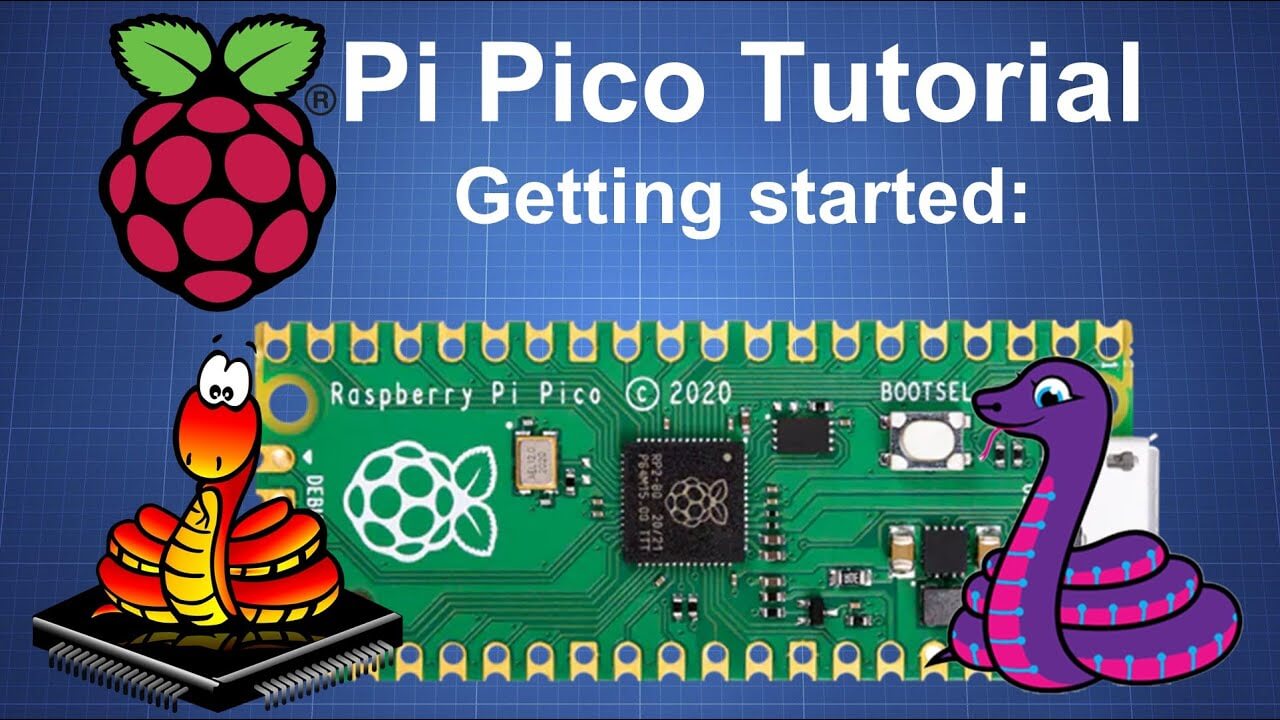
How to Program Raspberry Pi Pico with Thonny IDE?
Description: In this guide, we’ll show you how to program your Raspberry Pi Pico with the Thonny IDE. Thonny is a Python IDE that’s perfect for beginners. It’s easy to use and comes with all the features you need to get started with programming in Python.
We will go over how to install Thonny IDE, how to connect Raspberry Pi Pico to Thonny IDE, and how to write your first program.
________________________________________________________________________________________________________________________
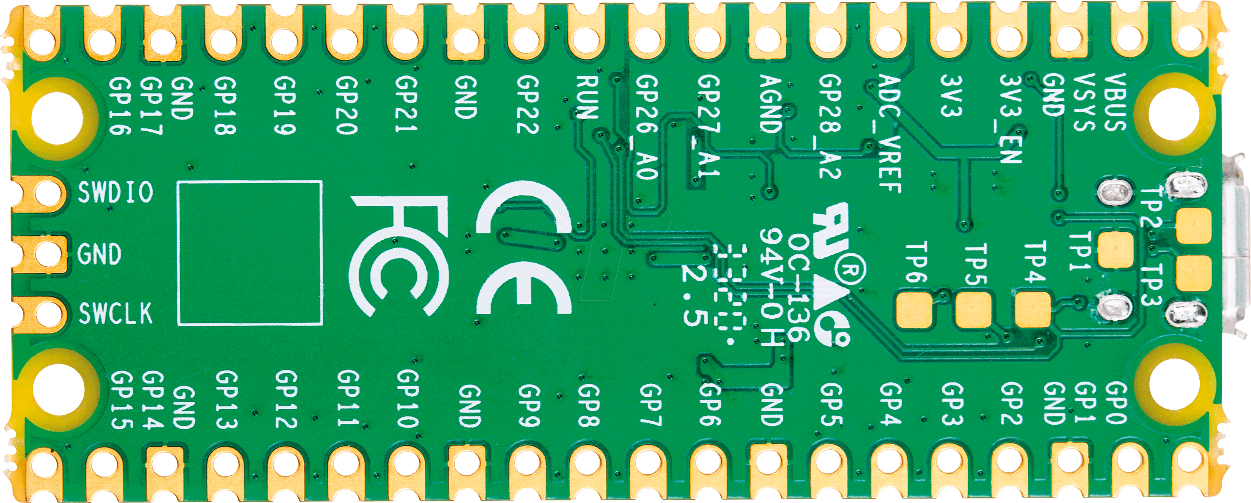
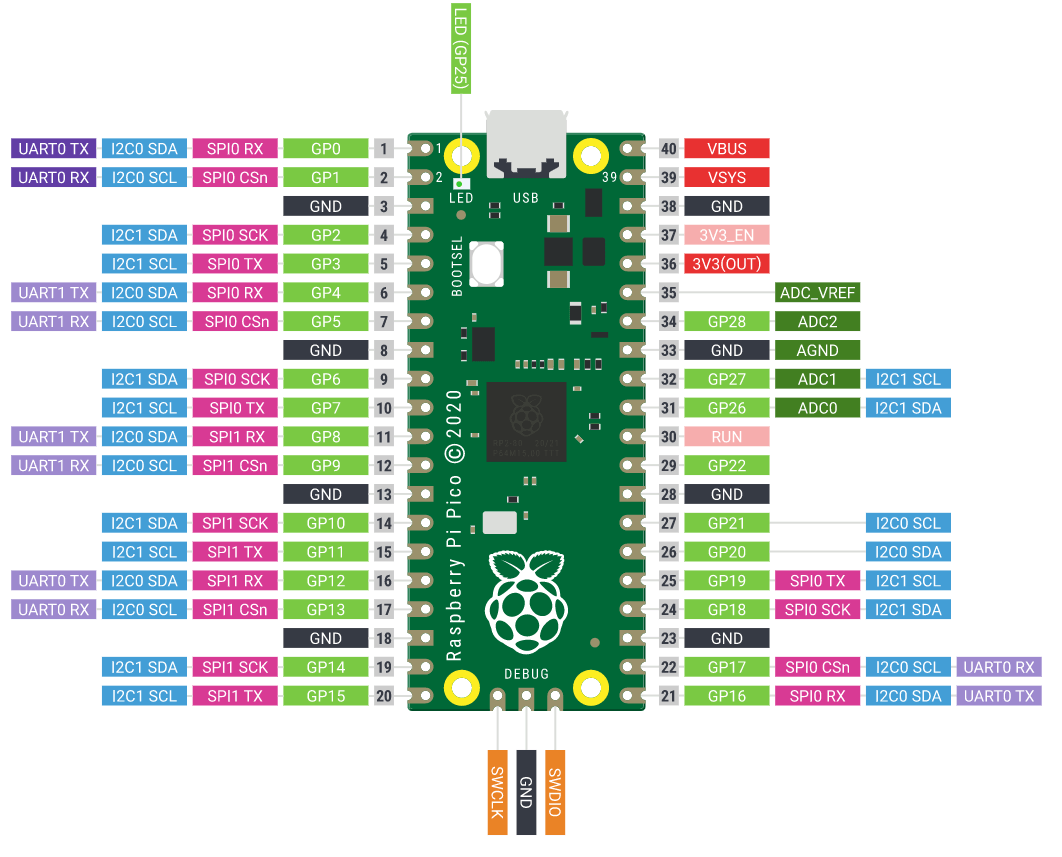
Raspberry Pi Pico Pinout | Pin Configurations
Description: The Raspberry Pi Pico is a microcontroller board based on the RP2040 chip. The board measures only 45mm x 25mm it has two rows of 20 GPIO pins, as well as a USB port, an SPI bus, and an I2C bus. The board can be powered by either a USB cable or a 3.3V power supply. You can even use it to run CircuitPython or MicroPython code.
________________________________________________________________________________________________________________________
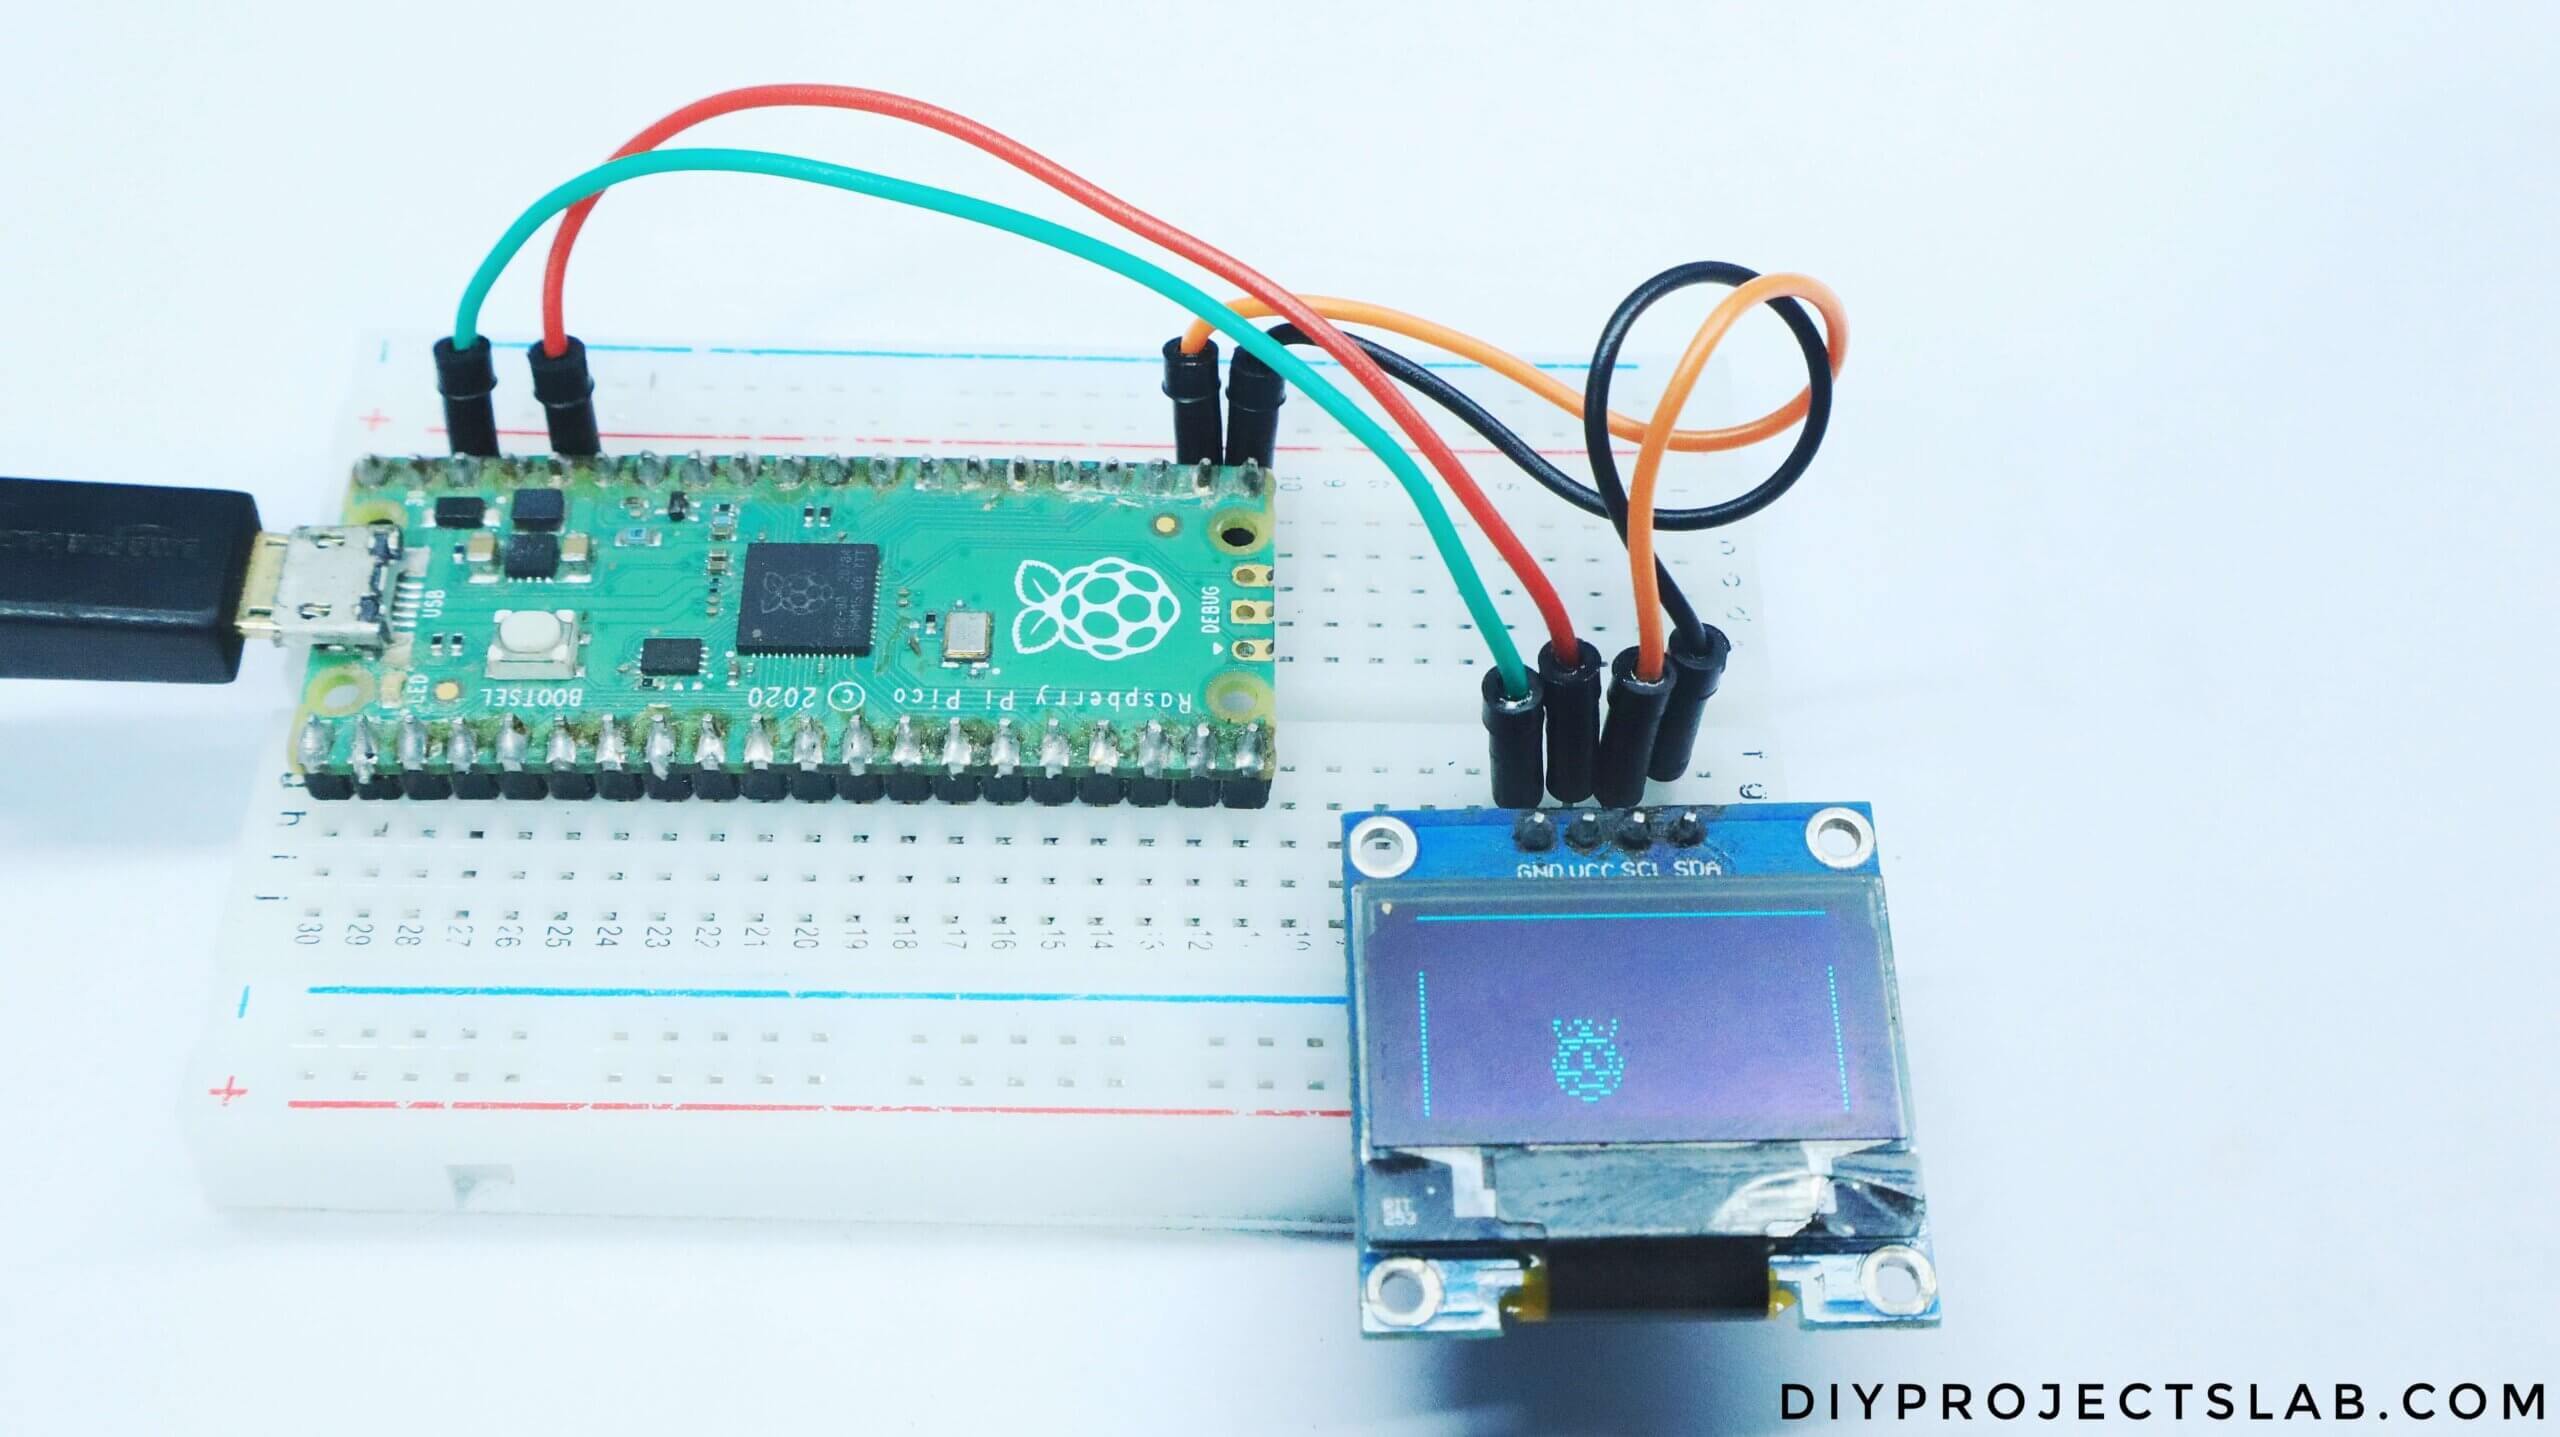
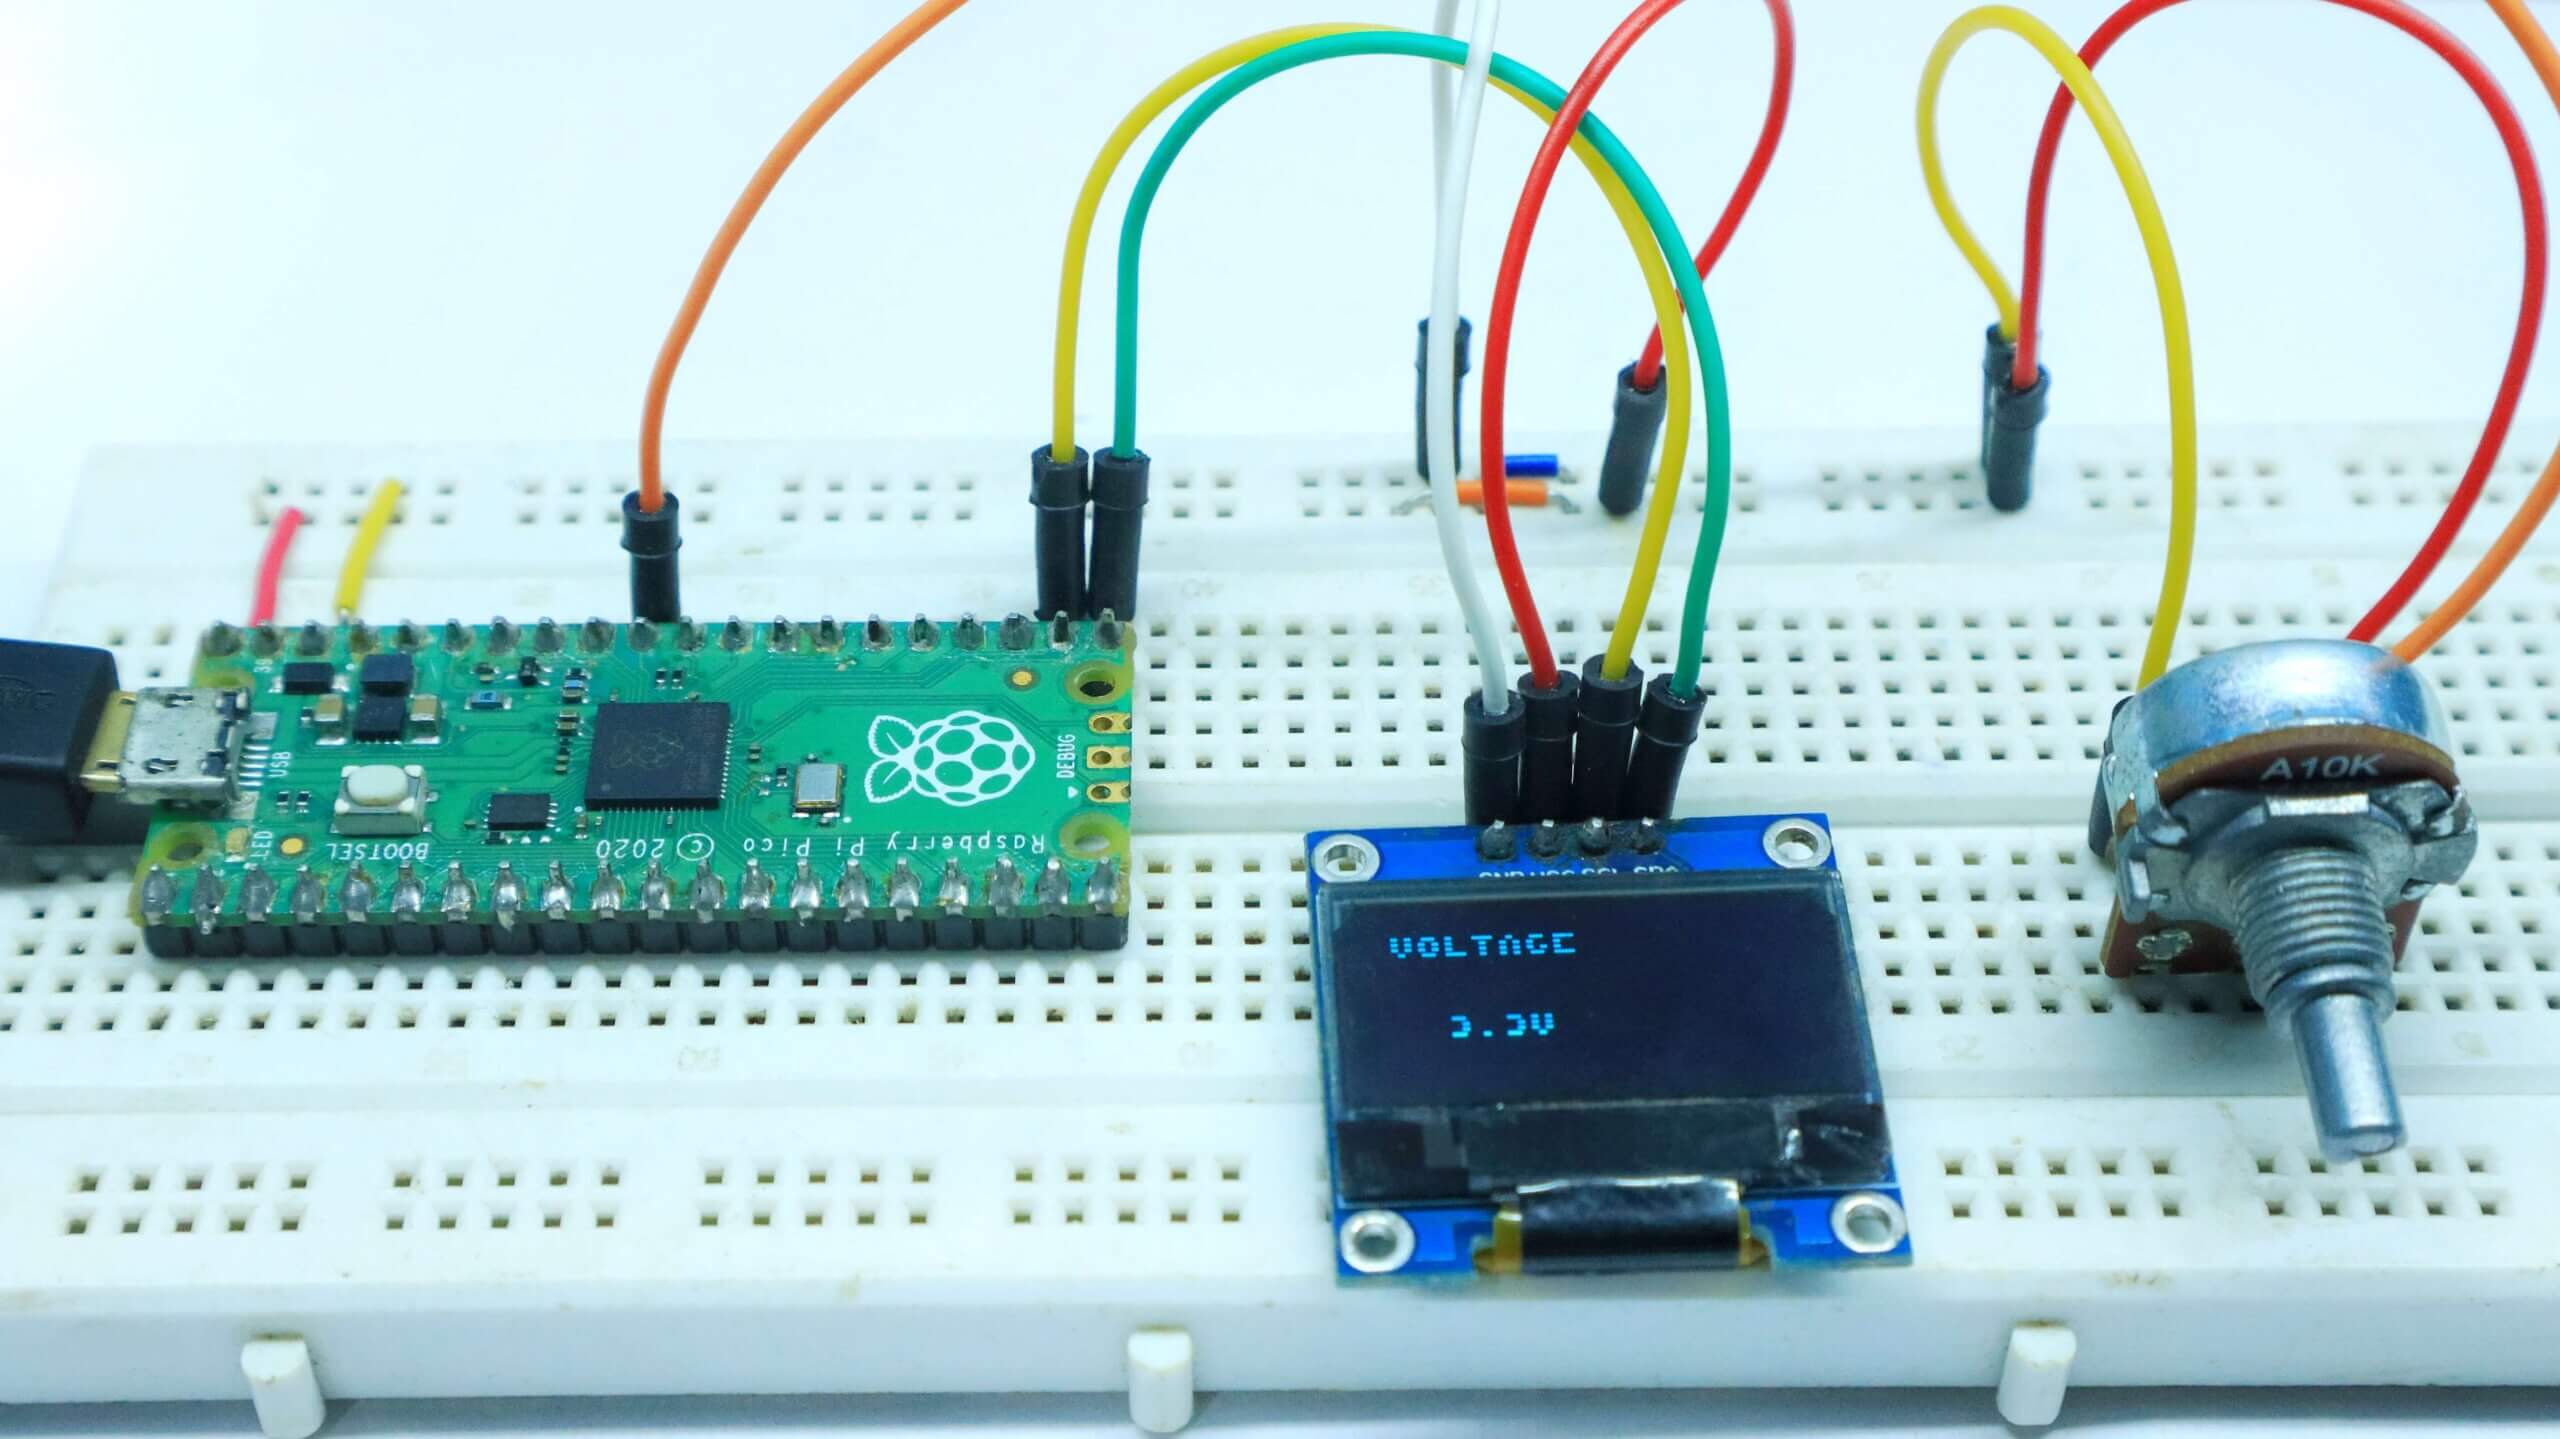
SSD1306 Oled Display With Raspberry Pi Pico
Description: we’ll be showing you how to use the SSD1306 Oled Display with the Raspberry Pi Pico. We’ll go over how to connect the display, how to install the necessary libraries, and how to write code to display text on the screen.
________________________________________________________________________________________________________________________
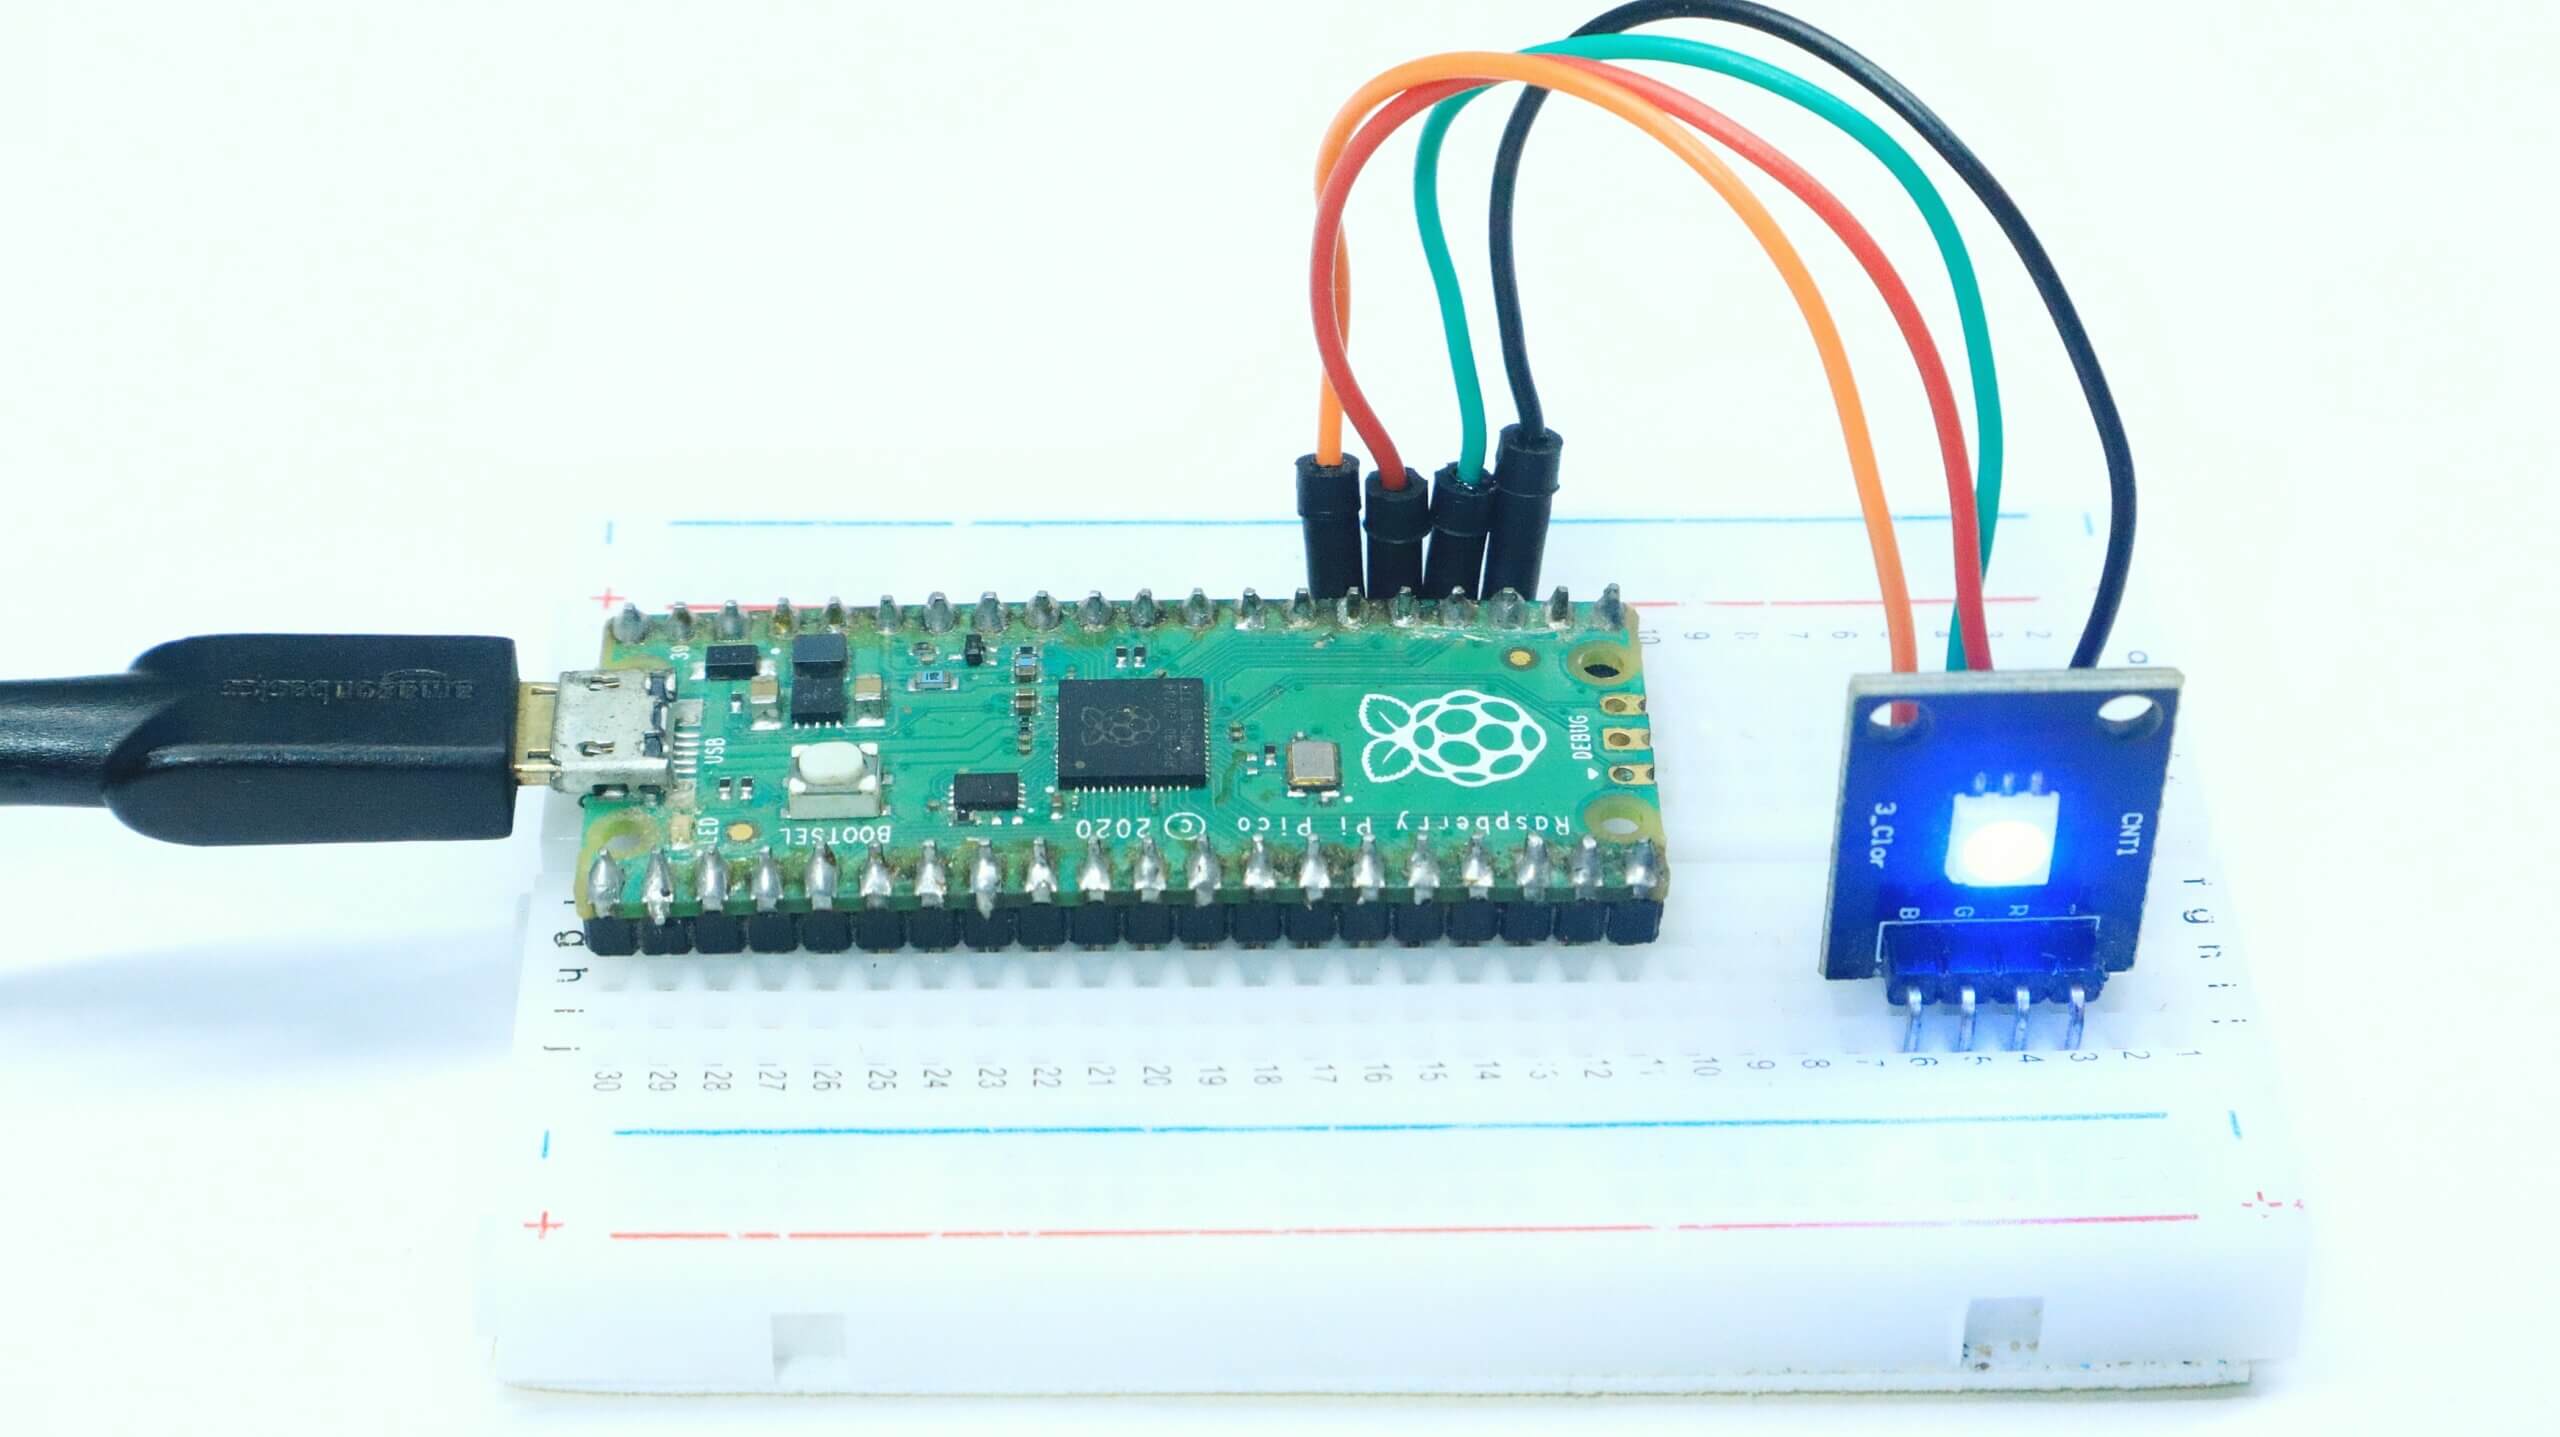
RGB LED Using a Raspberry Pi Pico
Description: In this project, we will be using a Raspberry Pi Pico to control an RGB LED. We will first need to connect the Pico to the LED, and then we will need to write some code to control it.
________________________________________________________________________________________________________________________
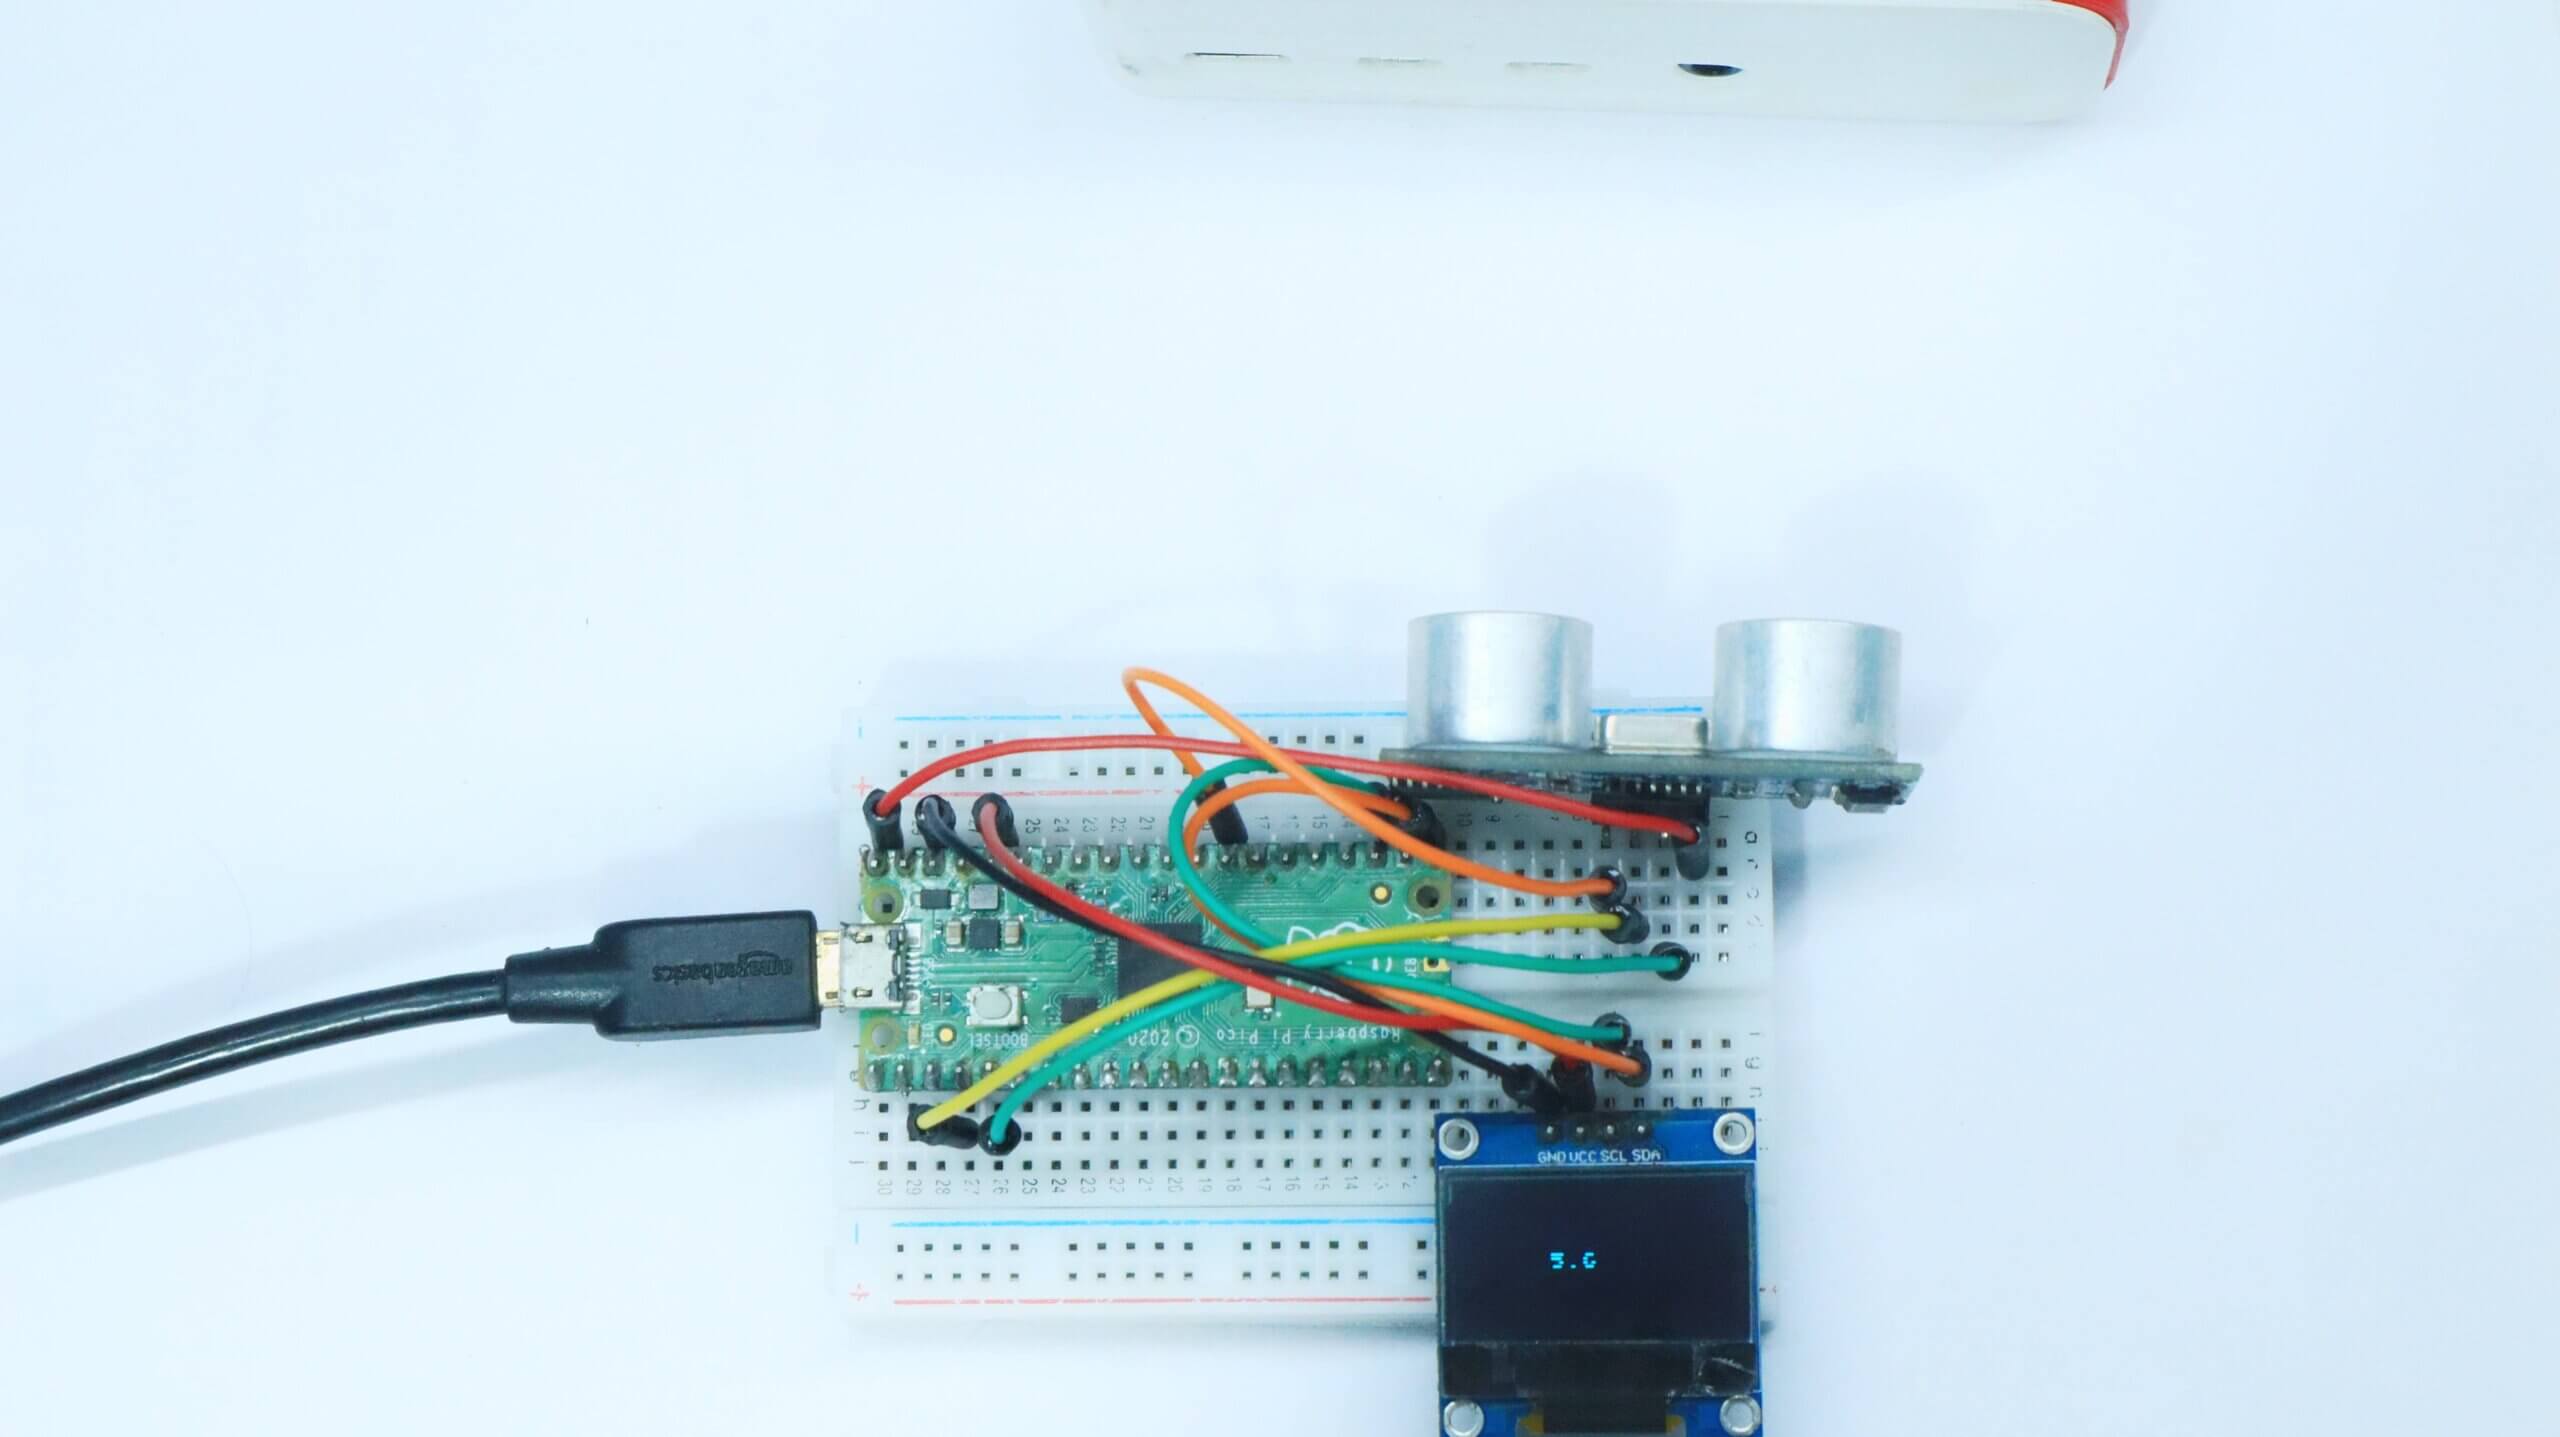
Ultrasonic Distance Sensor With Raspberry Pi Pico
Description: In this tutorial, we’ll be introducing you to the Ultrasonic Sensor, how it works and how to use it with the Raspberry Pi Pico board. The Ultrasonic Sensor is a great way to measure distance, and with the Raspberry Pi Pico, it’s easy to get started with it.
________________________________________________________________________________________________________________________
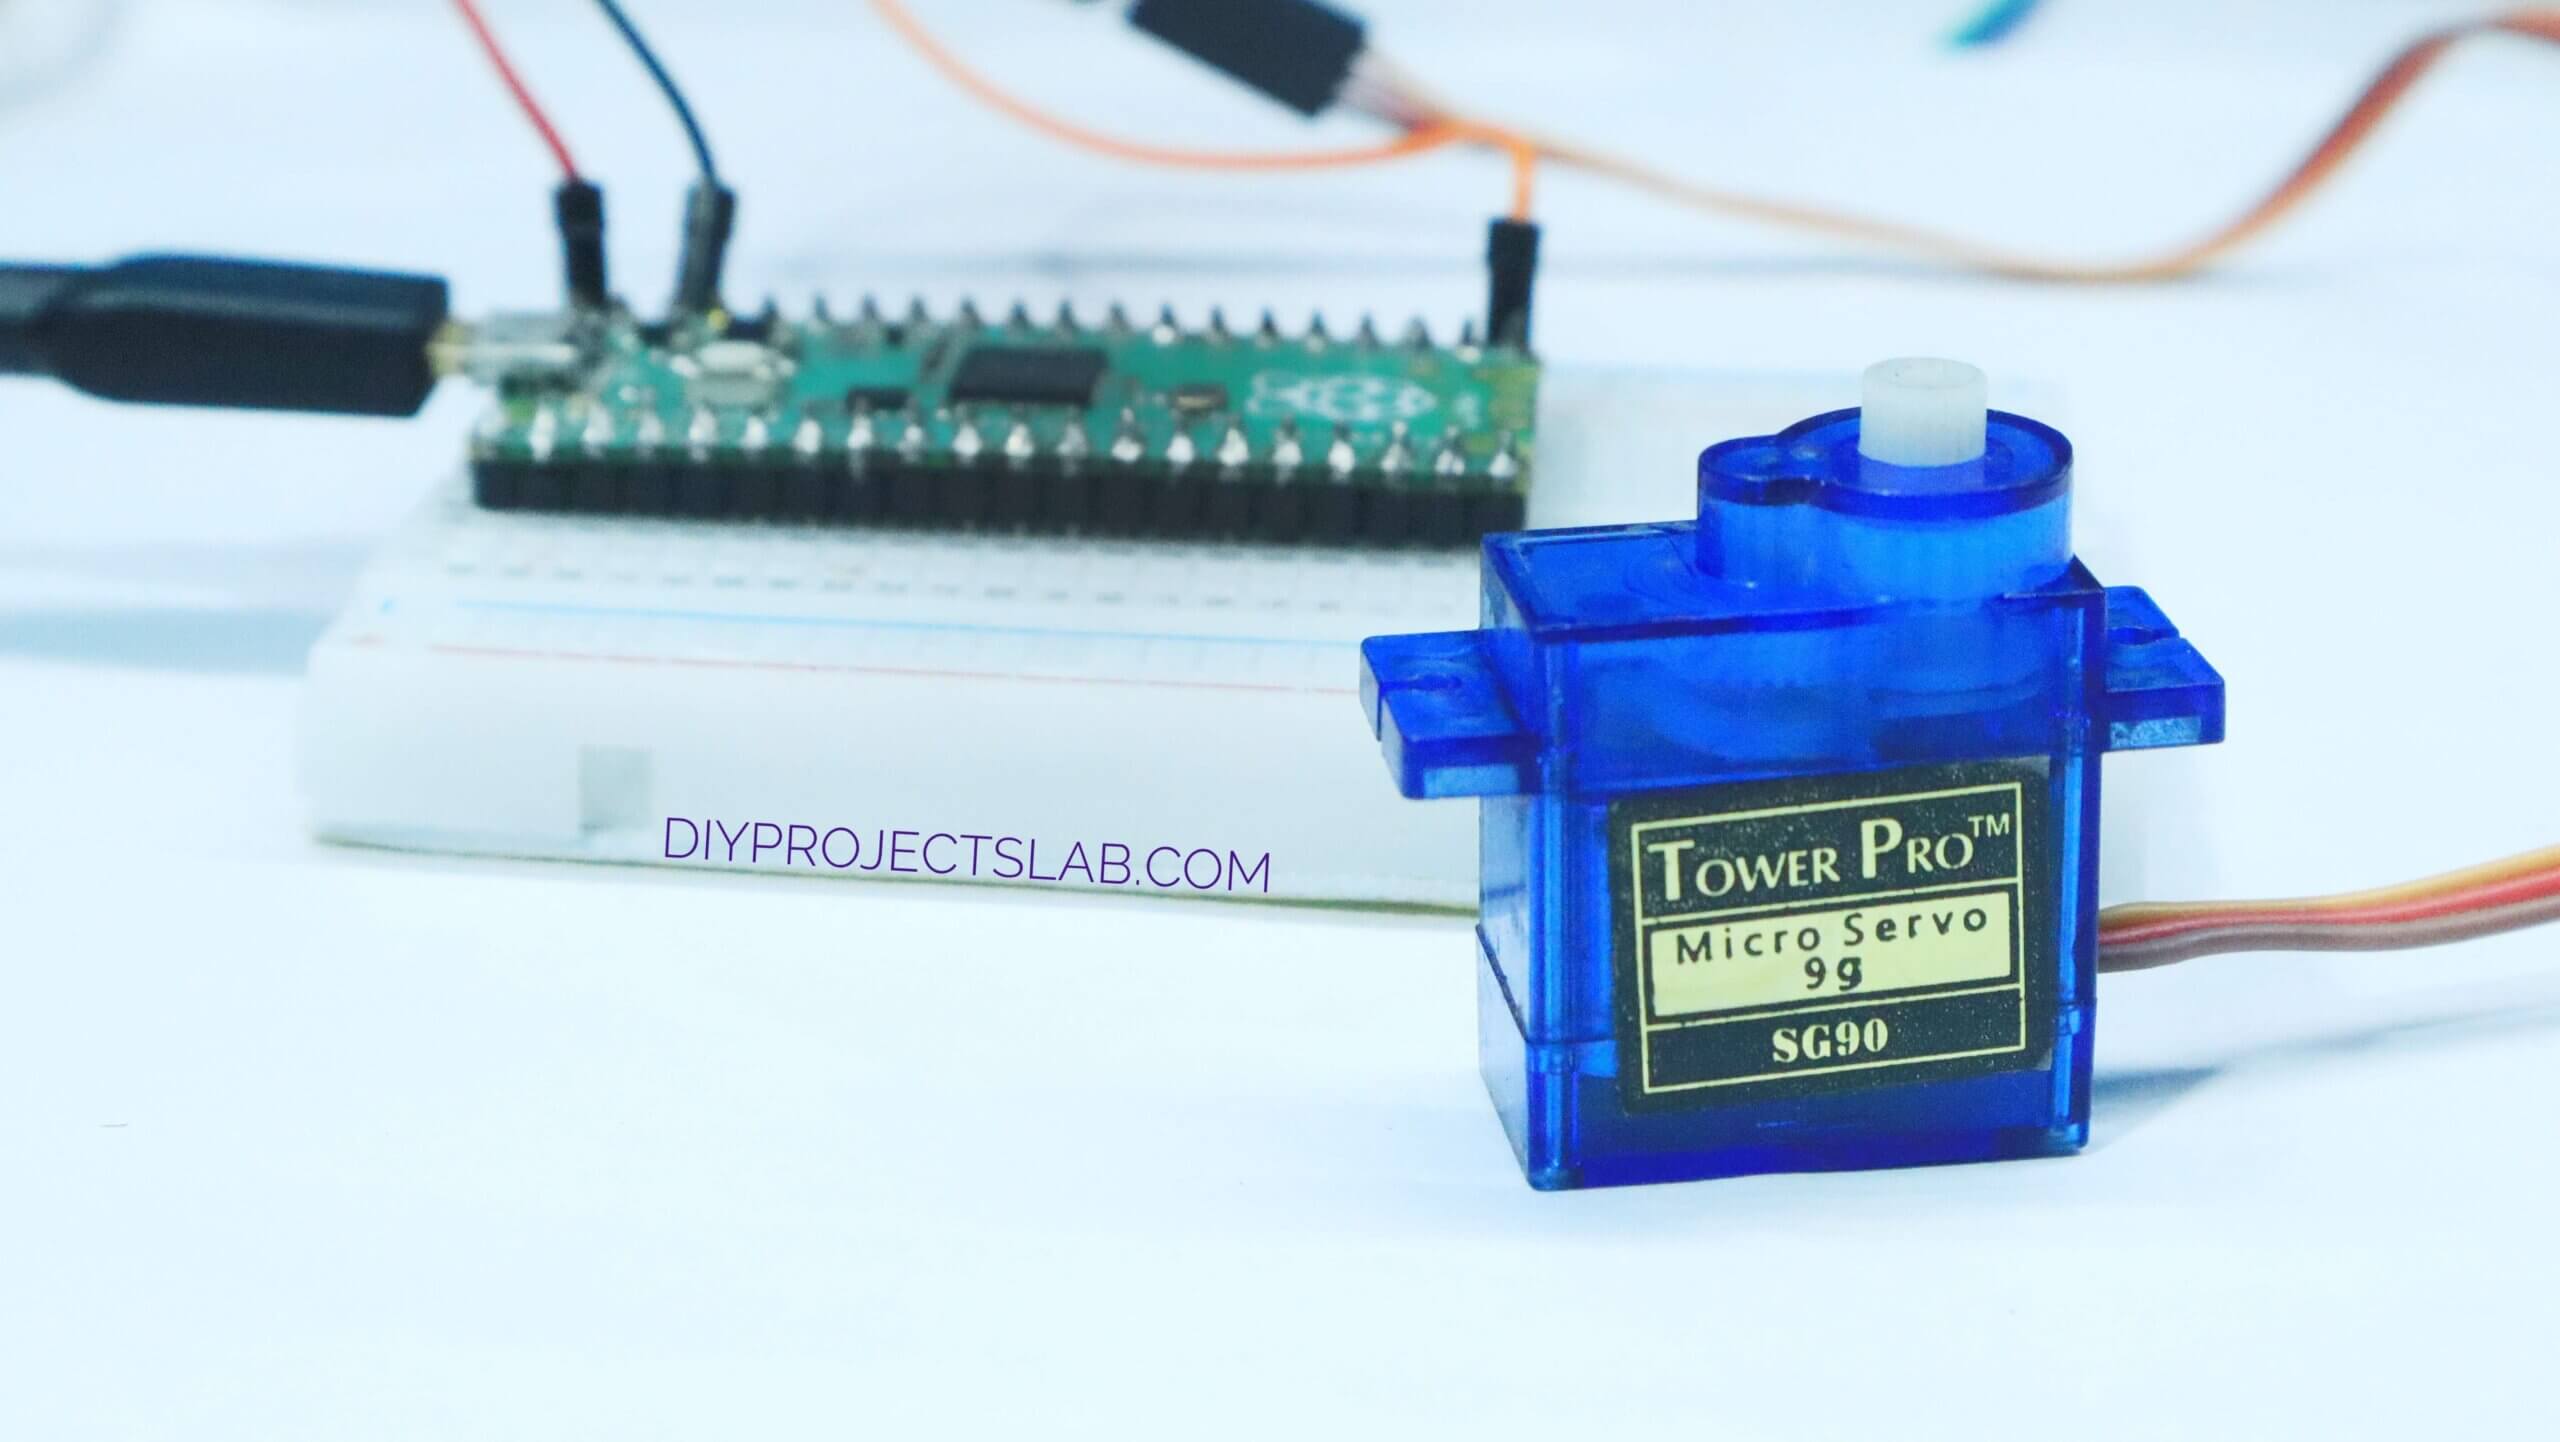
Servo Motor With Raspberry Pi Pico
Description: Servo motors are often used in robotic applications because they can be accurately controlled and are relatively inexpensive. Raspberry Pi Pico is a microcontroller that can be used to control servo motors. In this project, we will use the Raspberry Pi Pico to control a servo motor.
________________________________________________________________________________________________________________________
Raspberry Pi Pico ADC
Description: The Pico ADC is a 12-bit Analog-to-Digital Converter that can be used to measure voltages up to 3.3V. The board also has an on-board temperature sensor and a 3.3V power regulator. It is a great little board for anyone looking to get started with programming or electronics.
________________________________________________________________________________________________________________________
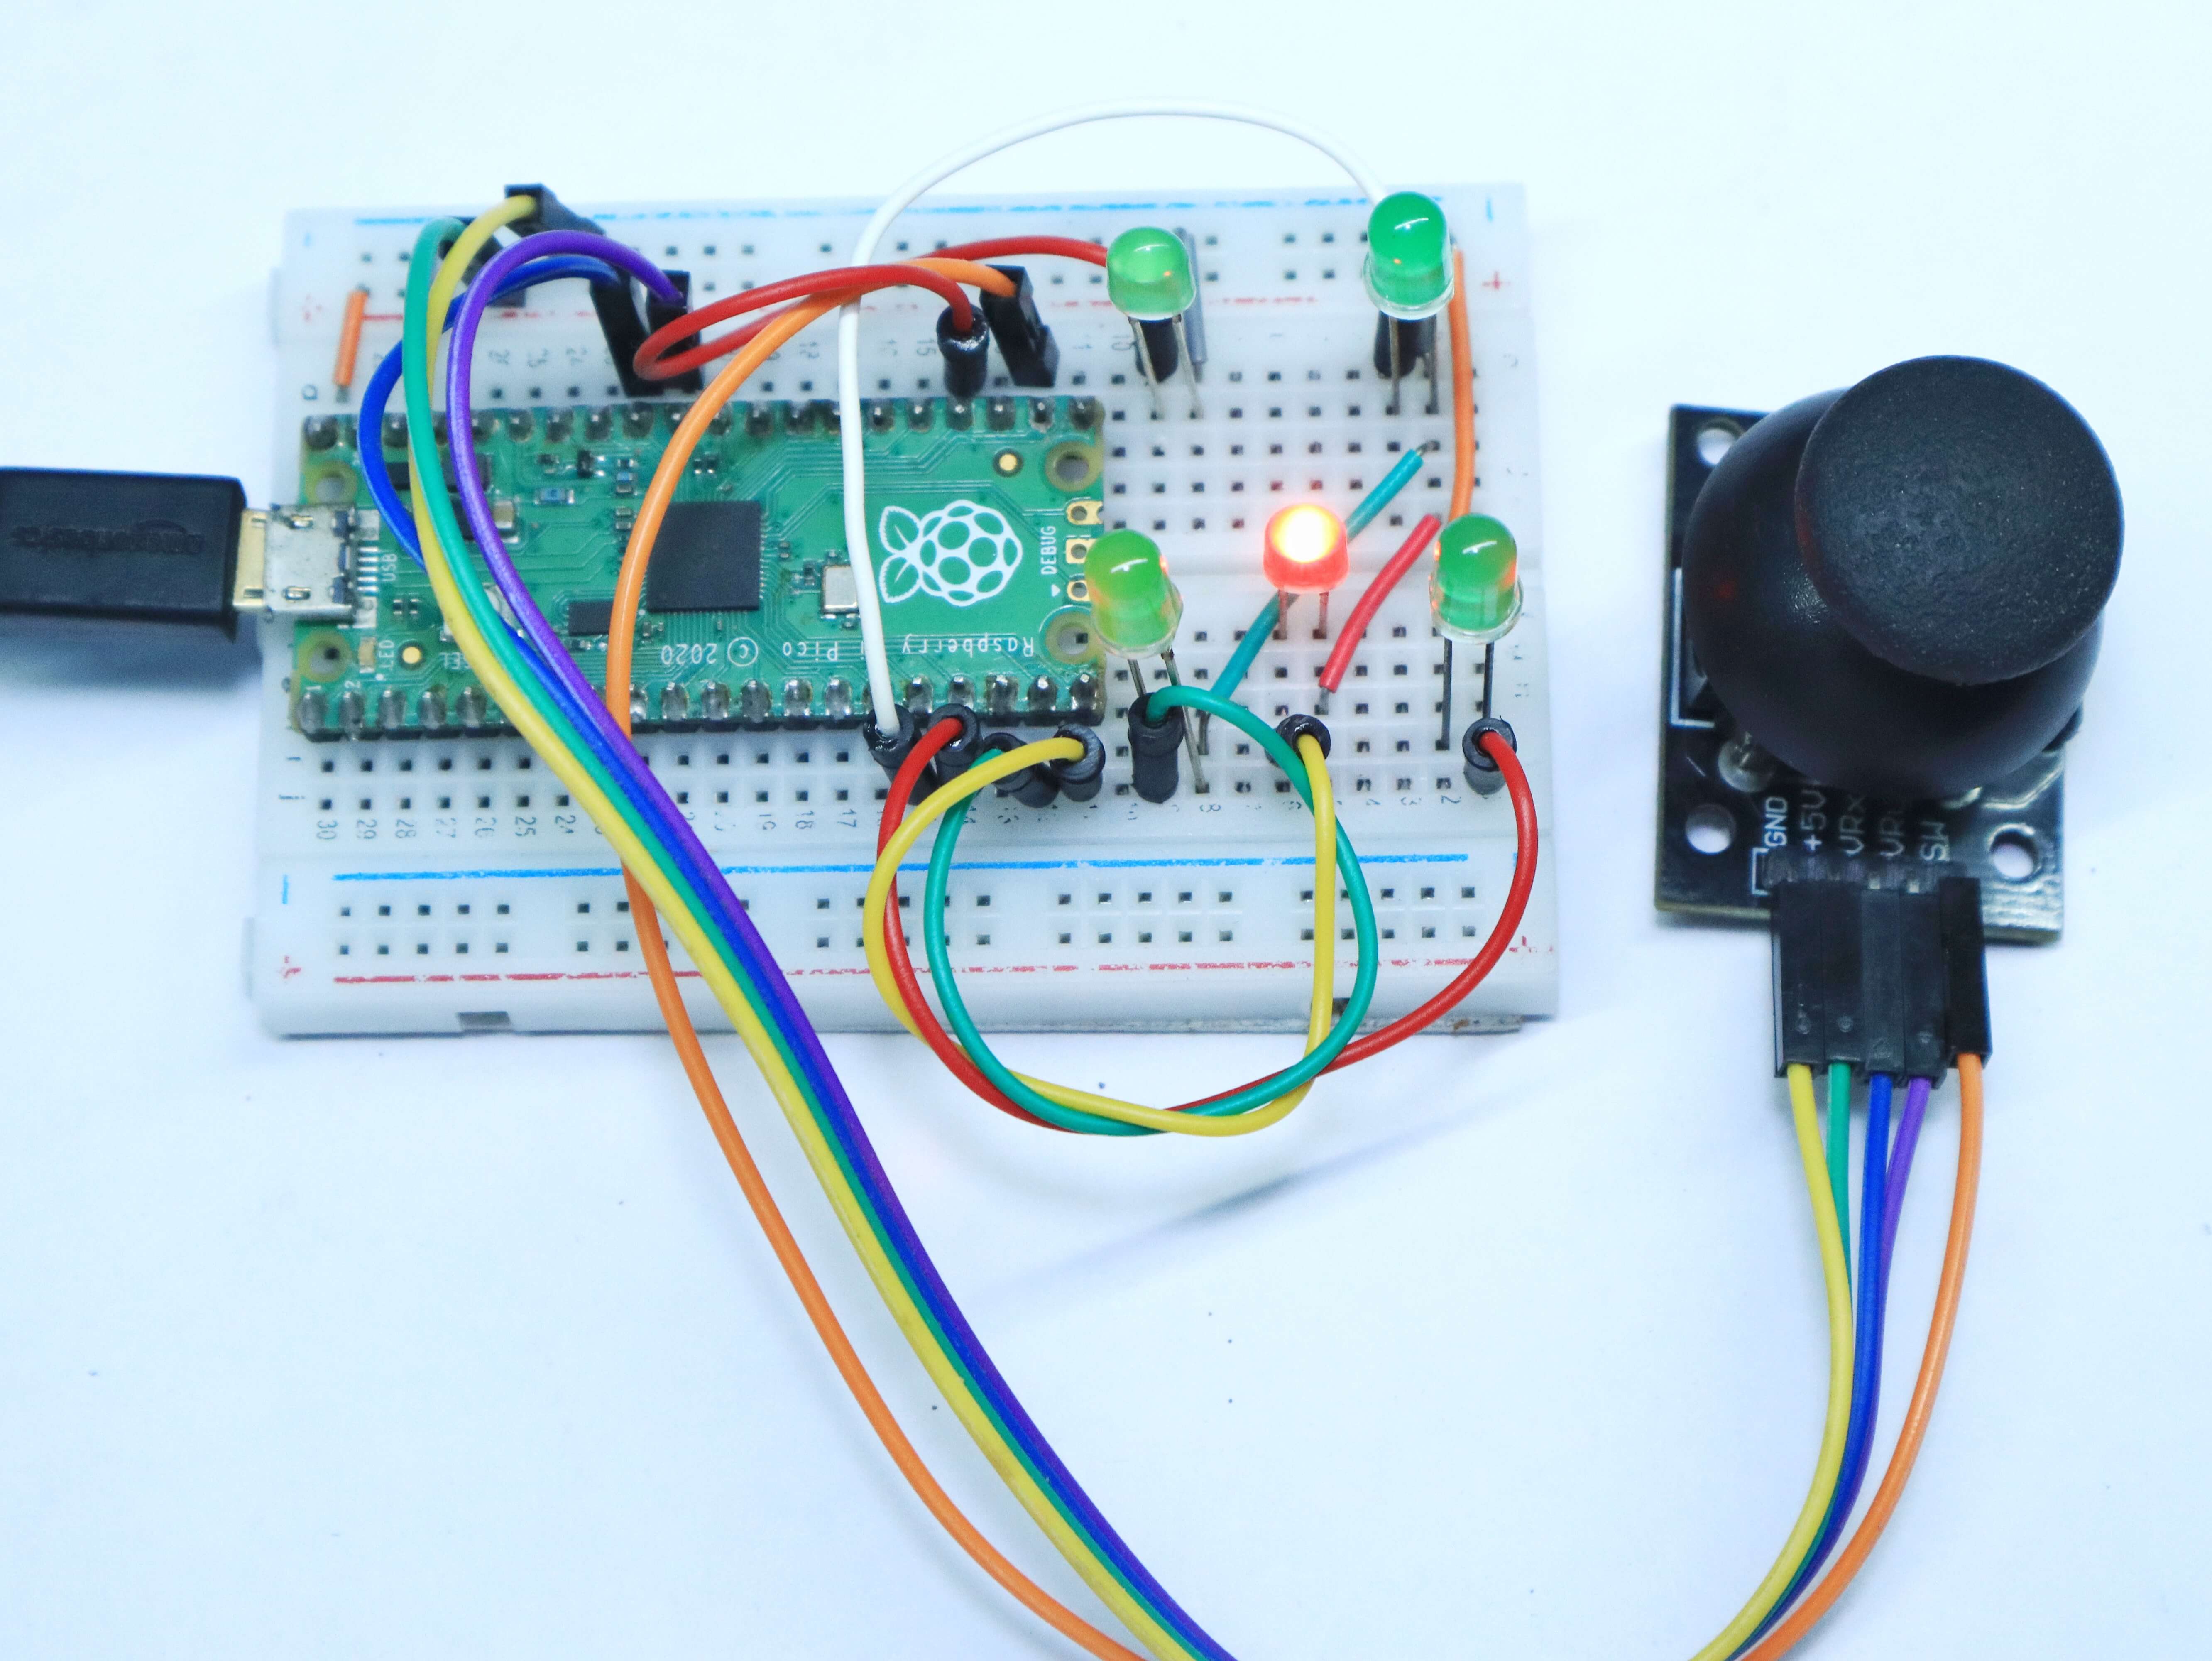
Raspberry Pi Pico With Joystick
Description: Joystick module With Raspberry Pi Pico is a great way to add a joystick to your Pico projects. You can use it to control your Pico projects in a variety of ways.
________________________________________________________________________________________________________________________
Similar Raspberry Pi Pico Projects
- How To Use SSD1306 Oled Display With Raspberry Pi Pico
- RGB LED Using a Raspberry Pi Pico with MicroPython
- Joystick With Raspberry Pi Pico MicroPython Tutorial
- Flame Sensor With Raspberry Pi Pico Tutorial
- HC-SR04 Ultrasonic Distance Sensor With Raspberry Pi Pico Tutorial
- Raspberry Pi Pico Home Automation System
- Interface 16×2 Lcd Display With Raspberry Pi Pico
- Raspberry Pi Pico Weather Station Using Dht11 Sensor
- Interface Servo Motor With Raspberry Pi Pico
- Interfacing PIR Motion Sensor with Raspberry Pi Pico

![Raspberry Pi Pico Projects for Beginners [2022] Best raspberry pi projects for bigneeers](https://diyprojectslab.com/wp-content/uploads/2022/11/Best-raspberry-pi-projects-for-bigneeers-1024x576.jpg)
