Introduction
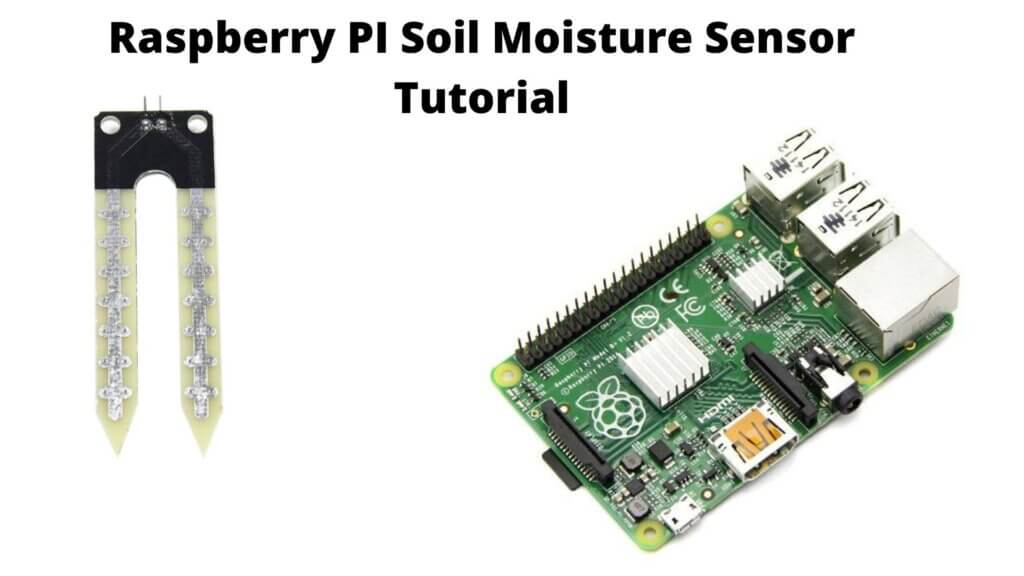
In this Raspberry PI soil moisture sensor tutorial, we will be showing you how to set up and wire the soil moisture sensor up to the Raspberry Pi. We will also be writing a Python script that will read the sensor data and output it in a Serial monitor.
Most of us have a houseplant or two, or maybe even a garden, but did you know that you can use a Raspberry Pi to monitor the moisture in your plants’ soil? That’s right, with this handy tutorial, you can set up a soil moisture sensor that will text you when your plants need watering. All you need is a Raspberry Pi, a soil moisture sensor, and a few other inexpensive parts. So let’s get started!
Thank You, PCBWay:
This project is successfully completed because of the support and help from PCBWay. Guys if you have a PCB project, please see their website and get exciting bargains and coupons. PCBway is the best prototype PCB company offering great PCB boards at lower prices If you sign-up using this link you will get beginner and sign-up coupon rewards. https://www.pcbway.com/?from=diyp
You will need
- Raspberry Pi
- Soil moisture sensor
- Breadboard.
What is Soil Moisture Sensor?
A soil moisture sensor is a device used to measure the moisture in the soil. The sensor works by sending out an electromagnetic signal that is transmitted through the soil. The signal is then received by the sensor and the moisture content is measured.
There are many benefits to using a soil moisture sensor. One benefit is that it can help to save water. The sensor can be used to monitor the moisture content in the soil and then the irrigation system can be adjusted accordingly. This can help to reduce the amount of water that is used and can also help to reduce the amount of water that is wasted. Another benefit of using a soil moisture sensor is that it can help to improve the health of the plants. Check Also – How Soil Moisture Sensor Works and Interface
Soil Moisture Sensor PinOut
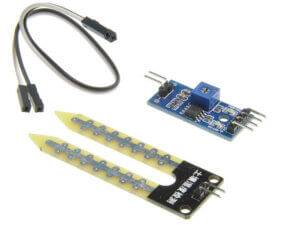
The soil Moisture sensor FC-28 has four pins
- VCC: For power
- A0: Analog output
- D0: Digital output
- GND: Ground
Soil Moisture Sensor Applications
The Soil Moisture Sensor has many applications in agriculture, including
- Monitoring the moisture content of the soil to optimize irrigation schedules
- Monitoring drought conditions
- Evaluating the effectiveness of irrigation systems
- Predicting crop yields
- Detecting soil compaction The SMS can also be used for environmental purposes, such as:
- Monitoring the moisture content of the soil to optimize water resources
- Detecting leaks in irrigation systems *
What is a Raspberry Pi?
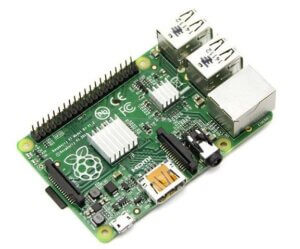
A Raspberry Pi is a credit-card-sized computer that can be used for a variety of purposes. It was developed by the Raspberry Pi Foundation, a UK charity, with the aim of promoting the teaching of basic computer science in schools. The Raspberry Pi is a fully operating computer with various ports that allow you to connect it to other devices and peripherals. It has a CPU, memory, and a number of other components that allow it to run the software. You can use Raspberry Pi to learn to code, build hardware projects, or run a variety of software applications.
How to Connect the Raspberry PI Soil Moisture Sensor
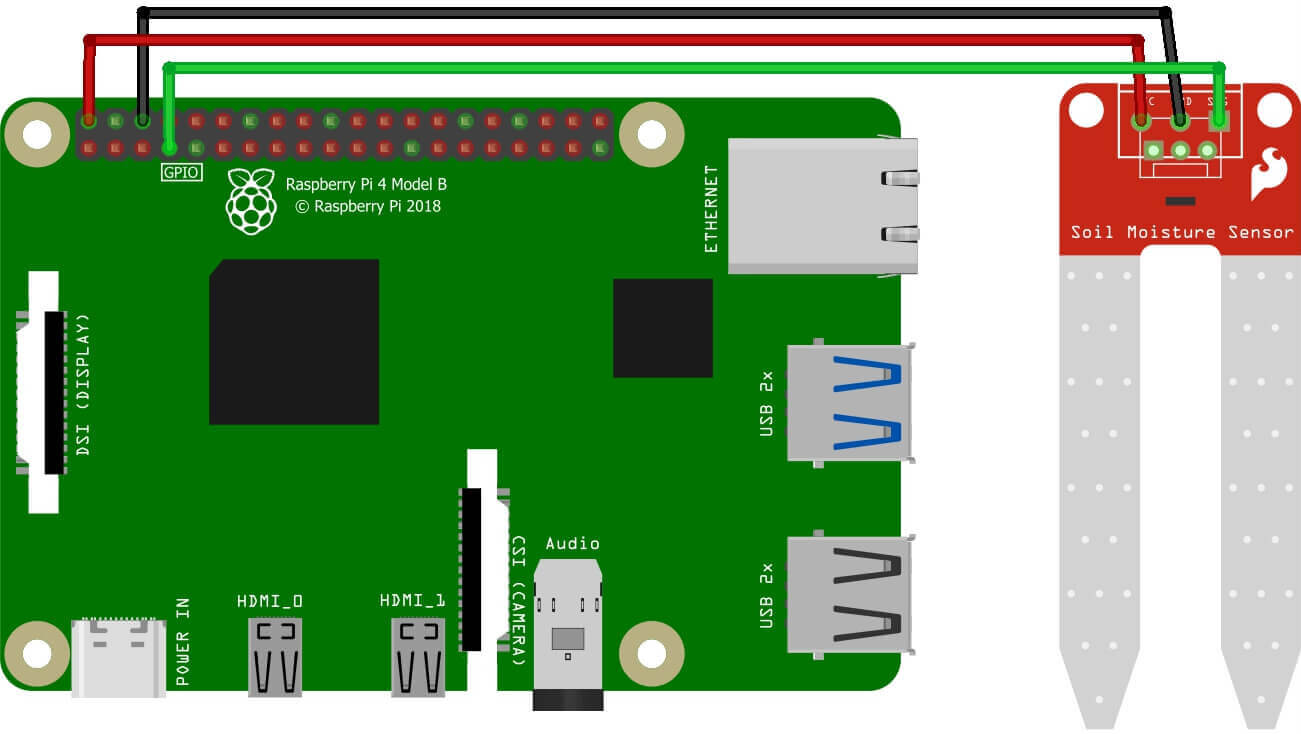
Connecting a Soil moisture sensor to a Raspberry Pi is a simple process. we will need to connect the Soil moisture sensor to the Raspberry Pi GPIO header. We will need to use three wires for this connection. The red wire will go to Raspberry pi 5V Pin, the black wire will go to Raspberry pi GND pin, and the yellow (data) wire will go to GPIO pin 4.
Now that everything is connected, we can begin to write the code for our project. We will need to start
You can also be following this mapping.
- VCC -> 5V
- GND -> GND
- DATA-> GPIO 4
Source code – Raspberry PI Soil Moisture Sensor
Once the sensor is connected, you need to write some code to test the sensor. You just need to copy the following code and paste it into a text editor and save it as a .py file
|
1 2 3 4 5 6 7 8 9 10 11 12 13 14 15 16 17 18 19 20 21 |
#https://www.diyprojectslab.com/ import RPi.GPIO as GPIO import time #GPIO SETUP channel = 4 GPIO.setmode(GPIO.BCM) GPIO.setup(channel, GPIO.IN) def callback(channel): if GPIO.input(channel): print ("Water Detected!") else: print ("Water Detected!") GPIO.add_event_detect(channel, GPIO.BOTH, bouncetime=300) # let us know when the pin goes HIGH or LOW GPIO.add_event_callback(channel, callback) # assign function to GPIO PIN, Run function on change # infinite loop while True: time.sleep(0) |
- Copy script to Thonny IDE or Python IDLE in raspberry pi
- Run the script by typing “python soil.py” and hit enter to run
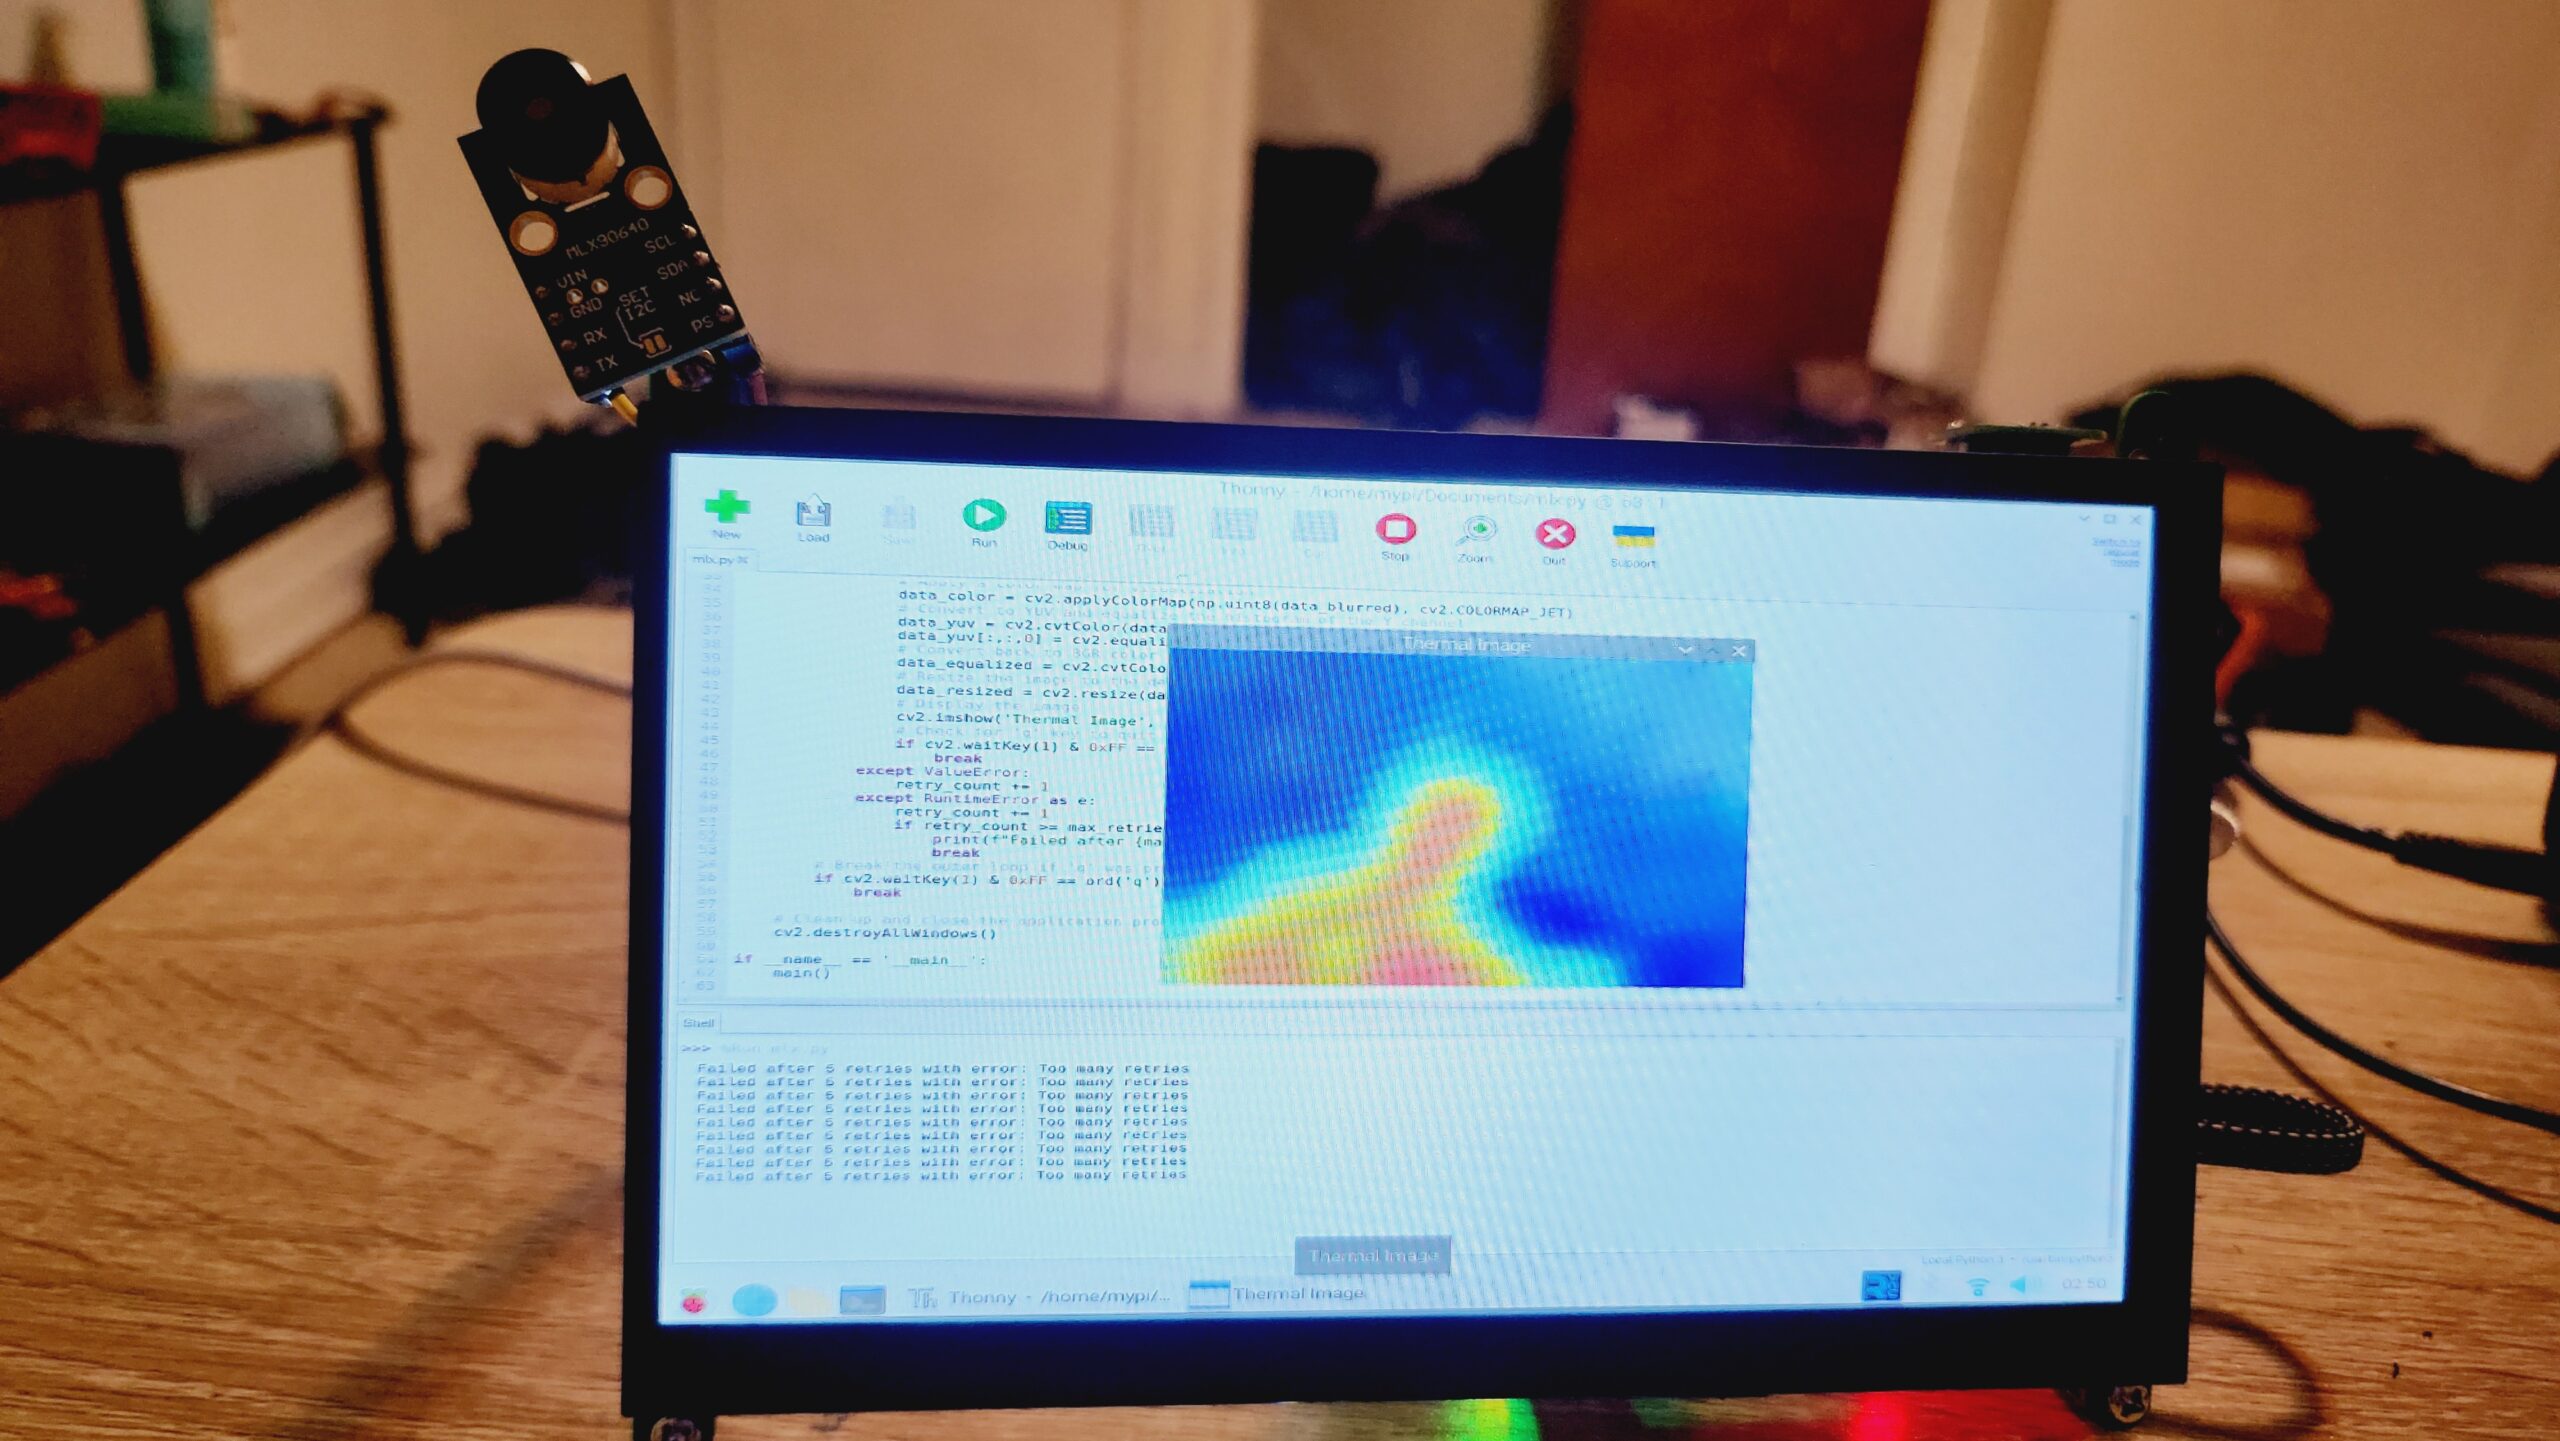
Once the code is saved, you can run it by using the following command: python yourfilename.py If the sensor is working properly, you should see the following output:
Conclusion – Raspberry PI Soil Moisture Sensor
Moisture is detected! You can now modify the code to do whatever you want when the moisture level is detected. For example, you could turn on a motor or buzzer alarm. The possibilities are endless!
Read Similar Articles:
- Getting Started Raspberry Pi Pico – Pinout, Specs – Beginner Guide
- Interfacing PIR Motion Sensor with Raspberry Pi Pico
- Raspberry Pi Pico Home Automation System
- Interface Servo Motor With Raspberry Pi Pico
- Interface 0.96″ OLED Display with Raspberry Pi Pico
- Raspberry Pi Pico Weather Station Using Dht11 Sensor
- Interface 16*2 LCD Display With Raspberry Pi Pico

