Introduction
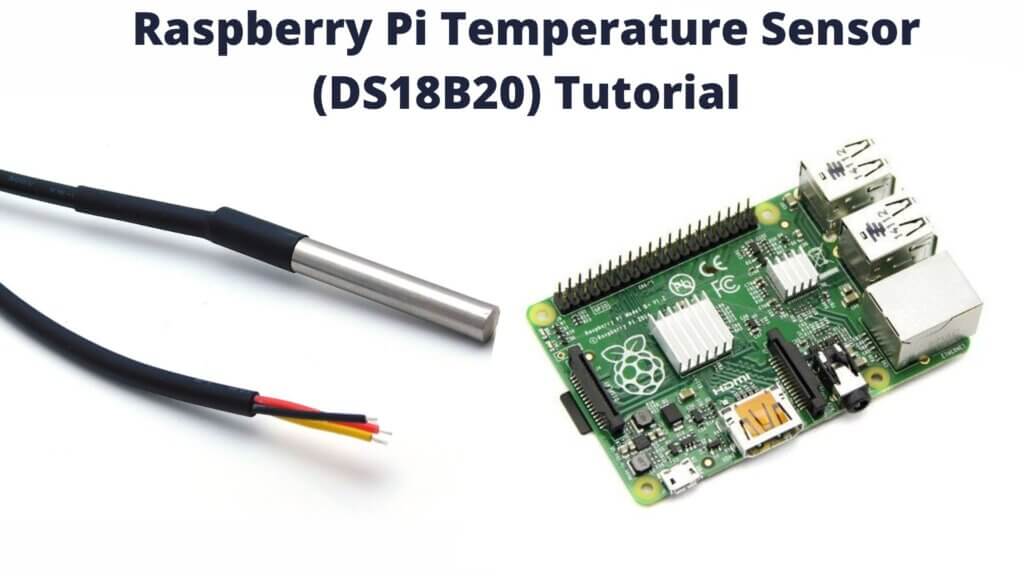
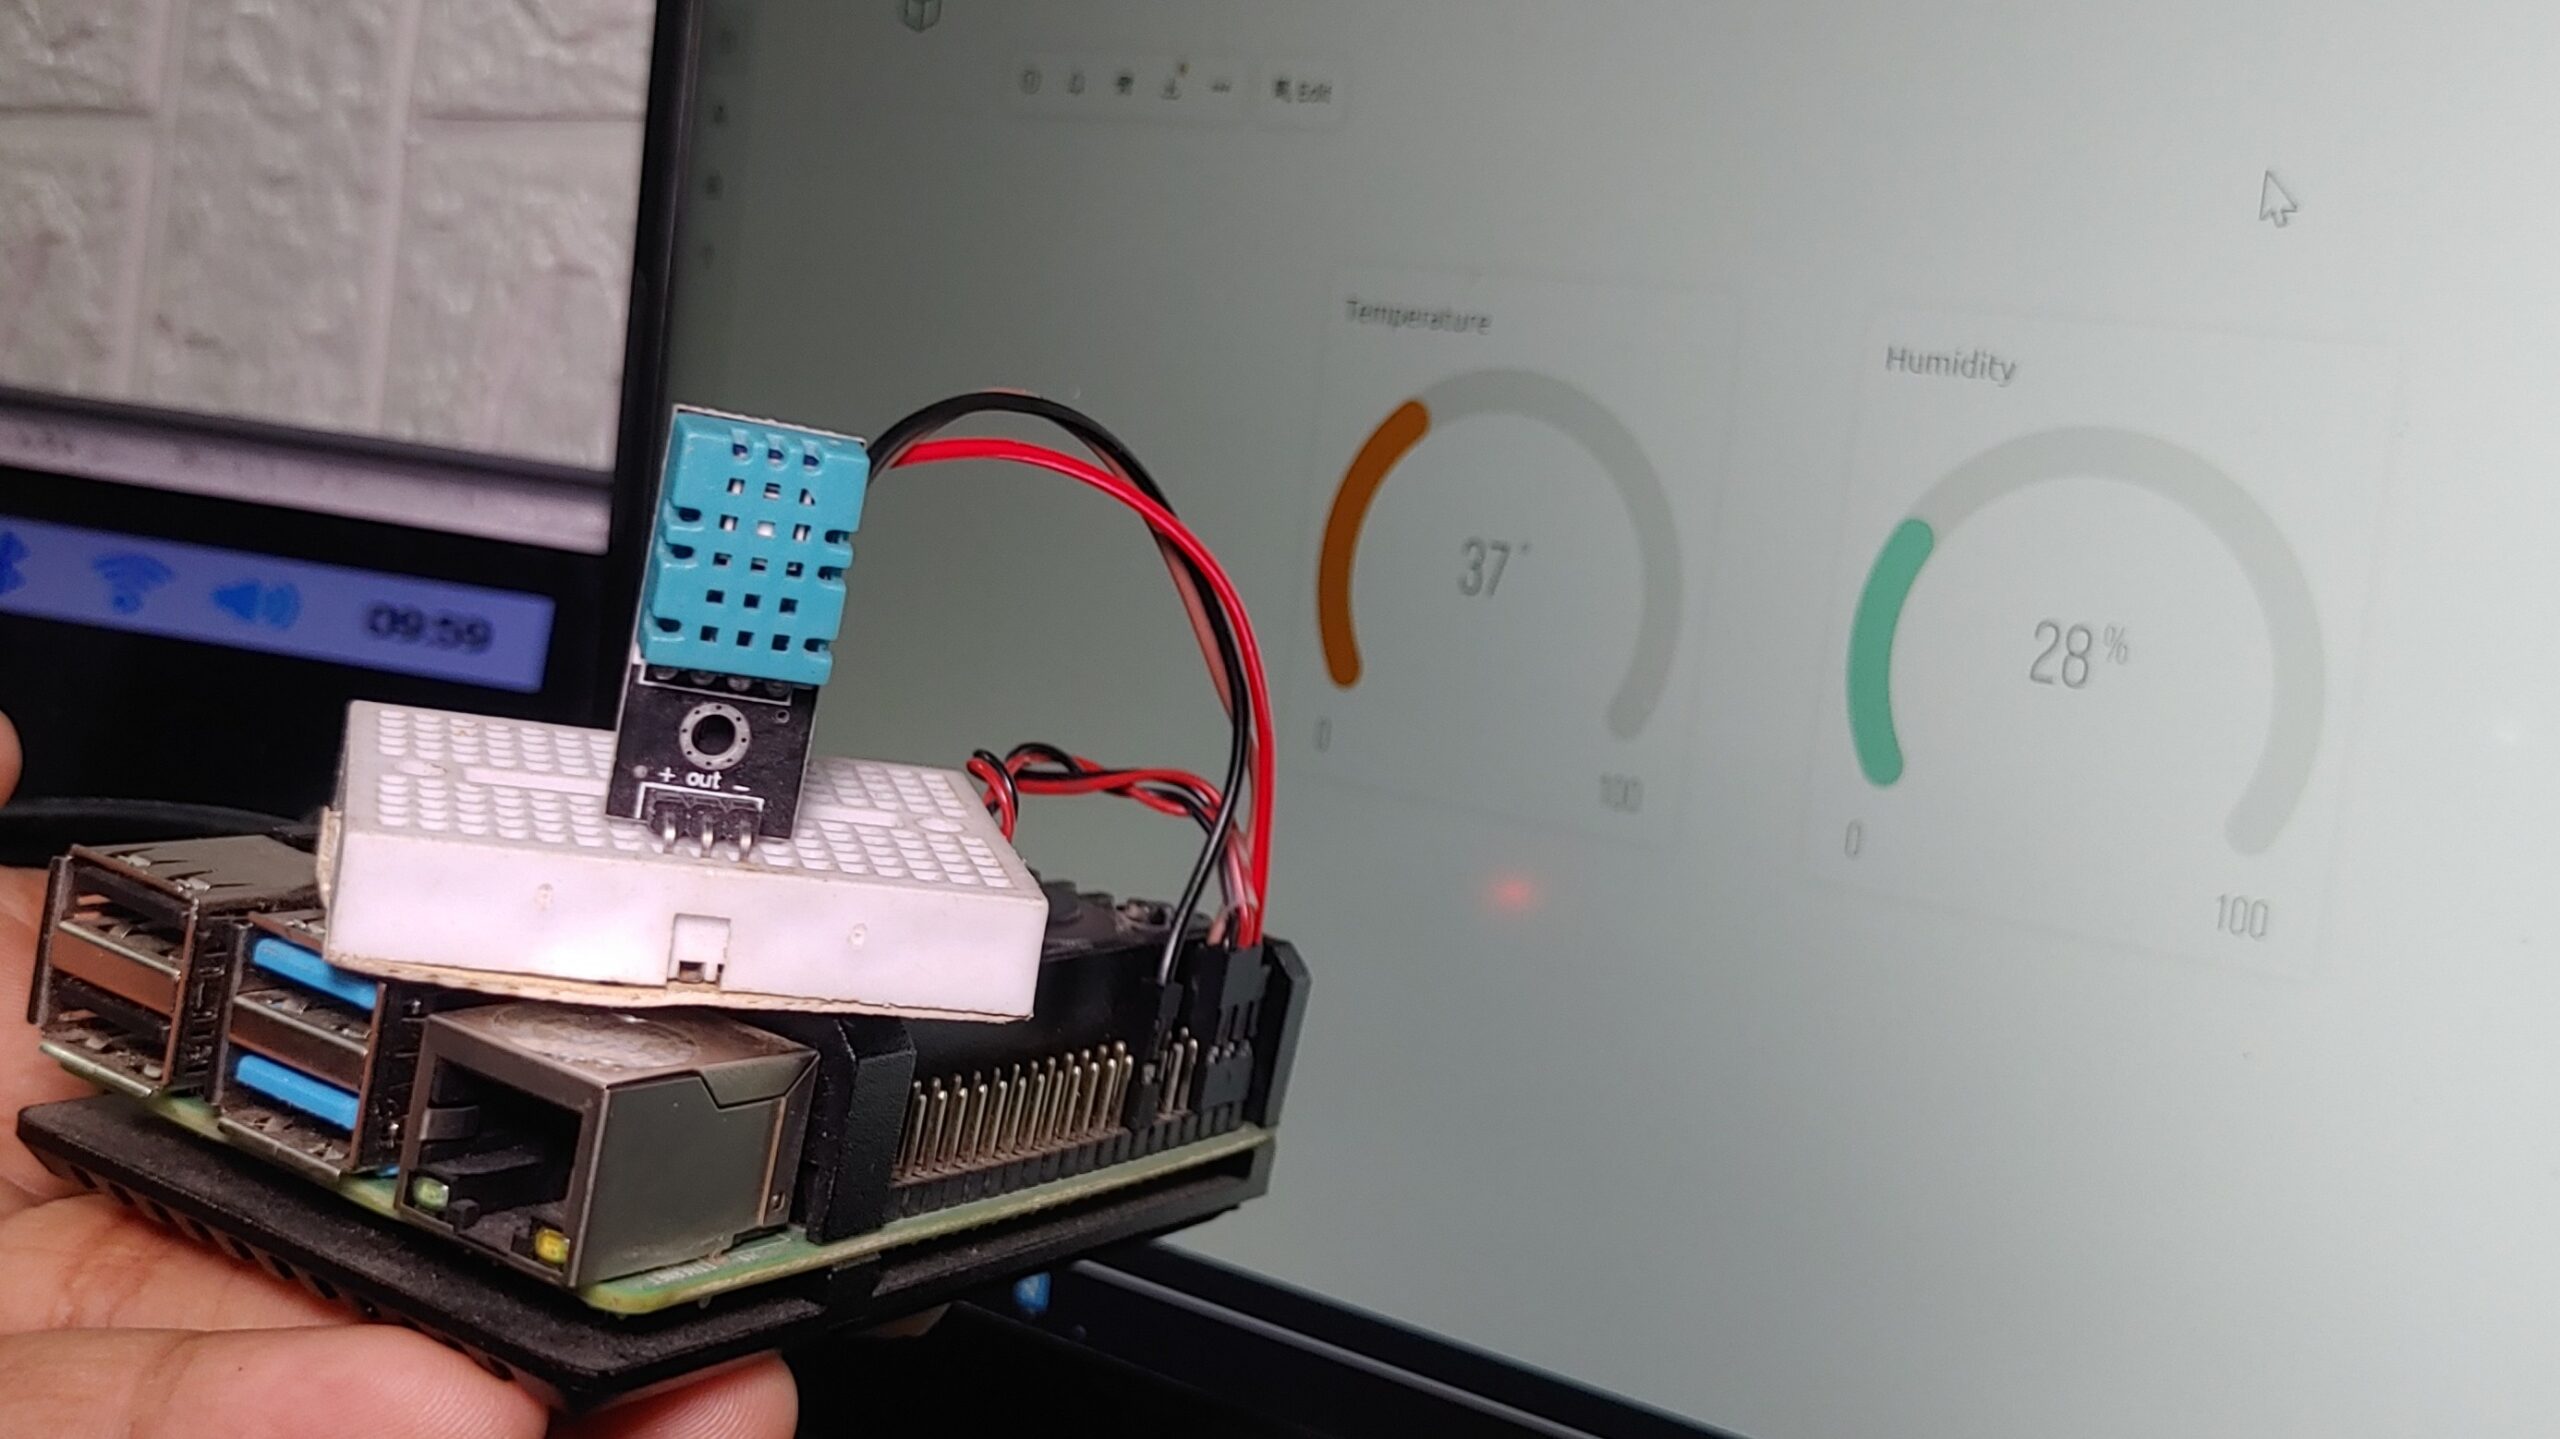
In this tutorial, we’ll be building a Raspberry Pi temperature sensor that monitors the temperature of an environment. we will be showing you how to connect the DS18B20 temperature sensor to your Raspberry Pi. We’ll be using a few different tools to do this, including a temperature sensor, the Raspberry Pi, and a web server.
What is a Raspberry Pi?
A Raspberry Pi is a small-size minicomputer that uses a small computer to connect to internet-enabled devices and allows you to control them remotely. You can use a Raspberry Pi to control anything from a toy car to a drone. You can also use it to make an automated security system for your home. There are unlimited opportunities for what you can do with a Raspberry Pi IoT project.
A Raspberry Pi sensor is a device that measures a physical quantity and converts it into a signal that a Raspberry Pi can read. There are many different types of sensors, each measuring a different quantity such as temperature, light, or pressure.
What is a Temperature Sensor?
A temperature sensor is a device that is used to measure temperature. There are many different types of temperature sensors, but they all work by measuring the temperature of something and then outputting that information in some way. Temperature sensors are widely used in science and industry. There are many different types of temperature sensors, each with its advantages and disadvantages.
What is a DS18B20 Temperature Sensor
The DS18B20 temperature sensor is a digital sensor that uses a 1-wire bus to output temperature readings. The sensor is accurate to +/-0.5°C over the range of -10°C to +85°C. The sensor has an explanation of 0.1°C. The sensor is made of a thermistor, which is a sort of resistor that changes its resistance with temperature.
Technical specifications.
- Range from -55°C to 125°C
- Operating voltage from 3.0V to 5.0V
- 750ms sampling
- 0.5°C (9 bits); 0.25 °C (10 bits); 0.125 °C (11 bits); Resolution of 0.0625 ° C (12 bits)
- 64-bit unique address
- One wire communication protocol
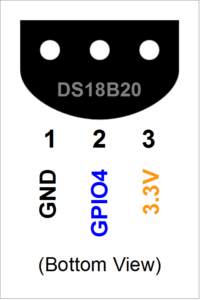
DS18B20 Temperature Sensor pinout
The DS18B20 is a relatively simple temperature sensor to use. It has three pins: ground, power, and data. The ground and power pins are used to connect the sensor to the power supply. The data pin is used to connect the sensor to the Raspberry Pi.
- Pin 1 is Ground. Pin
- Pin 2 is the data pin
- Pin 3 is the power pin.
How to Set Up the Temperature Sensor
The DS18B20 is a digital temperature sensor that uses a 1-Wire interface. This means that only one wire is needed to connect the sensor to the Raspberry Pi.
The sensitivity of the sensor is specified as 9 mV/°C. This means that for every 1°C increase in temperature, the voltage output by the sensor will increase by 9 mV. The sensor is powered by the 3.3V power supply from the Raspberry Pi.
How to Use the Raspberry Pi Temperature Sensor (DS18B20)
The sensor has three leads. The two outside leads are used for the power supply and the middle lead is used for the data signal. The first step is to identify which GPIO pin on the Raspberry Pi is connected to the data lead on the sensor.
The DS18B20 Waterproof Temperature Sensor has three wires
- The red wire is the VCC wire: the operating voltage is 3 to 5 volts.
- Yellow Wire is the Data wire:
- The black wire is the ground wire.
The only external part required is a 4.7Kohm resistor.
Raspberry Pi GPIO Pins:
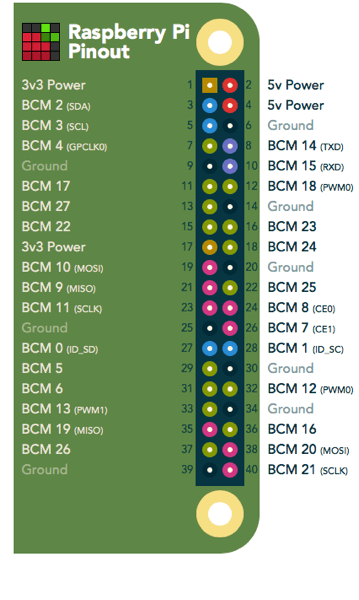
Raspberry Pi Temperature Sensor DS18B20 Circuit Diagram:
Programming & Code
Update Raspbian
It’s forever best to tackle new projects with an updated SD card. I tend to use the latest Raspbian image from the RaspberryPi.org download and then update it from time to time using the following two commands :
|
1 2 |
sudo apt-get update sudo apt-get upgrade |
Enable 1-Wire Interface in Raspberry Pi
The Raspberry Pi supports one wire on any GPIO pin, but the default is GPIO 4. One-wire is a single-wire transmission bus generally used to connect sensor devices such as the DS18B20 temperature sensor to the Raspberry Pi.
To enable the one-wire interface you need to add the following line before rebooting your Pi
|
1 |
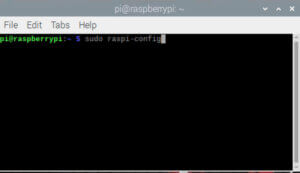
sudo raspi-config |
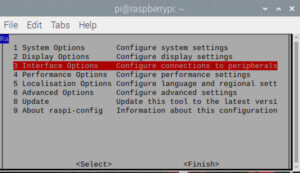
This will launch the raspi-config utility. Select “Interfacing Options” :
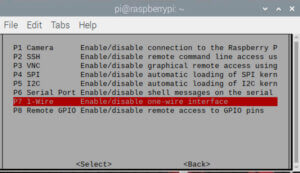
Highlight the “1-wire” option and activate “<Select>” :
Select and activate “<Yes>” :
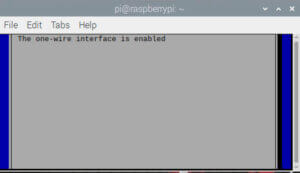
Highlight and activate “<Ok>” :
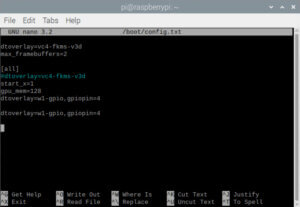
In order to enable the 1-Wire interface you just need to make a small change to the config.txt file using the following code:
|
1 |
sudo nano /boot/config.txt |
add the next line to the bottom :
|
1 |
dtoverlay=w1-gpio,gpiopin=4 |
For the changes to take result you will need to reboot using :
|
1 |
sudo reboot |
Check for the Attached Devices
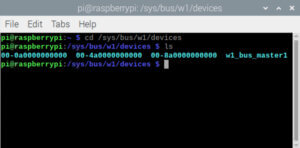
Use the below commands to go to the manual that includes the detected 1-wire devices :
|
1 2 |
cd /sys/bus/w1/devices ls |
This will list the guides associated with your 1-wire devices.
Get Sensor ID
Per sensor has a unique ID and in my case, it is 00-8a0000000000. Your ID will be other so be sure to use that in the sample code below.
Using “cd” we can change to the temperature sensor directory, list the contents, and then view the “w1_slave” file:
|
1 2 3 |
cd 00-8a0000000000 ls cat w1_slave |
The complete command line structure process looks like this :
The “w1_slave” file has a bunch of data but the “t=23062” at the end is the temperature reading. In this example, the temperature is 23.062 degrees Celsius.
Try touching the sensor with your finger and then using “cat w1_slave” to take another reading..
In order to read the temperature via Python here is a basic script :
|
1 2 3 4 5 6 7 8 9 10 11 12 13 14 15 16 17 18 19 20 21 22 23 24 25 26 |
#!/usr/bin/python def gettemp(id): try: mytemp = '' filename = 'w1_slave' f = open('/sys/bus/w1/devices/' + id + '/' + filename, 'r') line = f.readline() # read 1st line crc = line.rsplit(' ',1) crc = crc[1].replace('\n', '') if crc=='YES': line = f.readline() # read 2nd line mytemp = line.rsplit('t=',1) else: mytemp = 99999 f.close() return int(mytemp[1]) except: return 99999 if __name__ == '__main__': # Script has been called directly id = '28-00000482b243' print "Temp : " + '{:.3f}'.format(gettemp(id)/float(1000)) |
ds18b20.py
Note: You will require to replace my reference to 00-8a0000000000 with the id of your device.

2 Comments
Pingback: How To Use Vibration Sensor With Raspberry Pi Tutorial 2022
Pingback: Control A DC Motor Using Raspberry Pi With L298N Driver