Introduction
In this tutorial, you will learn how to control a small, inexpensive DC motor using Raspberry Pi With L298N Driver. You’ll learn how to set up the driver and how to control the motor speed and direction. we will use a Raspberry Pi to control the direction and speed of a DC motor using an L298N driver.
We’ll be using the L298N to control a small DC motor, so we’ll need to connect the motor to the driver.
What You Will Need
- Raspberry pi:
- Jumper cable:
- L298N motor driver
- 4WD Robot Car Chassis Kit:
What is a Raspberry Pi?
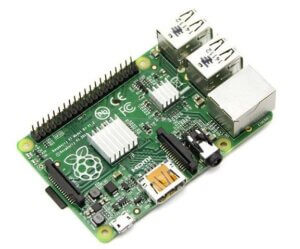
A Raspberry Pi is a credit card-sized computer that costs around $35. It can be used for many of the things that your desktop PC does, like spreadsheets, word-processing, and games. It also plays high-definition video. Raspberry Pi is a mini-computer that can be used for a variety of electronics projects. It has a high-speed processor and can be programmed with a variety of software applications.
What is an L298N Driver?
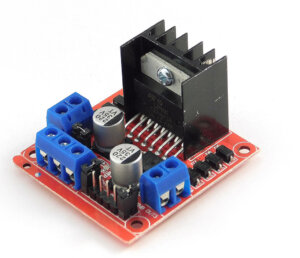
The L298N Driver is a motor driver board that is based on the L298N Dual H-Bridge Motor Driver IC. The L298N Driver can control up to four DC motors, or two DC motors with one stepper motor. It has a built-in 5V regulator and can be powered by an external power supply or by a USB port. The L298N Driver also has a built-in status LED, and a reset button.
An L298N driver is a device that is used to control the speed and direction of a brushed DC motor. It is a dual H-bridge driver device that can be used to control two DC motors at the same time or one bipolar stepper motor. Check here for more info. about L298N Motor Driver
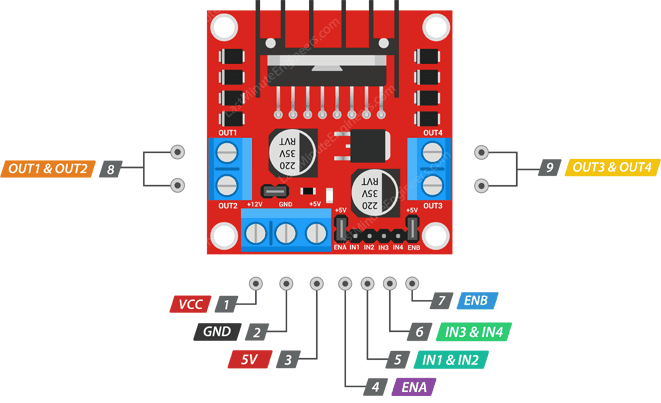
L298N Motor Driver Pinout
let’s first take a look at its Pinout.
How to Use a Raspberry Pi With L298N Driver
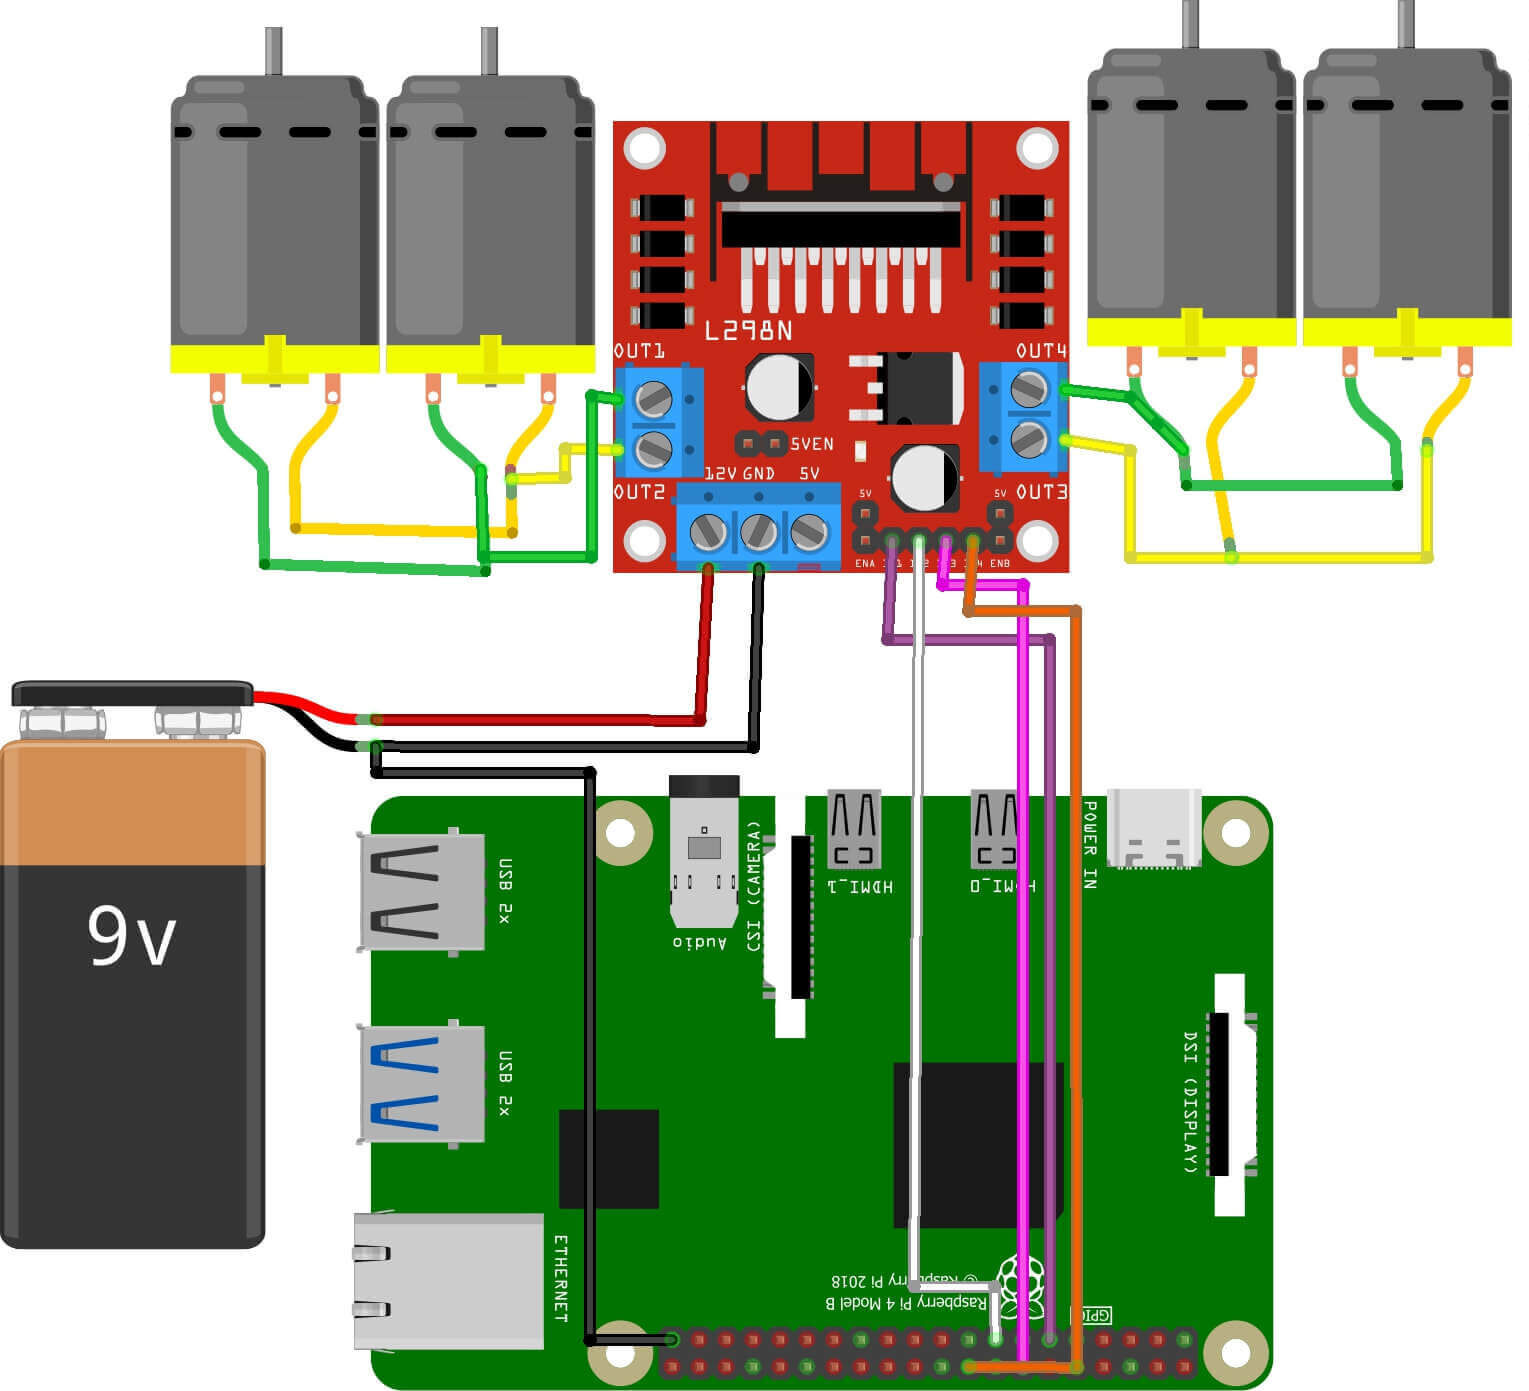
The L298N can be used with a variety of different Raspberry Pi models, making it a great option for a wide range of projects. The first step is to connect the L298N driver to the Raspberry Pi. The driver has four input/output (I/O) pins that need to be connected to the Raspberry Pi. The driver also has two power pins that need to be connected to a power source.
L298N Connections
| L298N | Connection |
|---|---|
| +12V | 5 – 35 V power supply |
| GND | Power supply and Raspberry Pi ground |
| 12 V jumper | Remove if motor power > 12 V! |
| 5V+ (optional) | 5 V Raspberry Pi if 12 V jumper is removed |
| IN1 | Pin 17 Raspberry Pi |
| IN2 | Pin 22 Raspberry Pi |
| IN3 | Pin 23 Raspberry Pi |
| IN4 | Pin 24 Raspberry Pi |
Programming the Raspberry Pi With L298N Driver
Source Code
|
1 2 3 4 5 6 7 8 9 10 11 12 13 14 15 16 17 18 19 20 21 22 23 24 25 26 27 28 29 30 31 32 |
import RPi.GPIO as gpio import time def init(): gpio.setmode(gpio.BCM) gpio.setup(17, gpio.OUT) gpio.setup(22, gpio.OUT) gpio.setup(23, gpio.OUT) gpio.setup(24, gpio.OUT) def forward(sec): init() gpio.output(17, True) gpio.output(22, False) gpio.output(23, True) gpio.output(24, False) time.sleep(sec) gpio.cleanup() def reverse(sec): init() gpio.output(17, False) gpio.output(22, True) gpio.output(23, False) gpio.output(24, True) time.sleep(sec) gpio.cleanup() print "forward" forward(4) print "reverse" reverse(2) |
Conclusion
In conclusion, it is possible to control a DC motor using Raspberry Pi with an L298N driver and Python. By following the steps outlined in this article, you can easily get started with controlling DC motors with your Raspberry Pi.
Read Similar Articles:
- Raspberry Pi Temperature Sensor (DS18B20) Tutorial
- Interface PIR Sensor With Raspberry PI
- Raspberry Pi With Ultrasonic Sensor Tutorial
- What is Raspberry Pi And Their Uses – Beginner’s Guide
- What’s The Difference? Arduino vs Raspberry Pi

