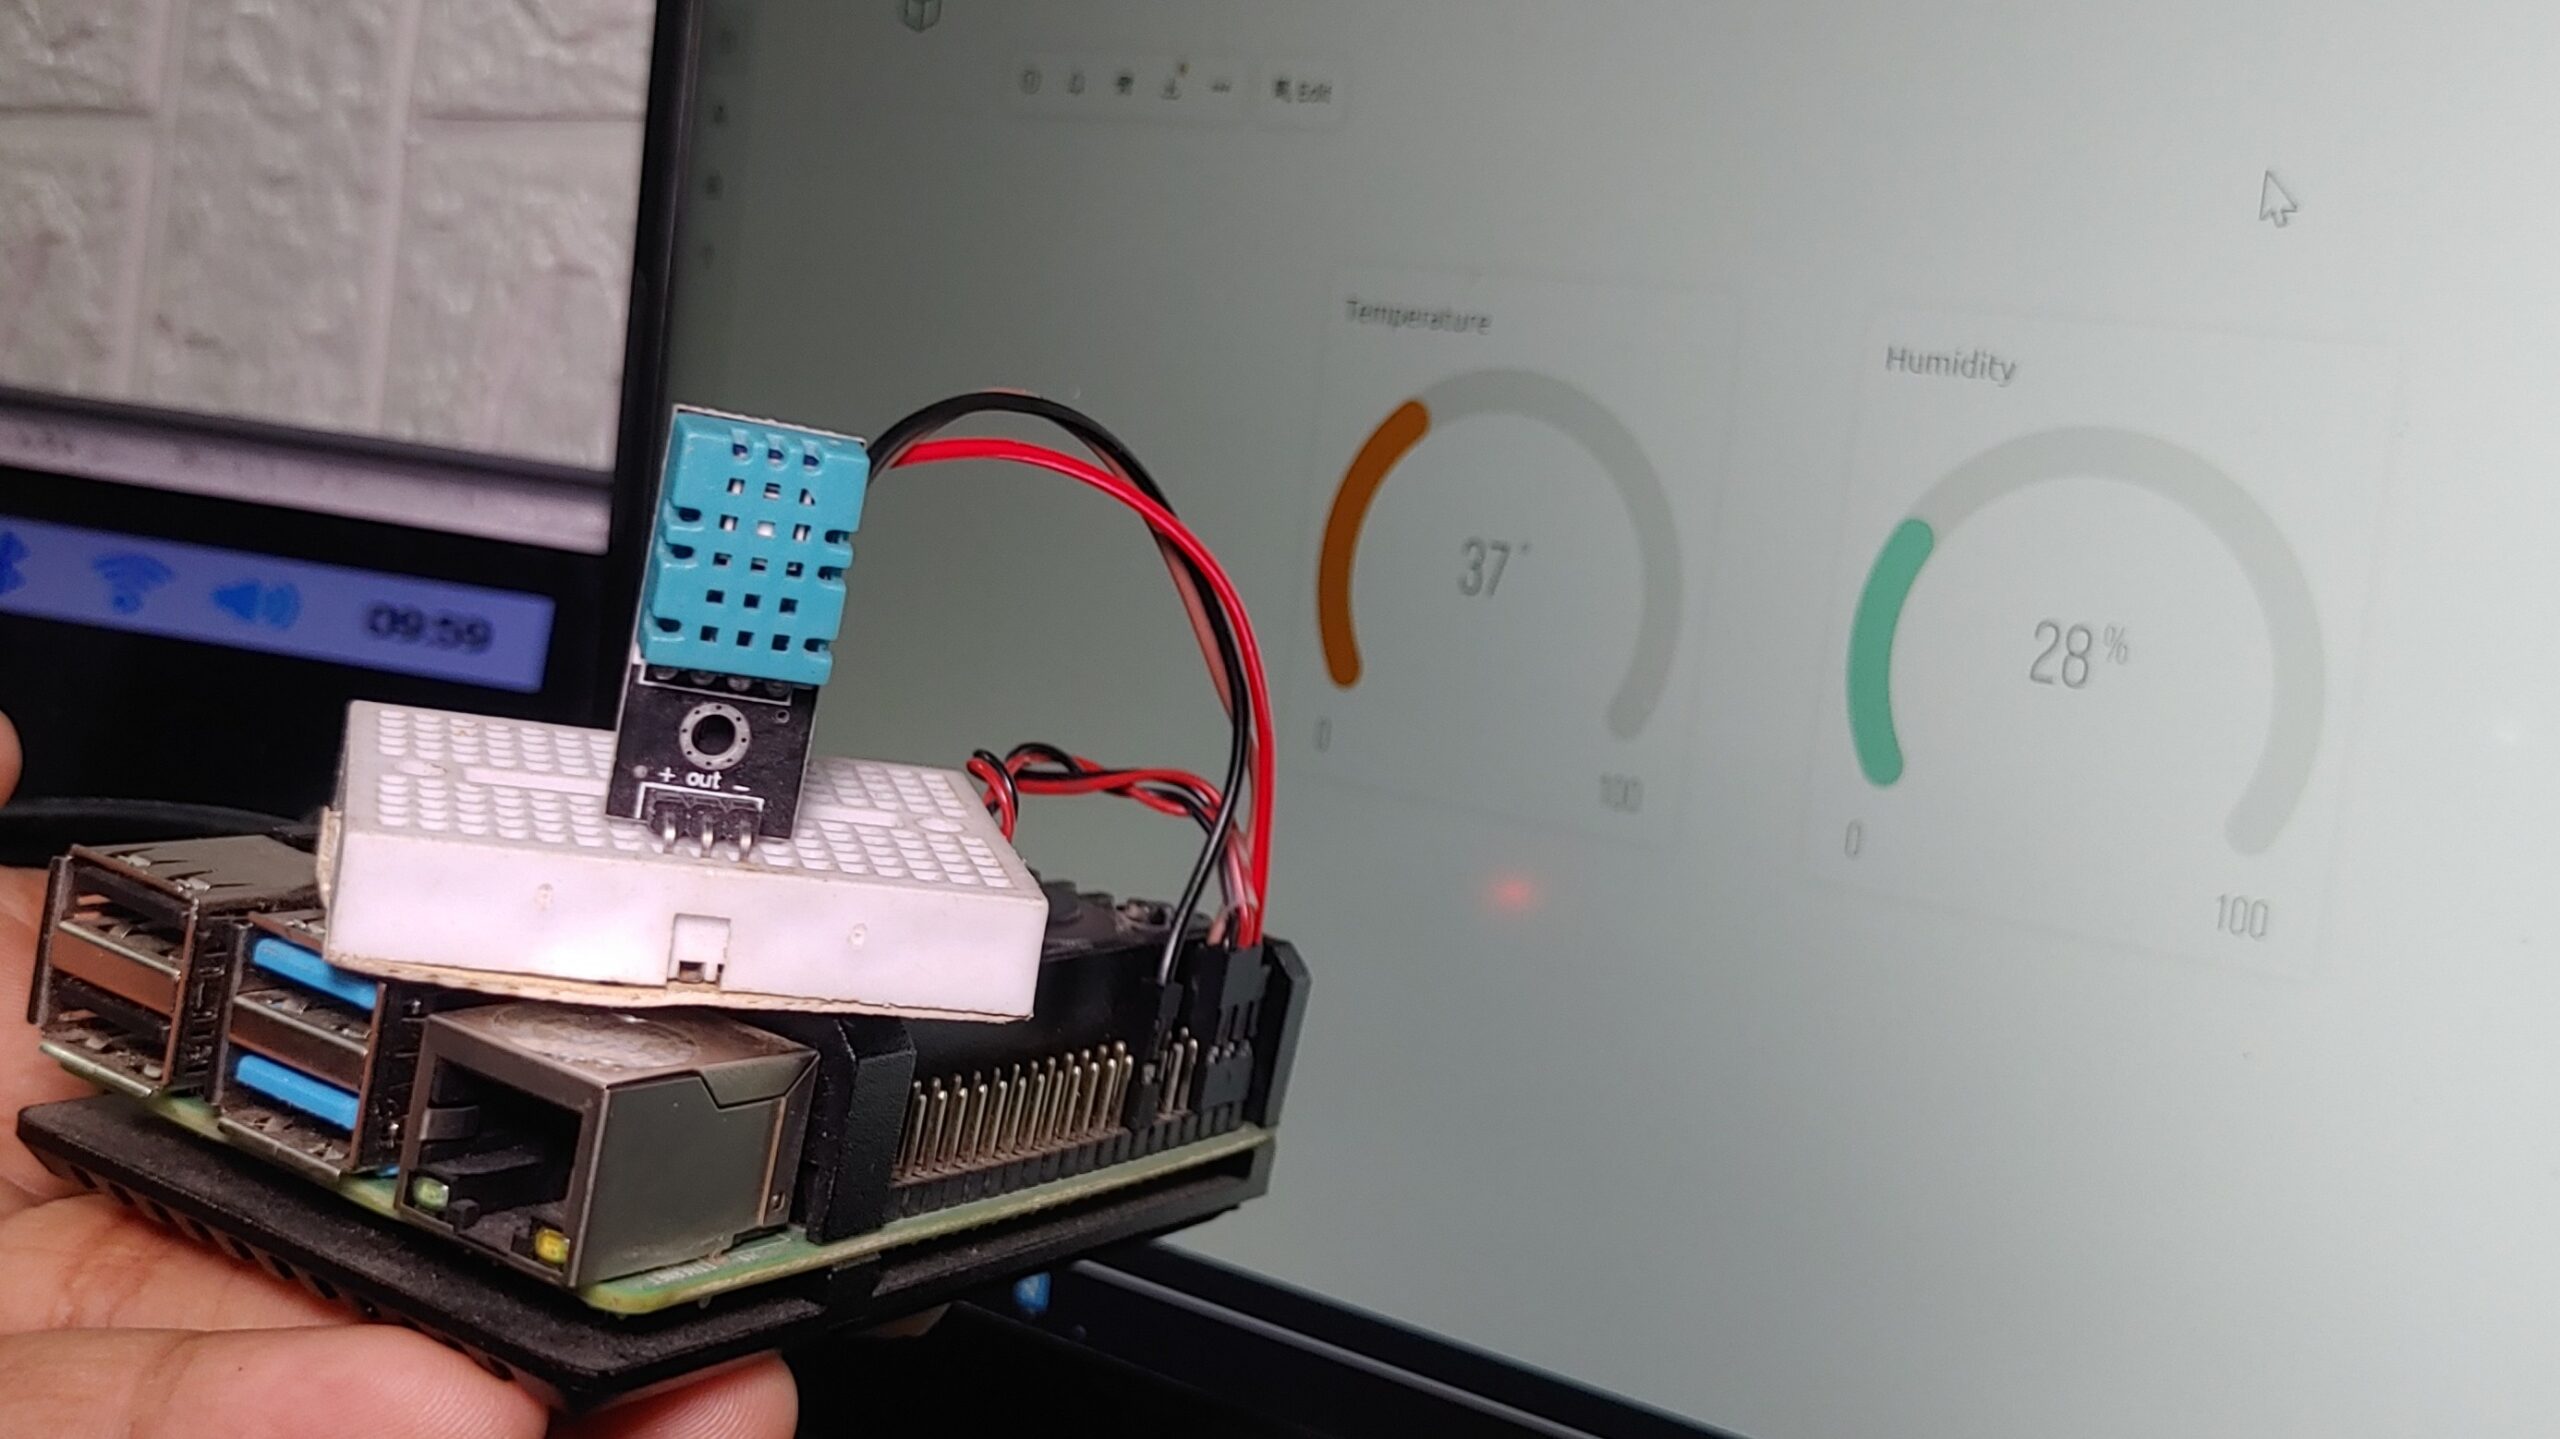
Welcome to this tutorial, where we’ll show you how to build a small IoT Temperature Monitoring System With Raspberry Pi and the New Blynk 2.0 IoT App and Web Dashboard. This system allows you to remotely monitor temperature & Humidity data from your Raspberry Pi using the Blynk 2.0 platform.
This project showcases an IoT-based temperature-humidity monitoring system with the Raspberry Pi 4 and Blynk app
Checkout our previous post –
- IoT LED Control with Blynk 2.0 & Raspberry Pi 4
- Blynk 2.0 With Raspberry Pi Pico W Using Micropython
- DHT11/22 Humidity Temperature Sensor With Arduino
- Raspberry Pi With Humidity Sensor Tutorial
Required Material
To get started, you will need a few components:
- Raspberry Pi Board
- Dht11 Temperature Sensor
- Breadboard
- Jumper wires
- Blynk app
Thank You, PCBWay
This project is completed because of the support and help from PCBWay. If you have a PCB project, please see their website and get exciting discounts and coupons.
PCBway is the best prototype PCB company delivering excellent quality PCB boards at reasonable prices If you sign up using this link you will get a free voucher or bonuses for your first order. https://www.pcbway.com
Wiring Diagram
To set up the hardware for the Dht11 Temperature Sensor with Raspberry Pi, connect the Dht11 to the RPI board. Follow the below image to complete the hardware setup and circuit:
Connect the DHT11 sensor’s data pin to GPIO2, its VCC pin to 5V, and its ground pin to any GND pin on the Raspberry Pi.
| DHT11 Pin | Raspberry Pi Pin | Connection |
|---|---|---|
| Data | GPIO2 | Signal |
| VCC | 5V | Power |
| Ground | Any GND Pin | Ground |
Configuring the Blynk 2.0 App
To control the LED using Blynk and Raspberry Pi, first, create a Blynk account on blynk.cloud or log in with your email.
After signing in, click on ‘+New Template‘ to create a template
In the popup window, enter basic template details and click ‘Done’.
Name the template “Raspberry Pi” and choose “Hardware Type” as “Raspberry Pi” and “Connection Type” as “WiFi“.
Your template is now ready.
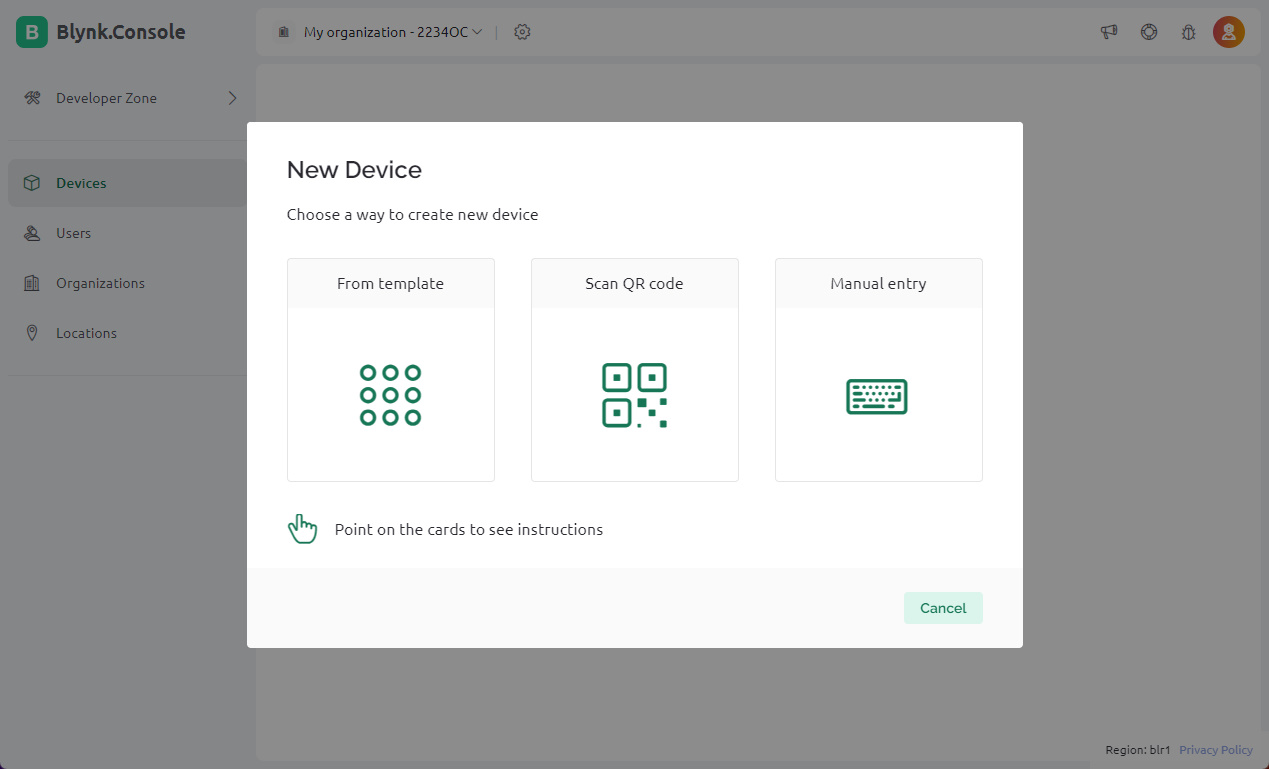
Now that the template is set up, it’s time to add devices
Select “New Device” from the template

Next, go to the dashboard and select ‘Web Dashboard‘
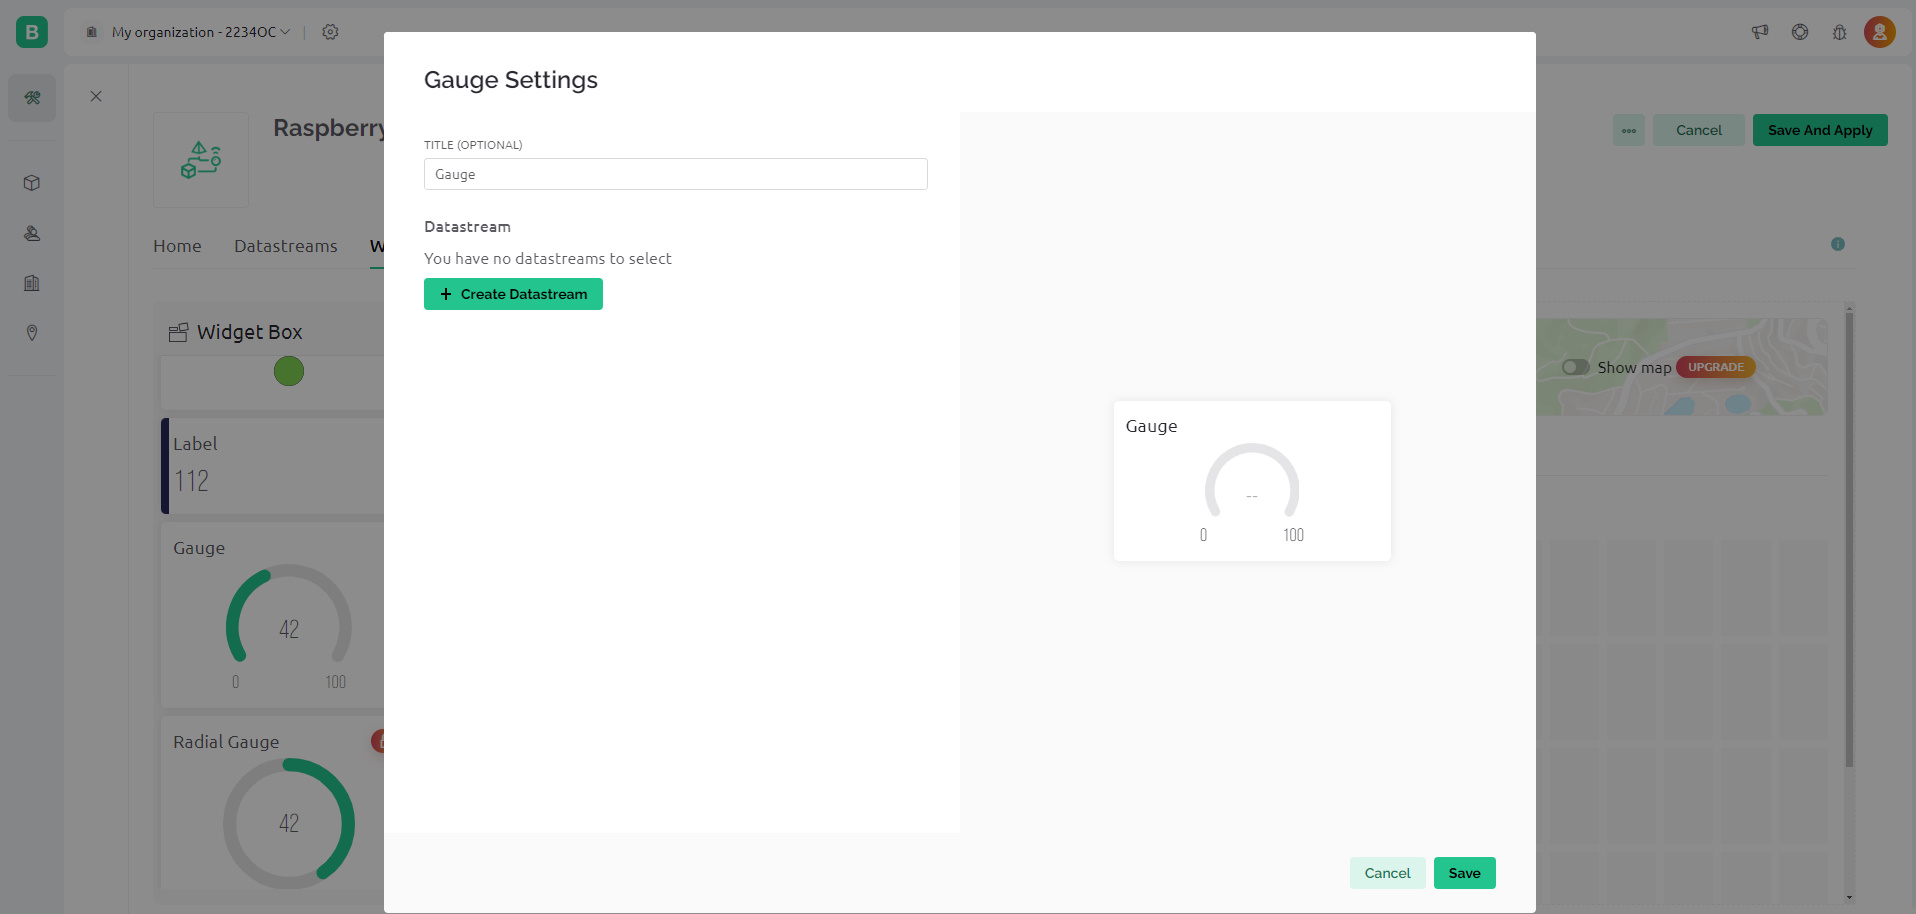
Drag two gauges, one for temperature and the second for humidity, from the widget box and place them on the dashboard screen.
Click on the gauge, then choose “Settings”. Here, configure the switch by providing a title and creating a datastream as a virtual pin.
Modify the gauge settings as shown in the image below, then click on “Create”
Gauge for Humidity
Gauge for Temperature
After creating both gauges, make sure to save all your settings.
With the Blynk dashboard configured, you’re now ready to program the Raspberry Pi board to Monitor Temperature and humidity.
Also, to monitor temperature and humidity using a mobile app or dashboard, set up the mobile dashboard using a similar process explained above.
Source Code & Libraries
To use the DHT11 Sensor, you need to install the Adafruit DHT library on your Raspberry Pi.
- Open the terminal on your Raspberry Pi.
- Run the following command to install the library:
|
1 |
sudo pip3 install Adafruit_DHT |
Once the installation is complete, you can use the Adafruit DHT library in your Python scripts to interface with the DHT11 sensor.
Install Raspberry Pi Blynk 2.0 Library on Raspberry Pi
To control an LED using the Blynk 2.0 App and Raspberry Pi, you must install the Blynk library. Use the following command to install the library
Open the Terminal Window on the Raspberry Pi desktop.
Once opened, execute the following command to install the New Blynk library:
|
1 |
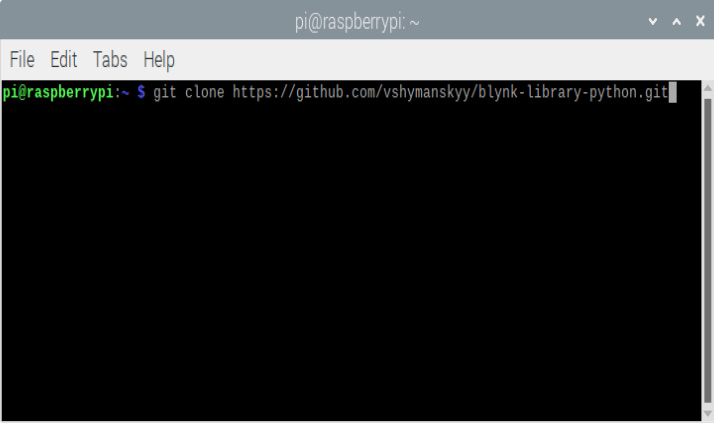
git clone https://github.com/vshymanskyy/blynk-library-python.git |
This command will install a copy of the Blynk Python Library folder into the root folder of your Raspberry Pi.
You can now compile any Blynk programming code within this blynk-library-python folder.
Next, access the library folder using the command cd blynk-library-python.
|
1 |
cd blynk-library-python |
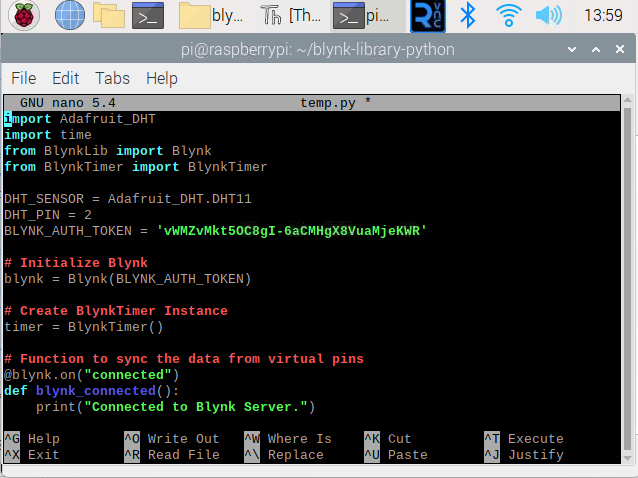
After that, create a new file in that library folder by executing sudo nano temp.py.
|
1 |
sudo nano temp.py |
Then, copy the code provided below and paste it into the newly created file.
Save the changes by Ctrl + S, and exit the text editor by pressing Ctrl + X
Source Code
|
1 2 3 4 5 6 7 8 9 10 11 12 13 14 15 16 17 18 19 20 21 22 23 24 25 26 27 28 29 30 31 32 33 34 35 36 37 38 |
import Adafruit_DHT import time from BlynkLib import Blynk from BlynkTimer import BlynkTimer DHT_SENSOR = Adafruit_DHT.DHT11 DHT_PIN = 2 BLYNK_AUTH_TOKEN = 'vWMZvMkt5OC8gI-6aCMHgX8VuaMjeKWR' # Initialize Blynk blynk = Blynk(BLYNK_AUTH_TOKEN) # Create BlynkTimer Instance timer = BlynkTimer() # Function to sync the data from virtual pins @blynk.on("connected") def blynk_connected(): print("Connected to Blynk Server.") print("Welcome to DIY Projects Lab") time.sleep(2) # Function to collect data from sensor & send it to Server def collect_and_send_data(): humidity, temperature = Adafruit_DHT.read(DHT_SENSOR, DHT_PIN) if humidity is not None and temperature is not None: print("Temperature: {0:.1f}°C, Humidity: {1:.1f}%".format(temperature, humidity)) blynk.virtual_write(0, humidity) blynk.virtual_write(1, temperature) print("Data sent to Blynk Server.") # Set interval for data collection and sending timer.set_interval(2, collect_and_send_data) while True: blynk.run() timer.run() |
Now, it’s time to execute the program in the Terminal to send the humidity and temperature values to the Blynk 2.0 Web Dashboard.
To run the program, use the following command
|
1 2 |
cd blynk-library-python sudo python temp.py |
After running the command, you will receive the output in the serial console similar to this:

Simply open the web app, navigate to the project dashboard, and you should see the temperature and humidity percentage displayed in the widget dashboard

