Hey! Today, this tutorial shows how to make a Live Vehicle GPS Tracking system using ESP32, Telegram, and Google Maps, allowing real-time monitoring of vehicle locations from anywhere in the world, and ensuring car security. In a previous version of our vehicle tracking system, we used Raspberry Pi Pico and GPS technology. While it worked well, some limits affected its performance.
In this article, we will build an advanced version of the vehicle tracking system by using Google Maps for real-time tracking. With the integration of Google Maps, you can easily see where your vehicles are at any given time.
Thank you, PCBWay!

PCBWay is the ultimate choice for prototype PCBs, offering high-quality boards at affordable prices. Sign up using this link for a free coupon or rewards on your first order: PCBWay.
Check our earlier post Using GPS Module
- LoRa GPS-Based IoT Geo-Fencing Using Arduino, and ESP32
- DIY Arduino Speedometer: Displaying GPS Speed on an Analog Gauge
- Raspberry Pi Pico GPS Tracker Using NEO-6M & OLED Display
- NEO-6M GPS Module with Raspberry Pi Pico | Micropython
Required Material
Here are the components and tools you’ll need:
- ESP32 board
- GPS module (e.g., NEO-6M)
- Jumper wires
- Breadboard
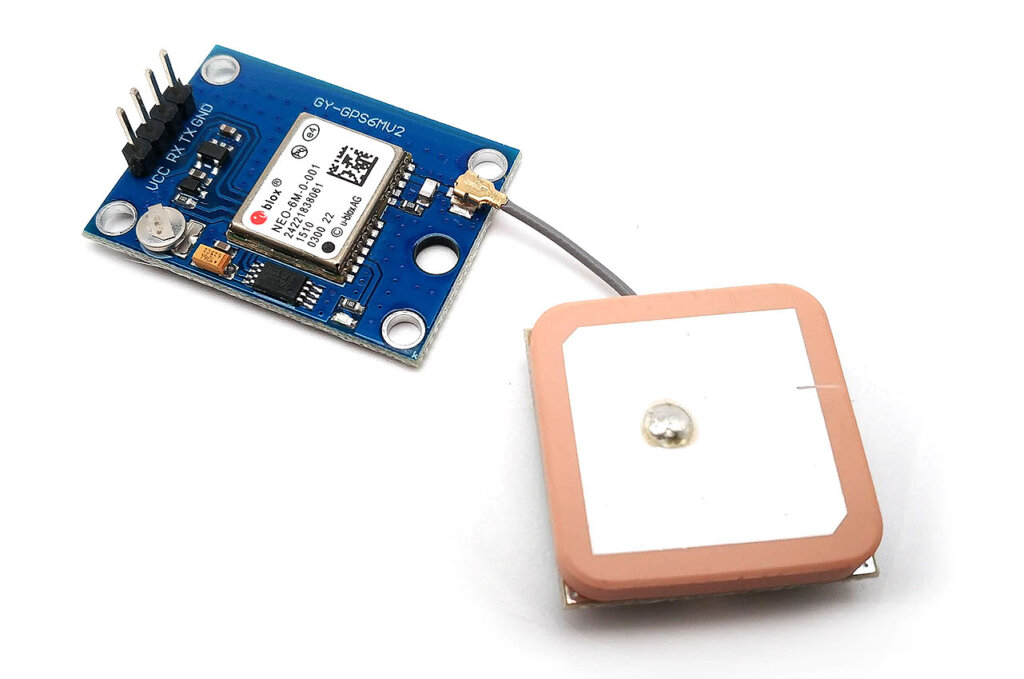
NEO-6M GPS module
NEO-6M GPS module is a high-performance GPS receiver. The module gets signals from GPS satellites and It uses the NMEA protocol to transmit GPS points, such as latitude, longitude, and altitude. Checkout NEO-6M GPS Module with Arduino | Tutorial
The module gives accurate GPS information for applications through UART conversation, including navigation, monitoring, and geolocation.
NEO-6M GPS Module Specifications
- 5Hz position update rate
- Operating temperature: -40°C to 85°C
- Power supply: 3.3V~5V
- UART TTL socket for easy communication
- Configurable baud rates: 4800 to 115200 (default 9600)
- Fast start times: 38 seconds (cold start), 1 second (hot start)
- Rechargeable backup battery
- EEPROM for saving configuration settings
- SuperSense® Indoor GPS with -162 dBm tracking sensitivity
- Support for SBAS (WAAS, EGNOS, MSAS, GAGAN)
- 18x18mm separated GPS antenna
Pinout of NEO-6M GPS Module
- VCC: Power supply
- GND: Ground
- TX: UART transmit
- RX: UART receive
Connecting NEO-6M GPS Module with ESP32
- GPS VCC to Pico 5V pin for power.
- GPS GND to Pico GND pin for ground.
- GPS TX to Pico RX pin for receiving data.
- GPS RX to Pico TX pin for transmitting data.
Configure Telegram Bot For ESP32 GPS Tracking
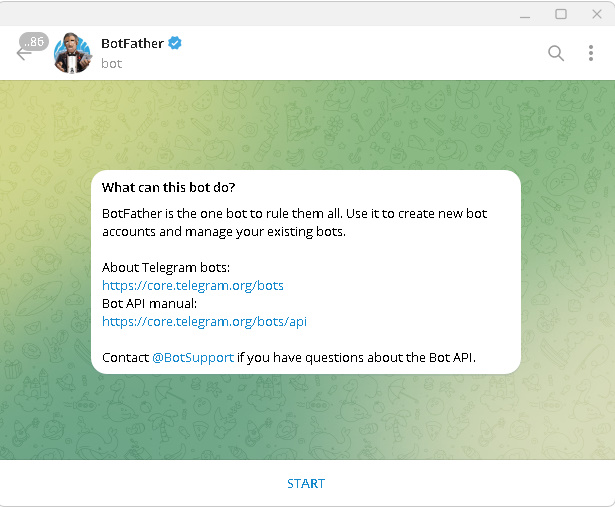
Open Telegram and search for BotFather.
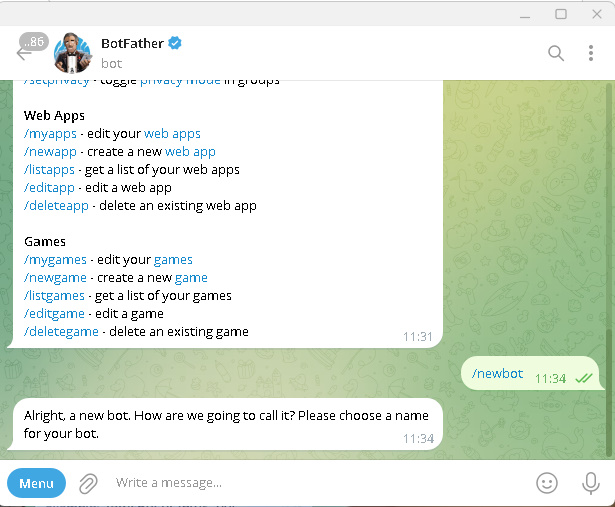
Start a chat and create a new bot using the /newbot command.
Follow the instructions to name your bot and get the bot token 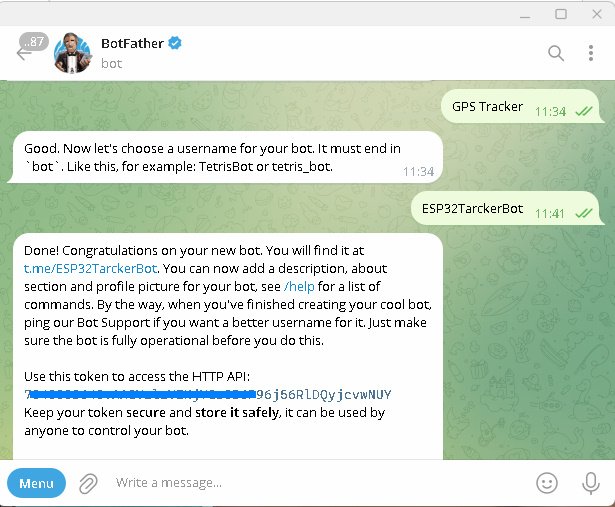
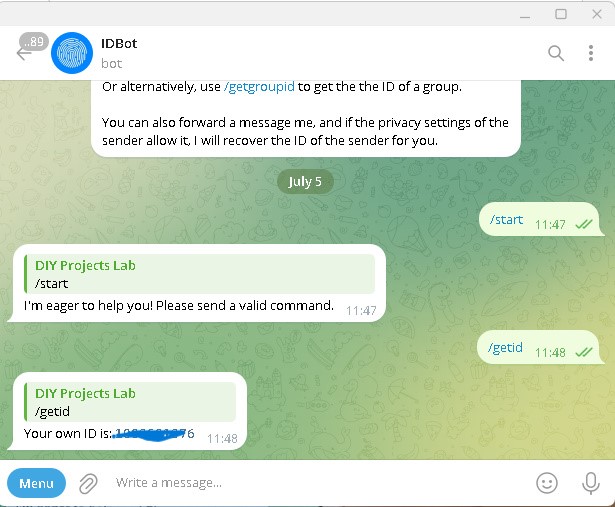
Find Your Telegram ID
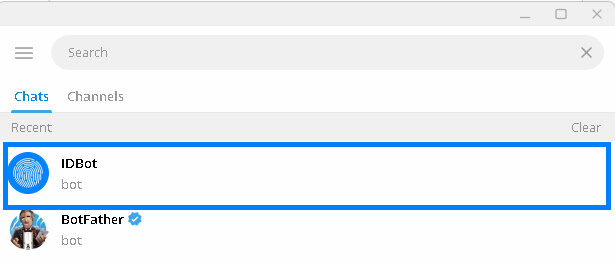
Search for @idbot in Telegram.
Start a chat with @idbot and type /getid.
You will receive your Telegram ID, which you will use in your code
Temperature & Humidity Reading | Pico W + Telegram Bot
Control MAX7219 Dot Matrix LED Display With Telegram Message
Control LED with Telegram Bot Using ESP8266/ESP32
Code & Libraries
Install the necessary libraries:
- Open the Arduino IDE and go to
Sketch>Include Library>Manage Libraries. - Install the
UniversalTelegramBotandTinyGPS++libraries.
Replace "YourSSID", "YourPassword", "YourBotToken", and "YourChatID" with your actual credentials and Telegram details in your code.
|
1 2 3 4 5 6 7 |
// WiFi credentials const char* ssid = "RaushanZeba"; const char* password = "82728378937"; // Telegram bot token and chat ID #define BOTtoken "48726748:fsodifjsioufopsdifopsd" #define CHAT_ID "827450947902" |
Source Code – Live Vehicle GPS Tracking with Telegram and ESP32 on Google Maps
|
1 2 3 4 5 6 7 8 9 10 11 12 13 14 15 16 17 18 19 20 21 22 23 24 25 26 27 28 29 30 31 32 33 34 35 36 37 38 39 40 41 42 43 44 45 46 47 48 49 50 51 52 53 54 55 56 57 58 59 60 61 62 63 64 65 66 67 68 69 70 71 72 73 74 75 76 77 78 79 80 81 82 83 84 85 86 87 88 89 90 91 92 93 94 95 96 97 98 99 100 101 |
#include <WiFi.h> #include <WiFiClientSecure.h> #include <UniversalTelegramBot.h> #include <ArduinoJson.h> #include <TinyGPS++.h> #include <HardwareSerial.h> // WiFi credentials const char* ssid = "TheSkywalker5g"; const char* password = "9708868689"; // Telegram bot token and chat ID #define BOTtoken "7045583645:AAGVzlzVEHjYGs5B6P96j56RlDQyjcvwNUY" #define CHAT_ID "1083581376" // Create WiFi and Telegram bot clients WiFiClientSecure client; UniversalTelegramBot bot(BOTtoken, client); // GPS setup HardwareSerial GPSSerial(1); TinyGPSPlus gps; // Bot request delay and timing int botRequestDelay = 100; unsigned long lastTimeBotRan; void handleNewMessages(int numNewMessages) { Serial.println("Handling new messages"); Serial.println(String(numNewMessages)); for (int i = 0; i < numNewMessages; i++) { String chat_id = String(bot.messages[i].chat_id); if (chat_id != CHAT_ID) { bot.sendMessage(chat_id, "Unauthorized user", ""); continue; } String text = bot.messages[i].text; Serial.println(text); String from_name = bot.messages[i].from_name; // Process GPS data while (GPSSerial.available()) { gps.encode(GPSSerial.read()); } if (gps.charsProcessed() > 10) { float currentLat = gps.location.lat(); float currentLng = gps.location.lng(); if (text == "/start") { String welcomeMessage = "Welcome, " + from_name + ".\n"; welcomeMessage += "Use the commands below to monitor the GPS location\n\n"; welcomeMessage += "/location to get the current location\n"; bot.sendMessage(chat_id, welcomeMessage, ""); } if (text == "/location") { String locationMessage = "Location: https://www.google.com/maps/@" + String(currentLat, 6) + "," + String(currentLng, 6) + ",21z?entry=ttu"; bot.sendMessage(chat_id, locationMessage, ""); } } } } void setup() { Serial.begin(115200); GPSSerial.begin(9600, SERIAL_8N1, 16, 17); // Connect to WiFi WiFi.mode(WIFI_STA); WiFi.begin(ssid, password); #ifdef ESP32 client.setCACert(TELEGRAM_CERTIFICATE_ROOT); #endif while (WiFi.status() != WL_CONNECTED) { delay(1000); Serial.println("Connecting to WiFi..."); } // Print ESP32 local IP address Serial.println(WiFi.localIP()); } void loop() { if (millis() > lastTimeBotRan + botRequestDelay) { int numNewMessages = bot.getUpdates(bot.last_message_received + 1); while (numNewMessages) { Serial.println("Got response"); handleNewMessages(numNewMessages); numNewMessages = bot.getUpdates(bot.last_message_received + 1); } lastTimeBotRan = millis(); } } |
After uploading the code Open the Serial Monitor in the Arduino IDE. To Check that the ESP32 connects to the Wi-Fi network.
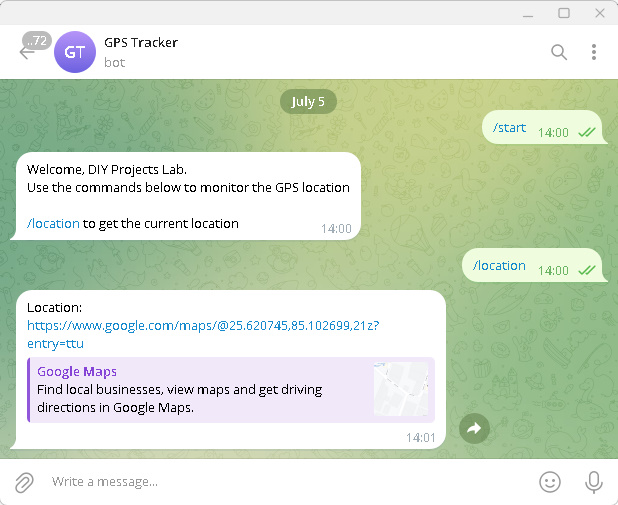
Send the /start command to your Telegram bot.
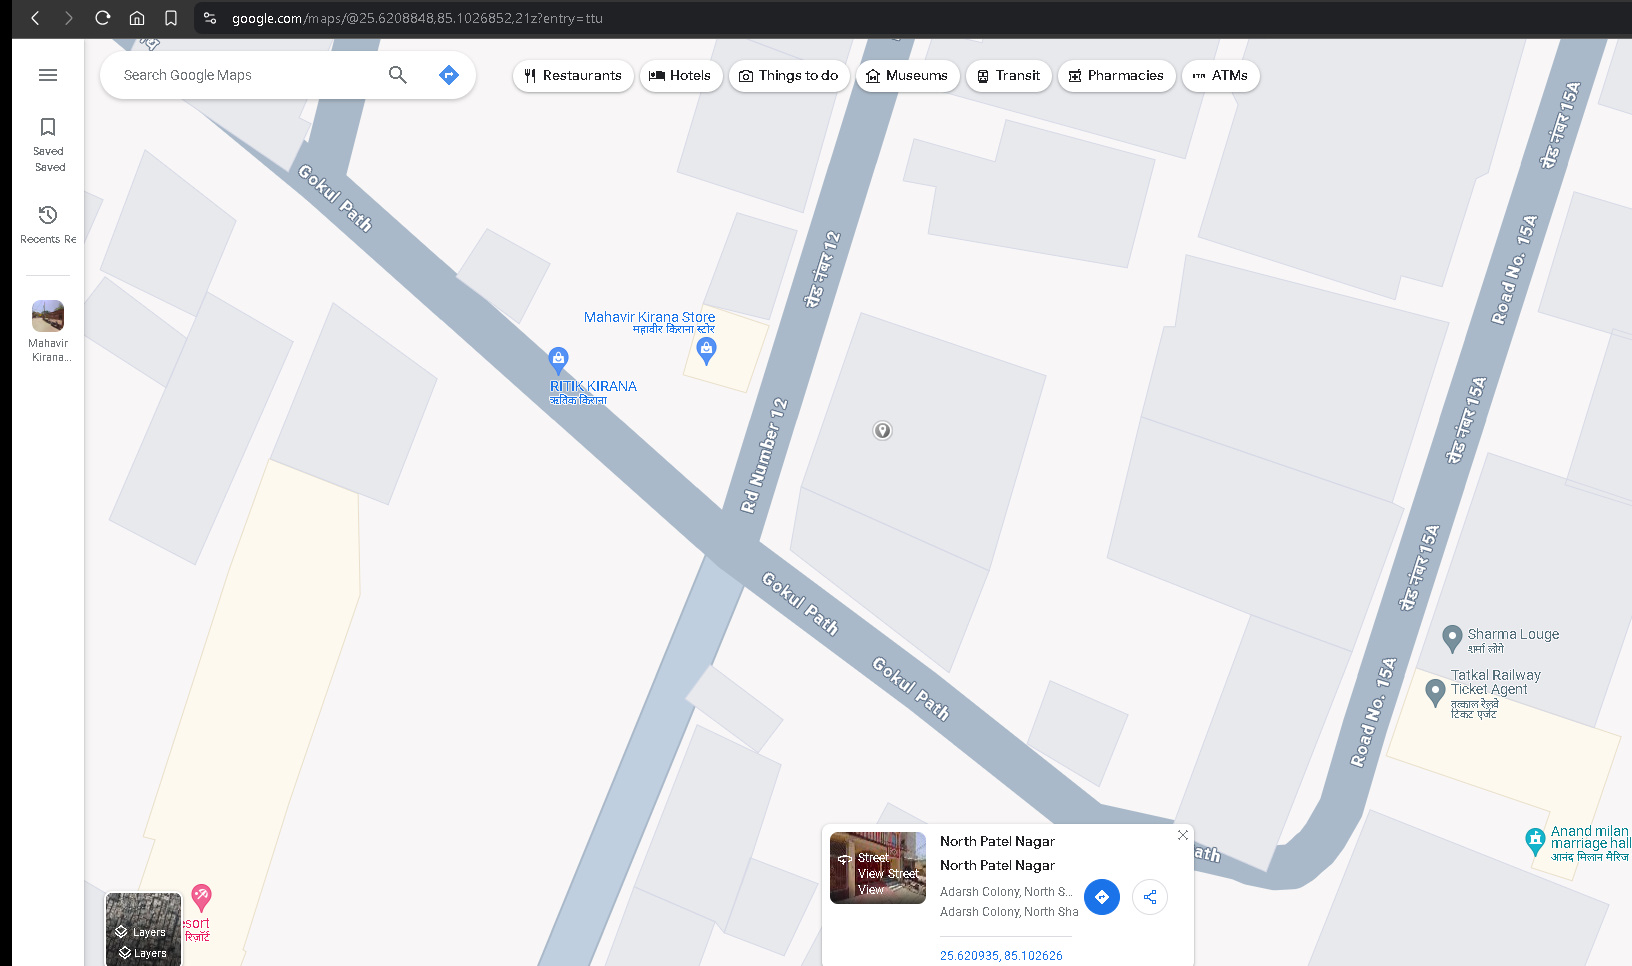
Use the /location command to receive a link to your vehicle’s current location on Google Maps.
https://www.google.com/maps/@25.620745,85.102699,21z?entry=ttu in any web browser to view the location of your tracker on Google Maps.
