Introduction
In this project, we will learn how to make a Raspberry Pi Pico W Relay Module web server using the Thonny IDE. The Thonny IDE is a Python development environment that is perfect for beginners.
We will use the Thonny IDE to write a Python script that will turn on and off a relay module using the GPIO pins on the Raspberry Pi Pico. Using relays with the Pi Pico W is the best method to remotely control any AC home appliances. Raspberry Pi Pico W Remote Controlled Car Robot Web Server
Required Material
The following components are required to make Home Automation Project
Raspberry Pi Pico W
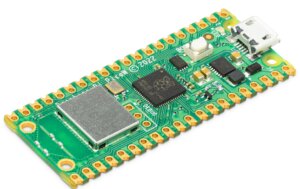
Raspberry Pi Pico W is a microcontroller board with an Arm Cortex M0+ processor, making it an excellent choice for a wide range of applications. Pico W is a tiny board, measuring just 20mm x 31mm. It has a powerful processor and comes with built-in WiFi and Bluetooth connectivity. Check also Introduction to Raspberry Pi Pico W – Getting Started: Tutorials, Pinout
The Pico is designed to be a flexible and affordable platform for engineers, hobbyists, and students. this board can be used for a variety of applications including but not limited to, home automation, the internet of things (IoT), and even robotics.
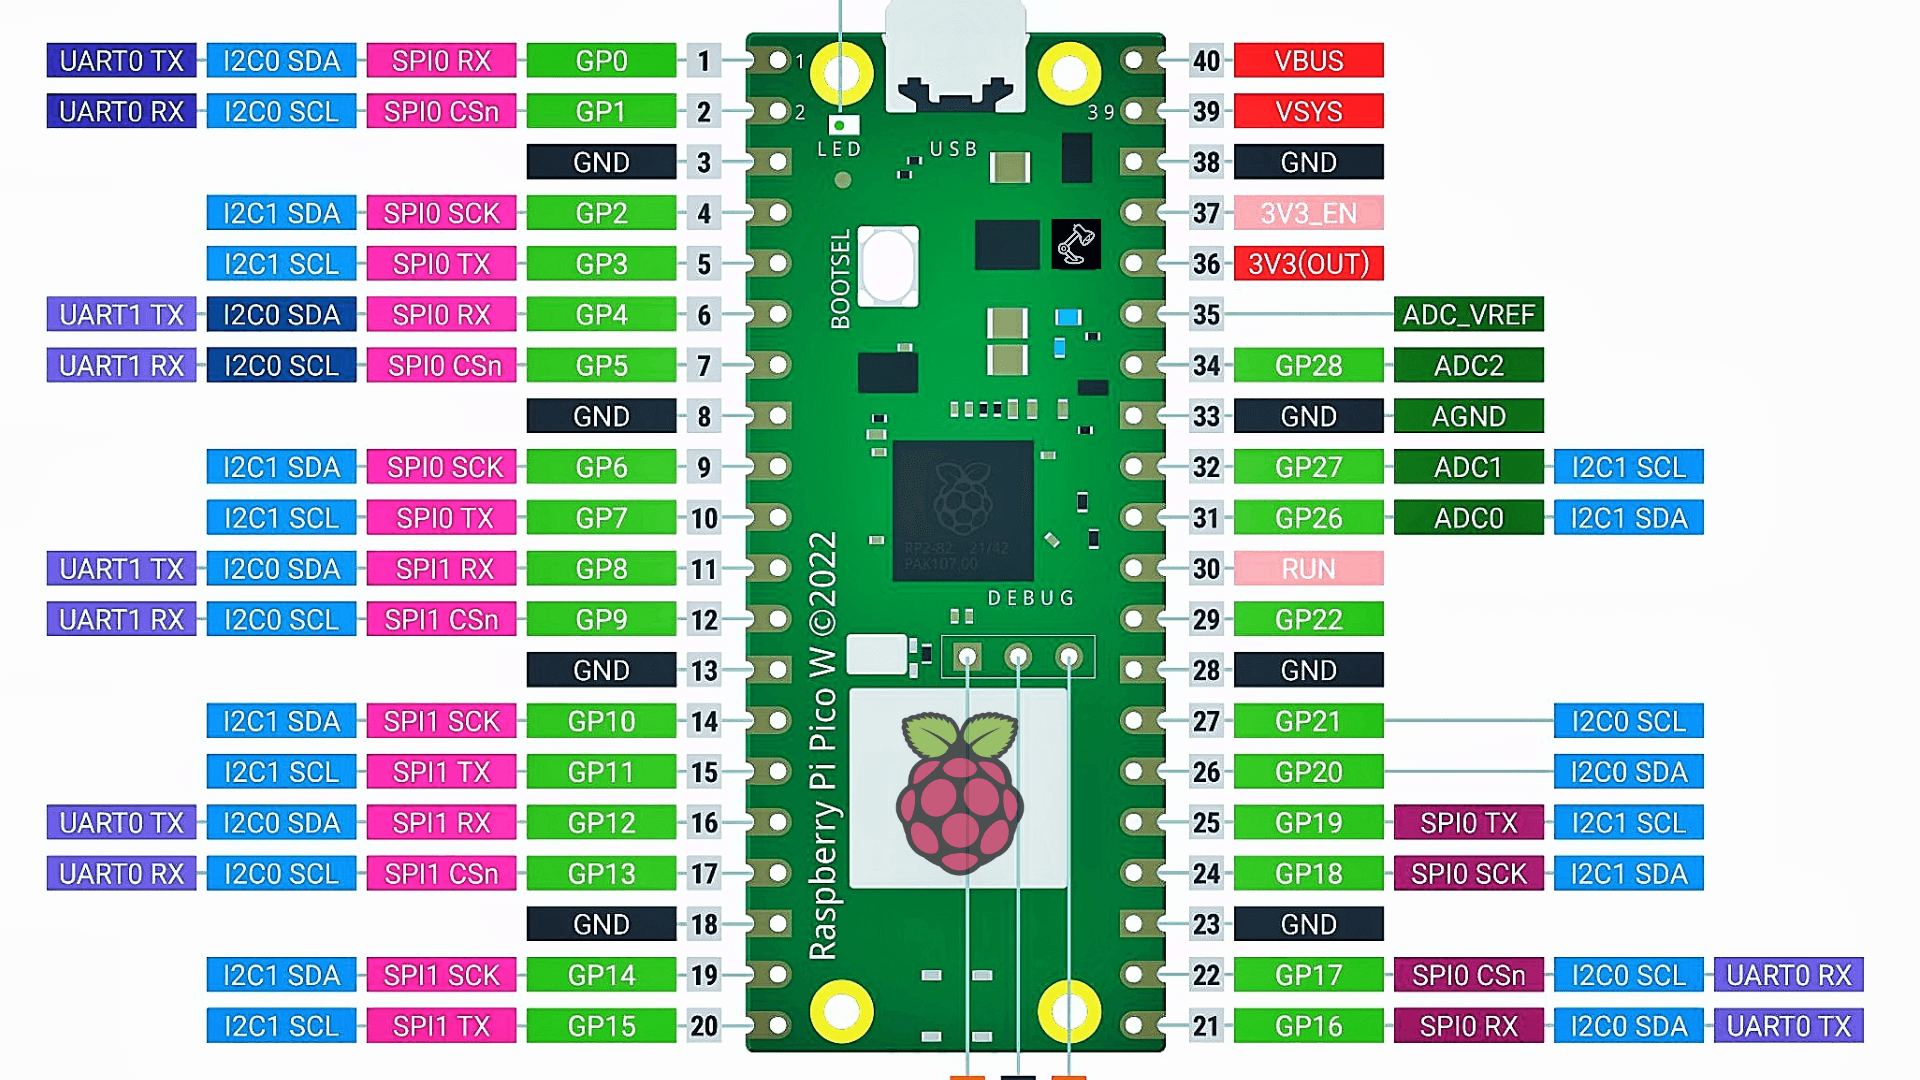
Pi Pico W Pinout
Relay Module
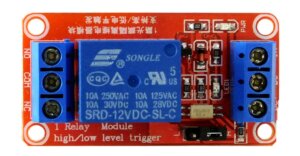
A relay is an electrical appliance that can be used to turn on or turn off a circuit. It consists of a coil of wire that is covered around an iron core, which is covered by a case.
When an electric current is passed through the coil, the iron core becomes magnetized, which attracts a metal armature. The armature is connected to a switch, which can be used to control the circuit. Relays are used in different types of applications, including automotive systems, alarms, and industrial control systems. it can also be used to control AC or DC circuits.
Relay Module Pinout
What is a Web Server?
A web server is a computer system that processes requests across a computer network. The primary function of a web server is to store, retrieve, and deliver web pages to clients The communication between client and server takes place using the Hypertext Transfer Protocol (HTTP). A web server is a computer system that stores websites and helps them to users over the internet.
The web server is very simple to use and can be used to control a variety of devices and applications. In this tutorial, we will show you how to use the Raspberry Pi Pico W web server to control an LED.
Wiring a Relay Module to a Raspberry Pi Pico W Board
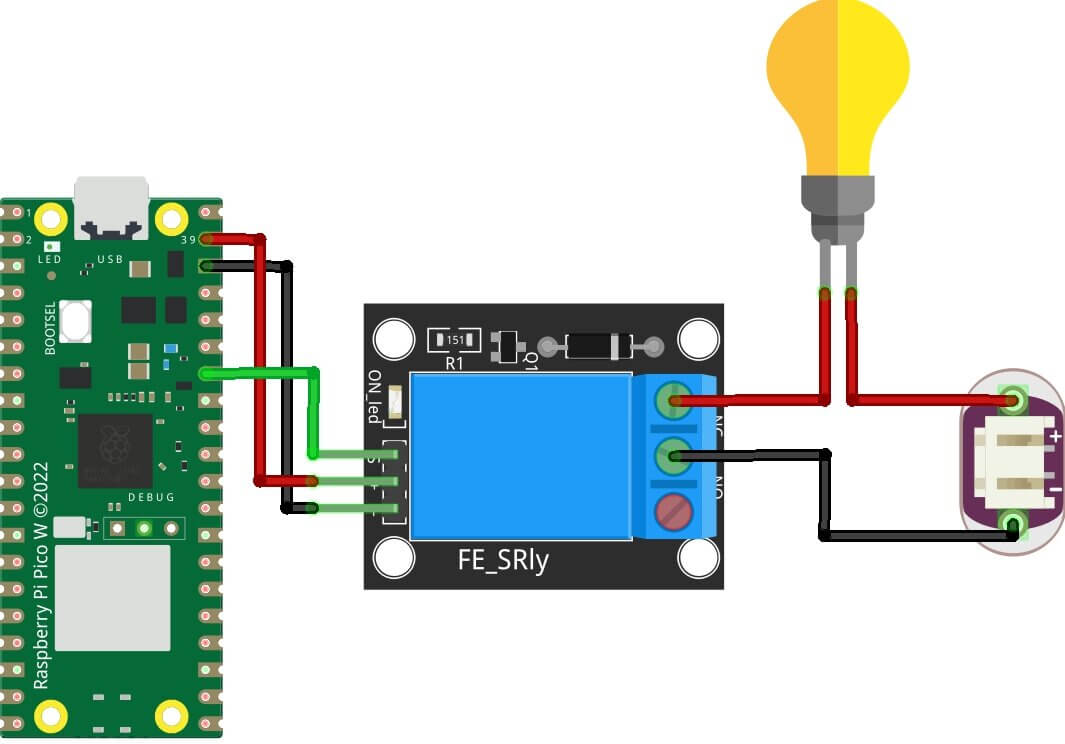
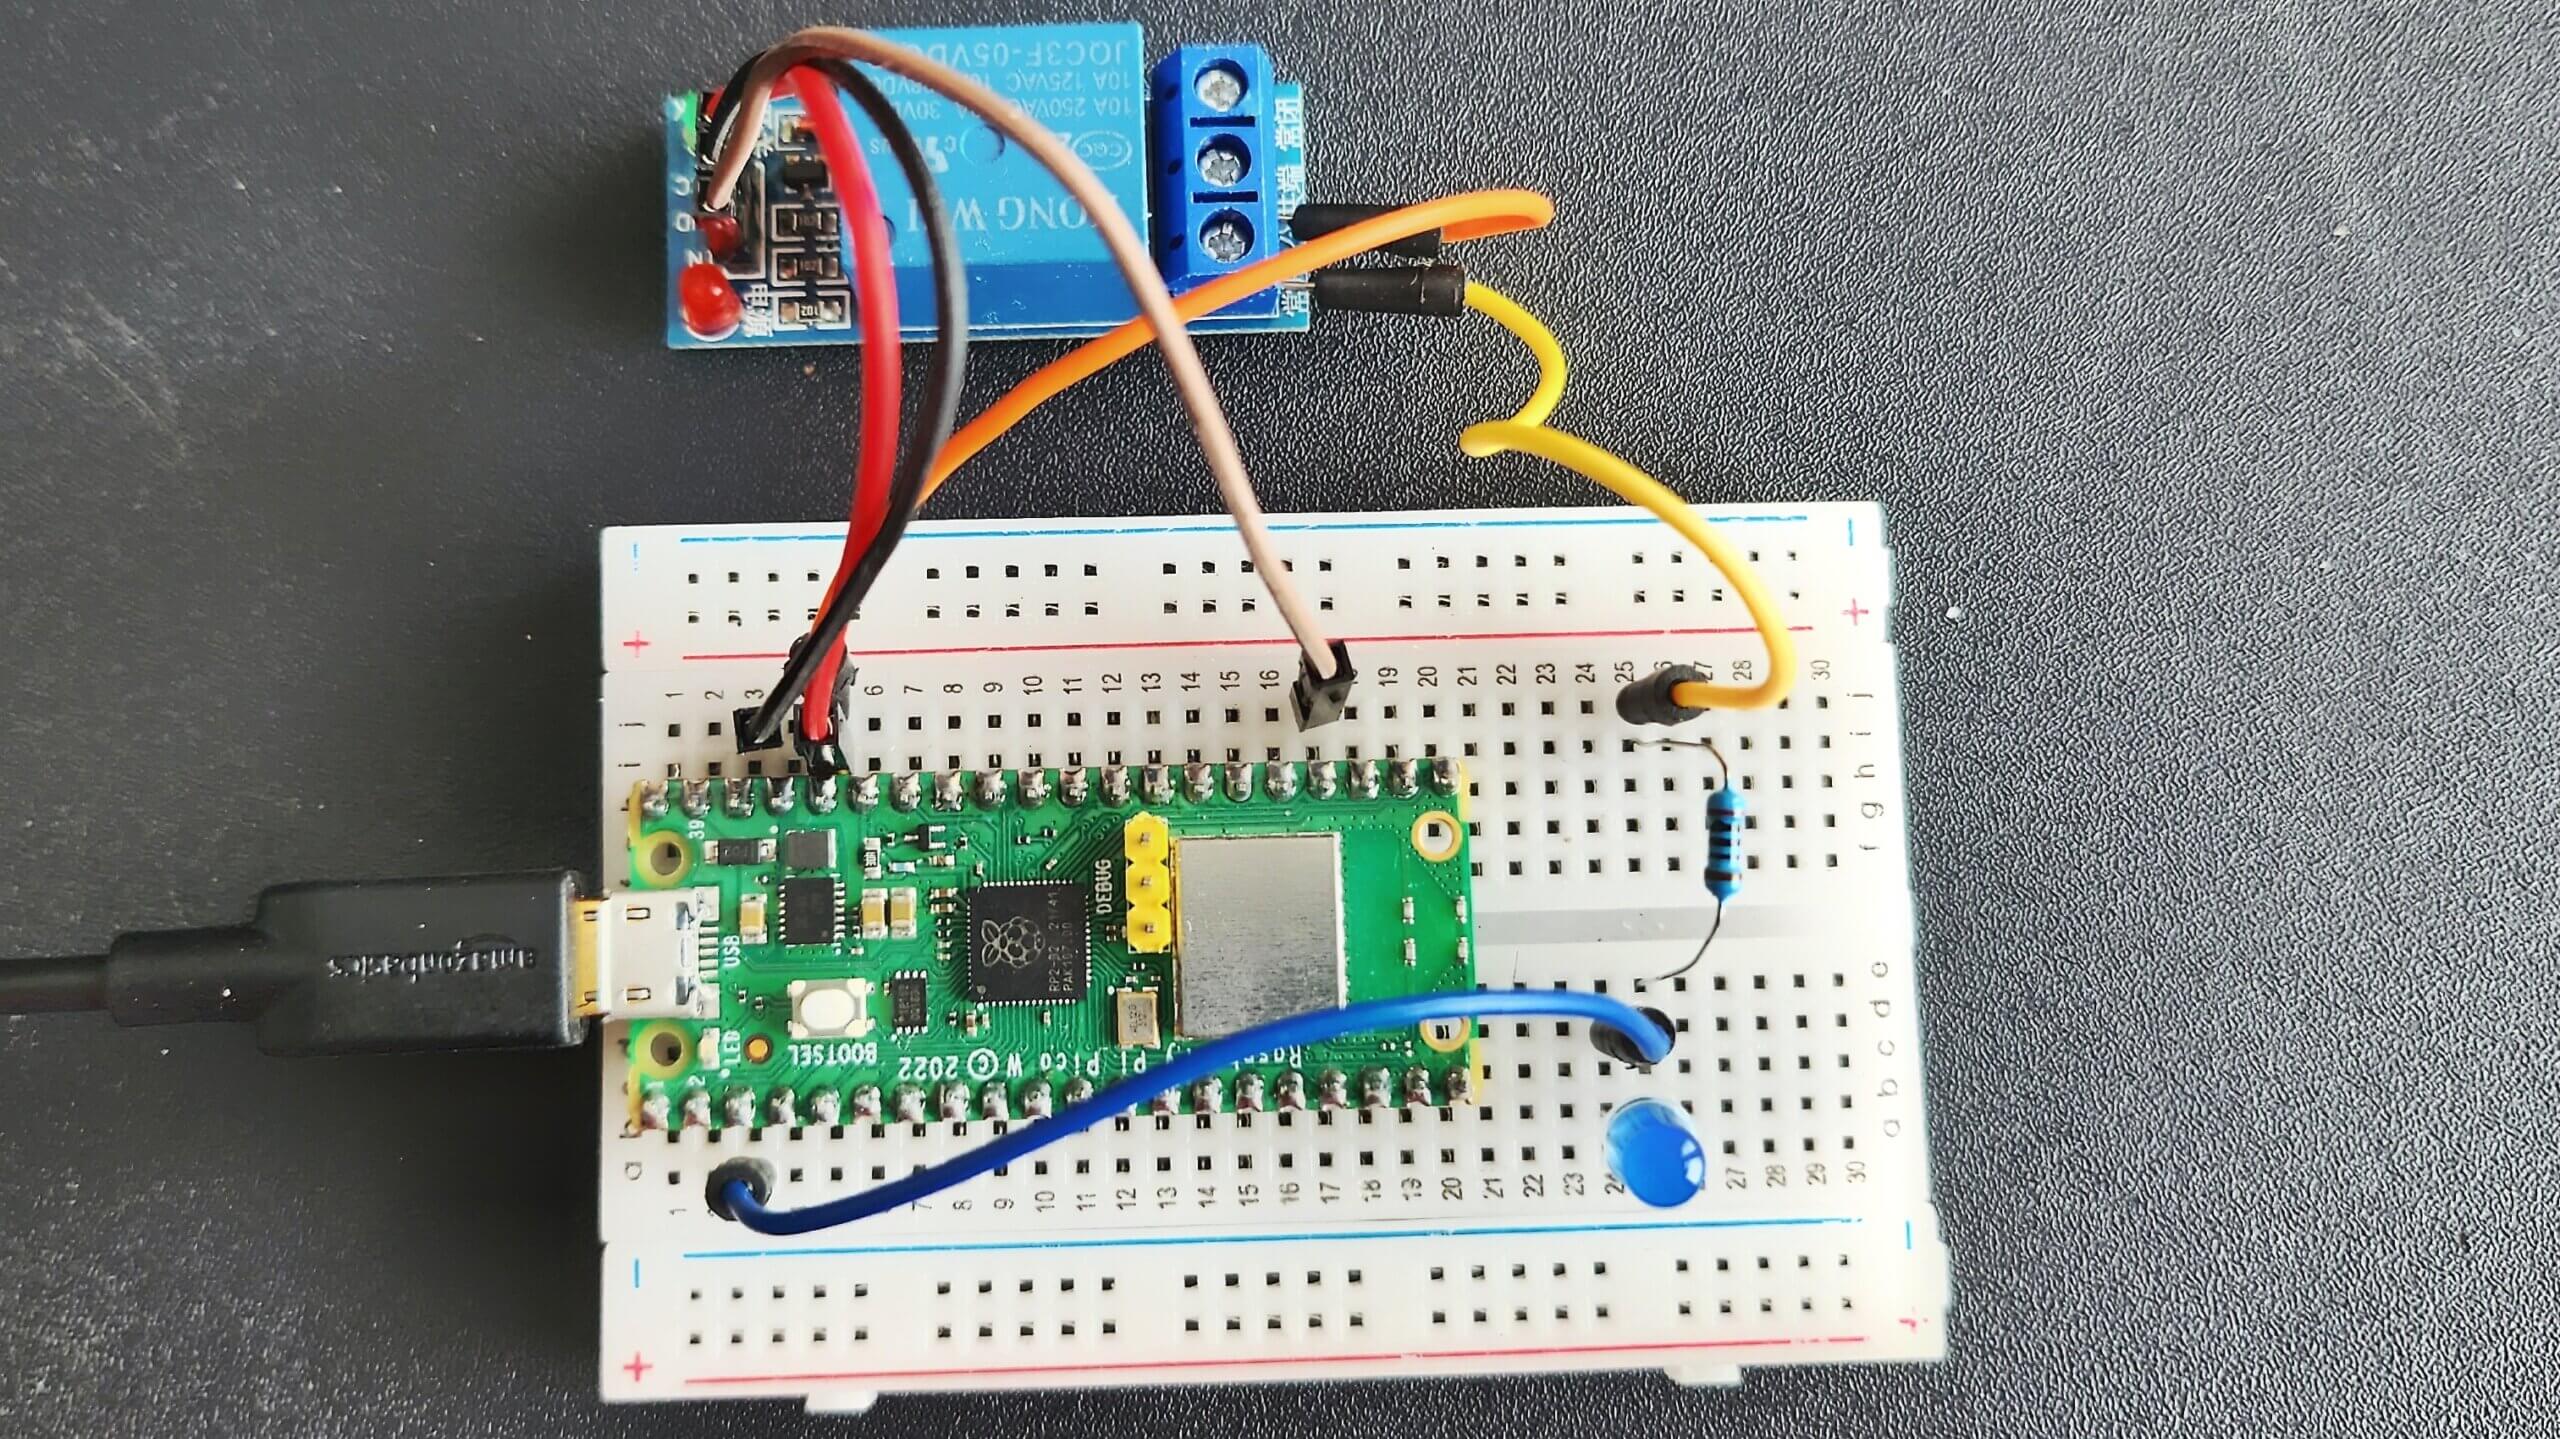
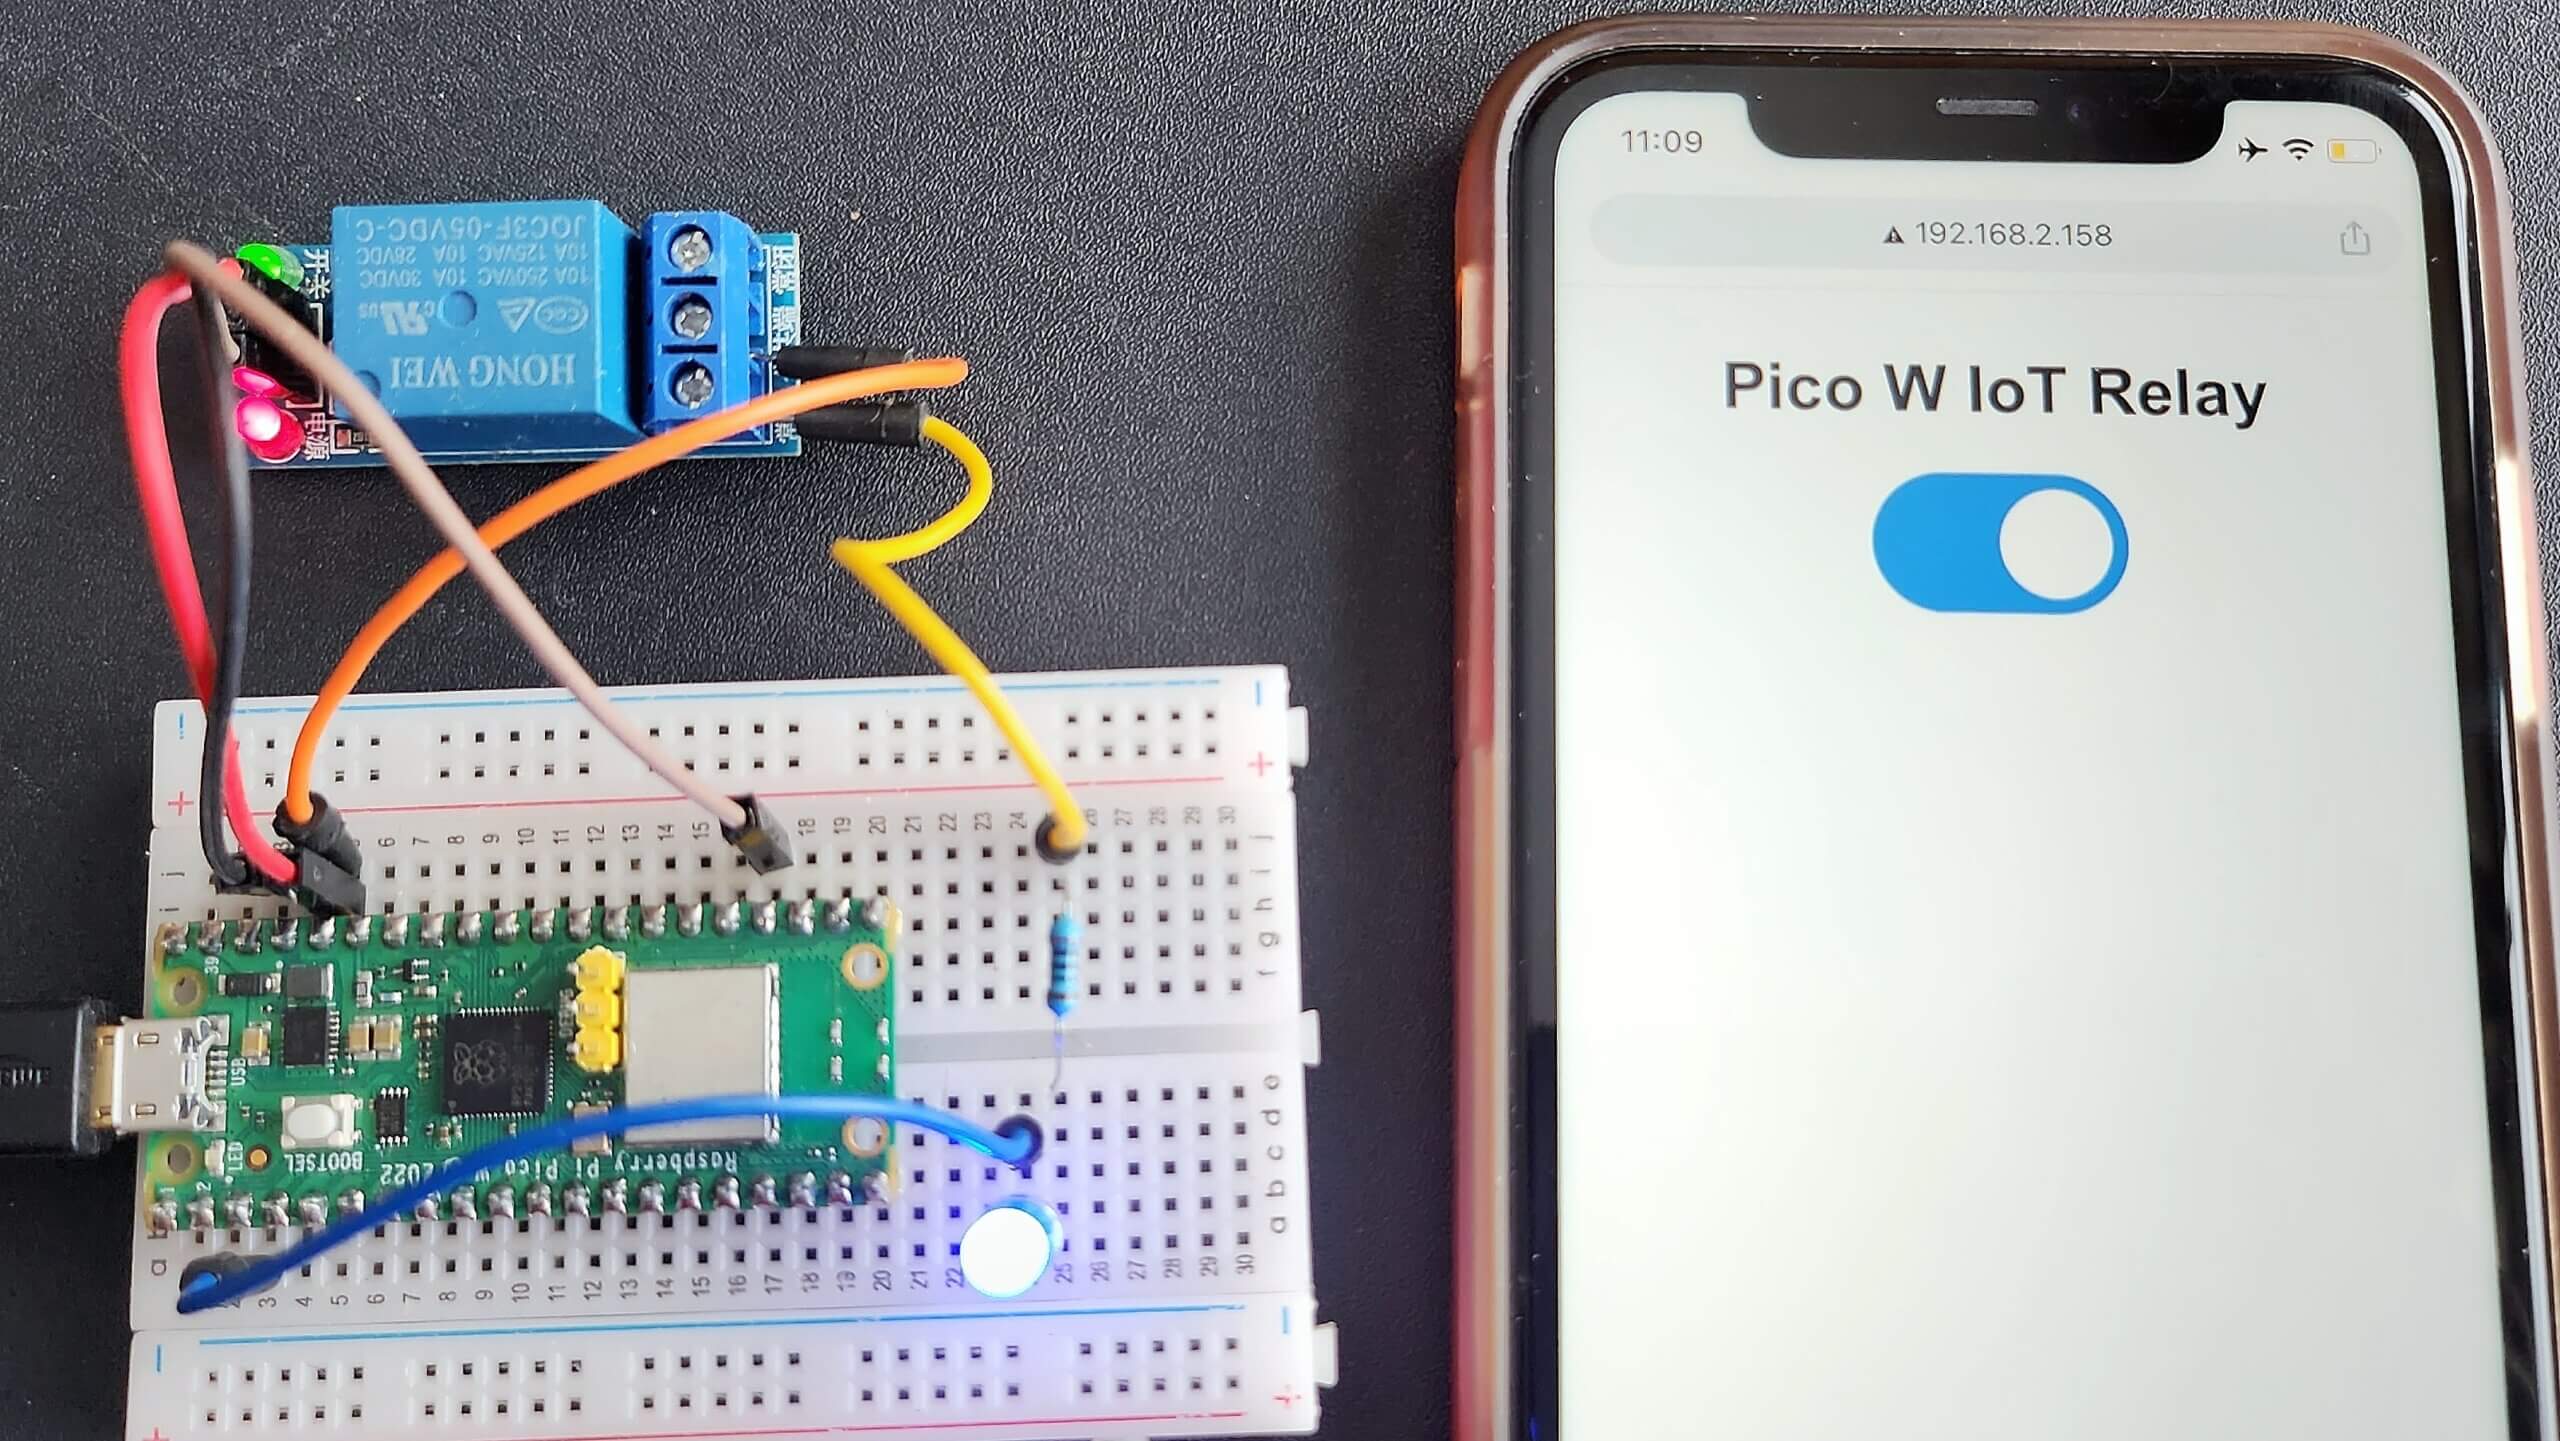
The example let you control 1 relay channel. A schematic diagram should show how to write up the Pico w boards.
Raspberry Pi Pico W Wiring
Raspberry Pi Pico W—> Relay Module
- VSYS –> VCC
- GND –> GND
- GP28 –> Signal
Micropython Script
Pi Pico W Home Automation Micropython Code
Copy & save the following code to the Raspberry pi pico w as a main.py file name.
main.py
|
1 2 3 4 5 6 7 8 9 10 11 12 13 14 15 16 17 18 19 20 21 22 23 24 25 26 27 28 29 30 31 32 33 34 35 36 37 38 39 40 41 42 43 44 45 46 47 48 49 50 51 52 53 54 55 56 57 58 59 60 61 62 63 64 65 66 67 68 69 70 71 72 73 74 75 76 77 78 79 80 81 |
from machine import Pin import network import time try: import usocket as socket except: import socket relay=Pin(28,Pin.OUT) wlan = network.WLAN(network.STA_IF) wlan.active(True) wlan.connect("vivo","11111111") # connect the network wait = 10 while wait > 0: if wlan.status() < 0 or wlan.status() >= 3: break wait -= 1 print('waiting for connection...') time.sleep(1) # Handle connection error if wlan.status() != 3: raise RuntimeError('wifi connection failed') else: print('connected') ip=wlan.ifconfig()[0] print('IP: ', ip) def web_server(): if relay.value() == 1: relay_state = '' else: relay_state = 'checked' html = """<html><head><meta name="viewport" content="width=device-width, initial-scale=1"><style> body{font-family:Arial; text-align: center; margin: 0px auto; padding-top:30px;} .switch{position:relative;display:inline-block;width:120px;height:68px}.switch input{display:none} .slider{position:absolute;top:0;left:0;right:0;bottom:0;background-color:#ccc;border-radius:34px} .slider:before{position:absolute;content:"";height:52px;width:52px;left:8px;bottom:8px;background-color:#fff;-webkit-transition:.4s;transition:.4s;border-radius:68px} input:checked+.slider{background-color:#2196F3} input:checked+.slider:before{-webkit-transform:translateX(52px);-ms-transform:translateX(52px);transform:translateX(52px)} </style><script>function toggleCheckbox(element) { var xhr = new XMLHttpRequest(); if(element.checked){ xhr.open("GET", "/?relay=on", true); } else { xhr.open("GET", "/?relay=off", true); } xhr.send(); }</script></head><body> <h1 style="color: red;">Pi Pico W IoT Control Relay </h1><label class="switch"><input type="checkbox" onchange="toggleCheckbox(this)" %s><span class="slider"> </span></label></body></html> <h6 style="color:Tomato;">diyprojectslab.com</h6>""" % (relay_state) return html s = socket.socket(socket.AF_INET, socket.SOCK_STREAM) s.bind(('', 80)) s.listen(5) while True: try: conn, addr = s.accept() conn.settimeout(3.0) print('Got a connection from %s' % str(addr)) request = conn.recv(1024) conn.settimeout(None) request = str(request) print('Content = %s' % request) relay_on = request.find('/?relay=on') relay_off = request.find('/?relay=off') if relay_on == 6: print('RELAY ON') relay.value(0) if relay_off == 6: print('RELAY OFF') relay.value(1) response = web_server() conn.send('HTTP/1.1 200 OK\n') conn.send('Content-Type: text/html\n') conn.send('Connection: close\n\n') conn.sendall(response) conn.close() except OSError as e: conn.close() print('Connection closed') |
The following variables hold your network credentials:
|
1 |
wlan.connect("SSID","Password") |
Testing the Web Server
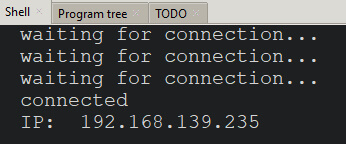
Upload the main.py files to the Pico W, After uploading the files few seconds, the device will establish a connection and print the IP address on the Shell.
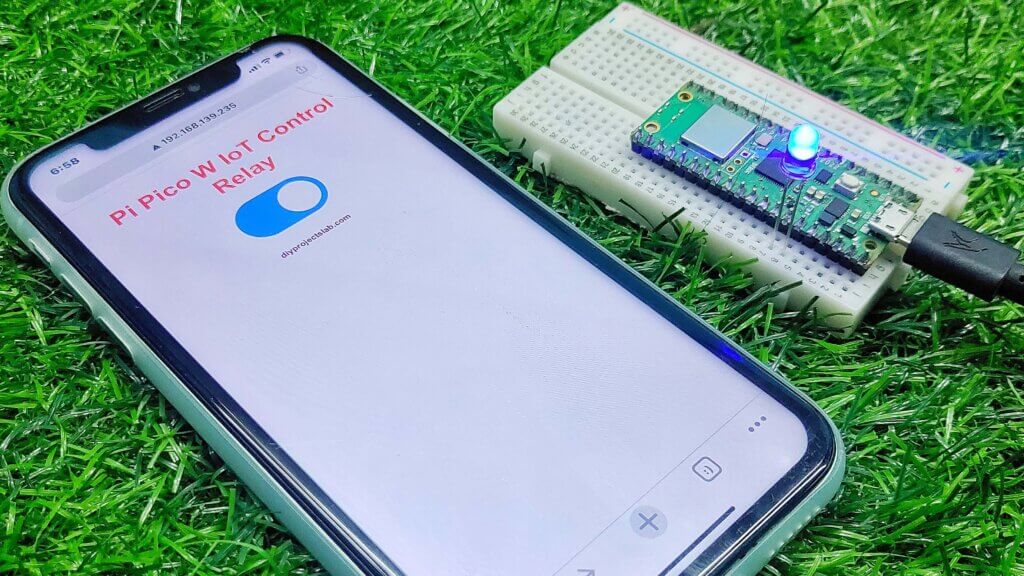
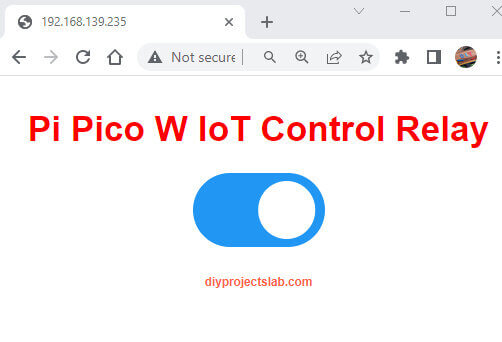
Open your browser, and enter the Pico W IP address in the address bar. This way, you can see the web server page as shown below.
When you press the ON button, you make an HTTP request on GET /?relay=on HTTP/1-IP-address/on. This request returns a webpage with the changed GPIO state on it.
When you press the OFF button on the Pico W, you make a request on the Pico W IP address, followed by /?GET /?relay=off The LED turns off, and the GPIO state is updated.
Conclusion
In conclusion, the Raspberry Pi Pico W Web Server Using Relay module is an excellent way to control your home automation devices. The web server is easy to set up and use, and the Micropython script makes it easy to develop your own applications for the server.
Check More Interesting Projects Based On Pico W
- BME280 With Raspberry Pi Pico W Using MicroPython
- How to Control WS2812 LED w/ Raspberry Pi Pico W & Adafruit IO
- BME280 With Raspberry Pi Pico W Using MicroPython
- Raspberry Pi Pico W Web Server with BME280 – Mini Weather Station
- Controlling RGB LED From Raspberry Pi Pico W Web Server with MicroPython

